Coping, Caps, and Sills: Precast Accessories That Complete the Build
A mason kneels beside a fresh stone wall, checking the top course with a 4-foot level before the first rain can test every edge. He is not admiring the work yet. He is looking for the trouble spots — the place a cap might rock, the sill that could back-pitch, the tiny dip that will turn into a stain line by next Tuesday.
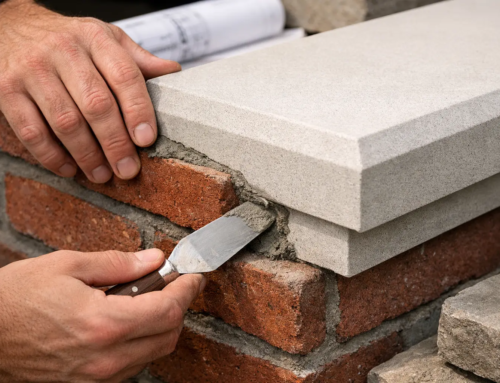
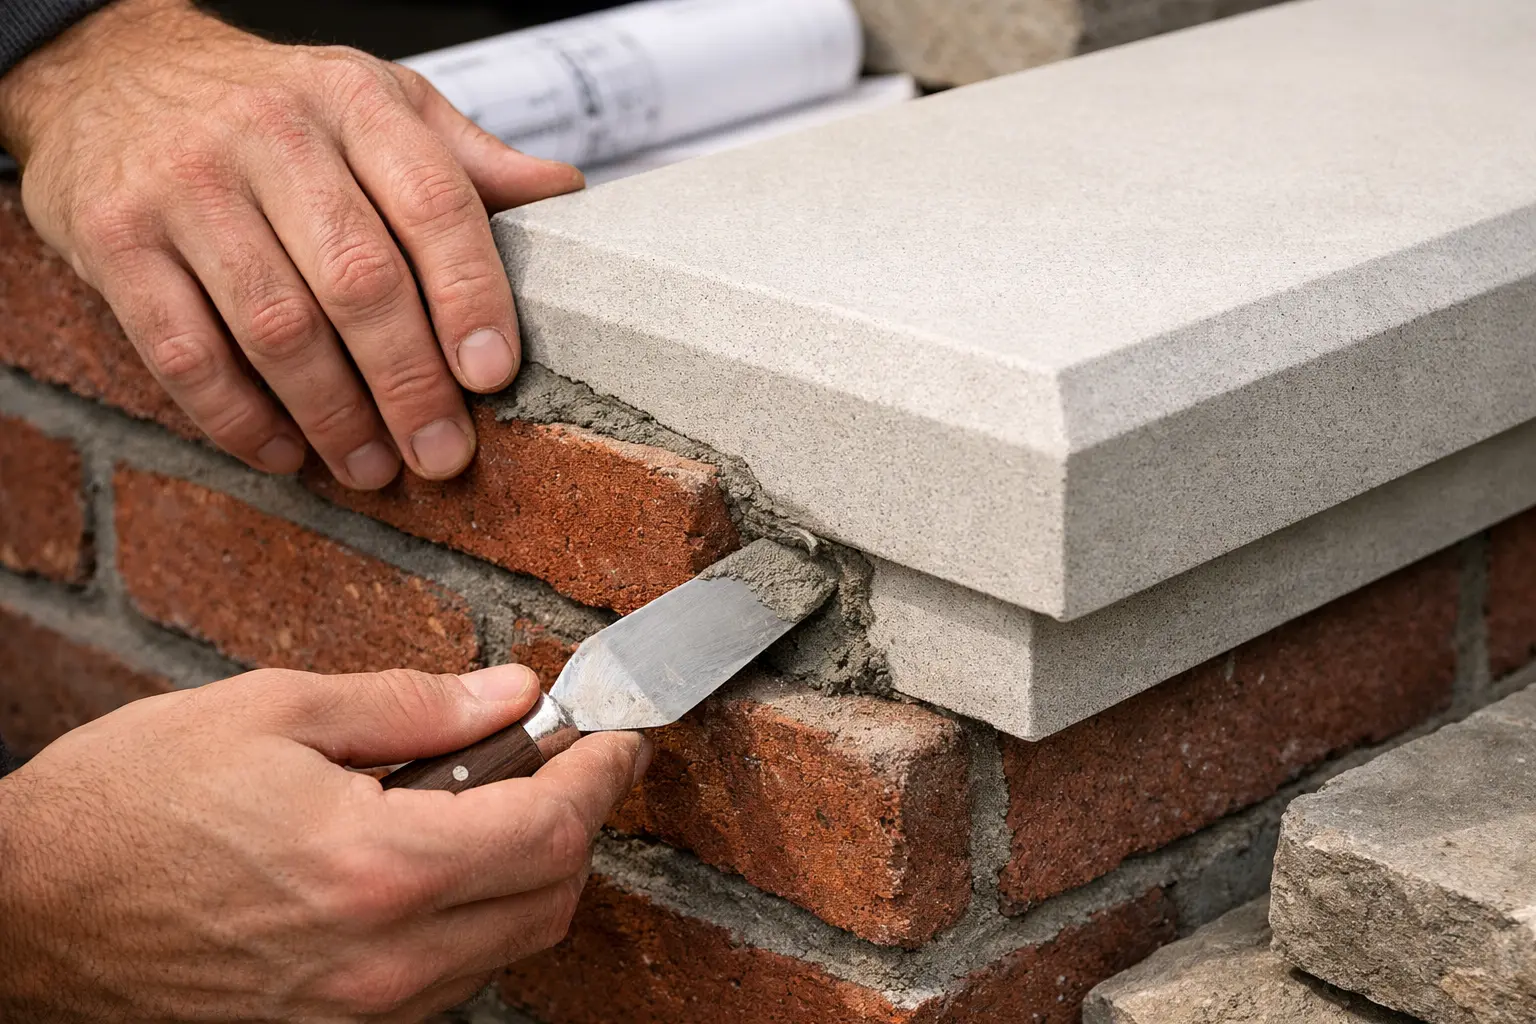
That is where these details earn their keep. In architectural precast concrete work, coping, caps, and sills are the pieces that finish exposed edges, protect openings, and make the wall look deliberate instead of half-dressed. They are also where water control becomes visible.
If you handle them well, the build looks sharper and performs better. If you rush them, you get the familiar callbacks: open joints at returns, uneven overhangs, pooled water on parapets, and window lines that never look quite straight from the driveway.
Start Here: What Coping, Caps, and Sills Need Before Install
Why exposed edges and openings need finishing pieces
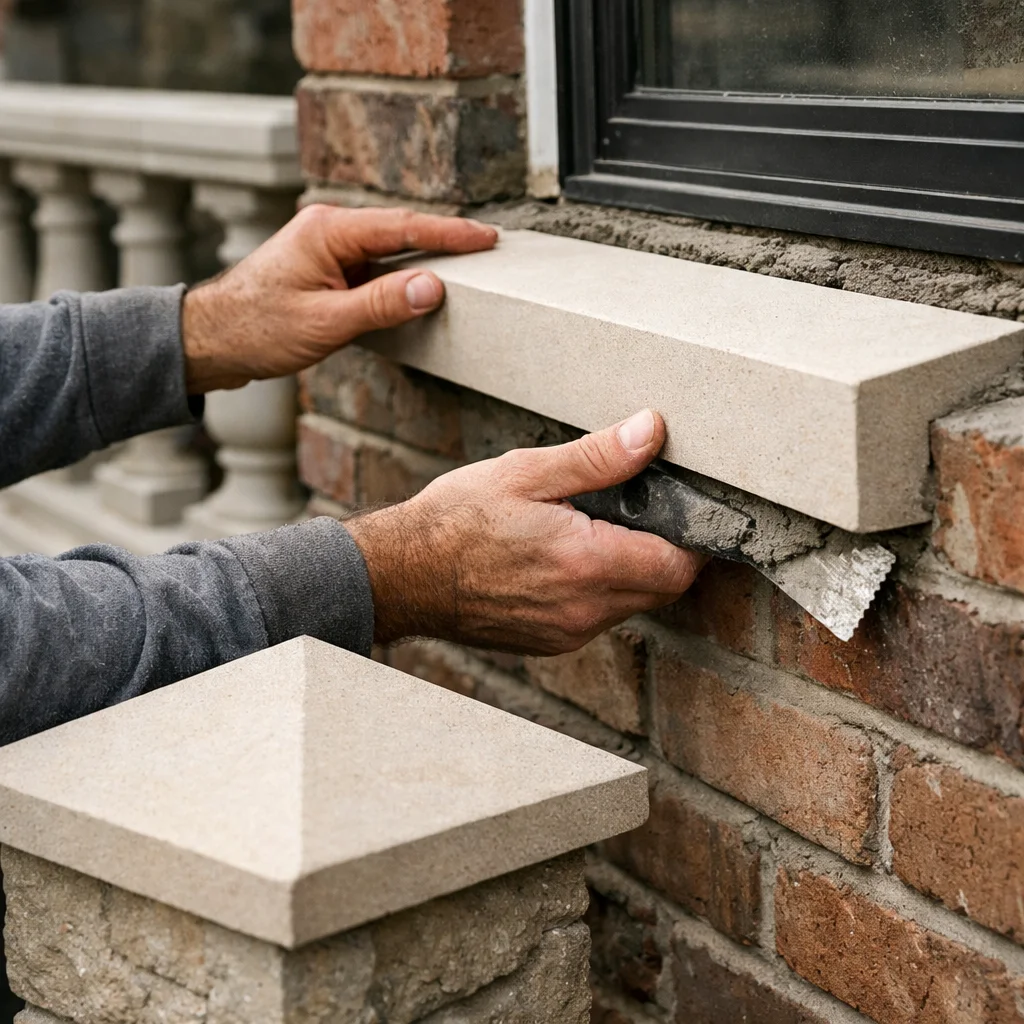
Any exposed horizontal surface on an exterior wall is a potential water shelf. Parapets, freestanding walls, garden walls, piers, and window openings all need a piece that finishes the edge and encourages water to leave the surface instead of soak into it. Coping protects the top of a wall. Caps finish freestanding walls and piers. Sills frame openings and move water away from the face below.
These parts also have to coordinate with the rest of the assembly. Custom architectural precast pieces can tie the façade together with veneer, trim at the openings, and precast at the edges. If one dimension drifts, the whole elevation starts to feel patched together.
Rule of thumb: don’t start with color alone; start with fit, slope, and drainage.
What to gather on site before the first measurement
Bring the tools that tell you what the wall actually is, not what the drawing hoped it was. At minimum, you want field dimensions, approved details, a straightedge, and a way to verify level across a long run.
| Tool or Item | Why You Need It |
|---|---|
| 25-foot tape and folding rule | Capture overall lengths, returns, reveals, and short bearing dimensions accurately. |
| Laser level or 4-foot level | Check slope, level lines, and changes across an 8-foot or 12-foot run. |
| 6-foot straightedge | Find bows, humps, or low spots in the substrate before setting pieces. |
| Drawings and shop sketches | Compare design intent with what was actually built in the field. |
| Camera or phone | Document corners, transitions, and irregular conditions for ordering and review. |
| Sample piece or finish chip | Confirm texture and color outdoors, in daylight, against adjacent materials. |
- Approved dimensions or marked-up field sketches
- Access to both sides of the wall or opening when possible
- A clean, safe staging area for dry-fitting pieces
- The manufacturer’s installation notes and project specifications
- PPE and handling equipment if pieces are long or heavy
What to verify on the wall, opening, or parapet before you order
Before you place an order, verify actual wall width, bearing area, reveal depth, corner conditions, and any change in material thickness. Check whether the opening was furred, whether veneer build-out changed the face plane, and whether a parapet already carries membrane or flashing that affects height. A 36-inch sill on paper may need 36 3/8 inches in the field after the jamb build-up is complete.
Also verify handling and sequencing. A simple straight wall may accept long coping lengths. A tight urban site in Brooklyn or a narrow side yard in Westchester may force shorter pieces because of access. Ordering without that check is where clean details start to get expensive.
Step 1: Measure the Runs, Openings, and Edge Conditions
Measure outside dimensions and reveal depths
Take the overall dimension first, then break it down into usable parts. Measure the visible face, the full top width, and the hidden bearing area. Common practice is to record both the exposed dimension and the part of the piece that will sit on the substrate before fabrication or installation. That matters because a sill can look perfect from the front and still fail if it bears on only half its depth.
For example, a window opening might read 48 inches clear, but the sill may need extra length for each jamb return and enough depth to project past a 2-inch veneer face. Write down all of it.
Mark every corner, return, and transition
Every corner should be called out, not assumed. Mark inside corners, outside corners, stop ends, mitered conditions, pier transitions, and any place the profile changes. A cap run that turns 90 degrees at one end and dies into a column at the other is not one measurement. It is a sequence.
I like to sketch the run and label each piece position A, B, C, and so on. Then add arrows for slope and notes for left-hand or right-hand returns. That simple habit saves a surprising amount of confusion once pallets arrive.
Record where the piece must slope or overhang
Water management starts at the layout stage, not after installation. Note every surface that must pitch, every face that needs overhang, and every location where a drip edge matters. A parapet coping, a wall cap over thin veneer, and a custom piece beneath a recessed window all shed water differently.
If a measurement changes by even a fraction, the edge detail can stop fitting cleanly.
Do not leave these notes in your head. Put them on the sketch. When the piece is fabricated, handled, and finally set, that written information is what protects the fit.
Step 2: Choose the Right Coping, Cap, or Sill Profile for Architectural Precast
Pick the profile that belongs on the wall, parapet, or opening

Not every accessory solves the same problem. Coping belongs on parapets and wall tops where water needs to leave a broad horizontal surface. Wall caps work well on freestanding site walls, garden walls, and low retaining edges. Sills belong under windows and other openings where projection, slope, and a clean visual line matter most. Pier caps finish columns and gate piers. A bullnose edge reads differently from a crisp square profile, and a pitched coping behaves differently from a flat cap with a drip.
Look at the surrounding architecture. If the project already uses balustrade, thin veneer, moldings, columns, wall caps, or decorative precast, the accessory profile should feel like it belongs to the same family.
Coordinate texture and color with the rest of the façade
Color matters, but texture and edge definition matter just as much. A rough-faced wall with a smooth sill can look excellent when the contrast is intentional. It can also look accidental if the profile depth, arris sharpness, and joint treatment are out of step with the rest of the building. Review samples outside, not under warehouse lighting. Morning and late-afternoon light tell the truth.
Broad product selection can be useful, but it can also tempt you into choosing with your eyes only. Stay disciplined.
| Accessory | Best Use | Critical Check | What Goes Wrong If Missed |
|---|---|---|---|
| Coping | Parapets and wall tops | Slope, joint layout, drip detail | Ponding, staining, wandering top line |
| Wall Cap | Freestanding walls and site walls | Overhang, centering, end conditions | Uneven reveal, exposed wall edge, awkward corners |
| Window Sill | Openings and façade trim | Projection, back edge fit, jamb returns | Water against wall face, rocking piece, crooked opening line |
| Pier Cap | Columns, gate posts, entry piers | Centering, size, corner crispness | Top-heavy look, broken corners, poor scale |
Confirm lead times and availability before finalizing the schedule
Schedule drives mistakes when nobody talks about availability early. Some stocked profiles may move quickly, but custom corners, unusual colors, or project-specific lengths can still move on a different clock.
If the job needs four corner coping pieces, twelve straight runs, and six matching sills, confirm all of that before masons are booked. A crew standing around waiting for one missing corner can erase any savings you thought you found.
Don’t choose by finish only; the best-looking piece still fails if the profile doesn’t suit the wall detail.
Step 3: Prepare the Substrate and Layout Lines
Inspect the wall or opening for flatness and damage
Before you spread mortar or set adhesive, inspect the bearing surface. Look for loose masonry, broken corners, hollow spots, surface contamination, and obvious out-of-plane areas. A coping piece is only as honest as the wall beneath it. If the substrate has a crown in the middle, the cap will either rock or bridge.
Use a straightedge across the run. Check openings at both jambs and at center. Fix damaged spots now. A ten-minute patch before installation beats a half-day correction after the pieces are bonded.
Snap reference lines for height, slope, and alignment
Standard installation practice is to work from layout lines so long runs stay level and aligned. Strike your back line, front overhang line, and any slope reference before the first piece goes down. On a parapet, that might mean a laser line at the back edge and a second mark that confirms the finished surface pitches as intended.
On openings, reference lines help you keep sills consistent across multiple windows. Three windows at 24 inches wide will still look sloppy if one sill nose sits 1/4 inch proud of the others.
Dry-fit corners and special pieces before mortar goes on
Dry-fitting helps confirm fit before committing to mortar or adhesive. Lay out corners, returns, end pieces, and any custom profiles first. Make sure the sequence makes sense. Check that miters close. Confirm that the reveal is balanced.
Dry-fit every special piece first; fixing a bad fit after bonding is slower and messier.
This is where you catch the real-world issues that drawings cannot always predict: a slightly fat pier, a jamb that is out by 3/16 inch, or a corner that needs a field adjustment before anyone mixes material.
Step 4: Set the Pieces with the Correct Slope and Joint Detail
Apply mortar or adhesive according to the spec
Follow the project specification and the manufacturer’s installation requirements. Do not improvise because the tube or bag on the truck looks close enough. Exterior caps and sills live in weather, so bedding, coverage, cure conditions, and compatibility matter. Full support matters too. Voids under a long sill or coping piece invite movement and trouble.
Spread evenly, butter where required, and keep joint material ready so you do not rush once the piece is in your hands. On a busy site, preparation is what keeps the set clean.
Keep a consistent overhang and drip edge where required
Water-shedding slope is a basic performance requirement for exterior caps and sills. The finished top surface should encourage runoff, not hold it. Keep the projection consistent across the run, and make sure any drip edge stays open and free of mortar. If a drip groove gets filled, the water finds the wall face instead.
This is where the eye and the level have to agree. A cap can look straight from 20 feet away and still hold water if the top surface is flat or back-pitched. That is not a cosmetic issue. It is a future stain line.
Check alignment as you go so the full run stays straight
Do not wait until the last piece to see whether the run wandered. Check level, slope, joint width, and face alignment as each unit is set. Step back every few pieces. On an 18-foot wall, tiny shifts accumulate fast.
A straight-looking run is not enough if the top surface traps water.
Consistent joints help the finished wall look intentional rather than patched together. Aim for repeatable spacing, clean corners, and a visual line that reads right from both near and far.
Step 5: Finish the Joints, Seal Exposed Areas, and Inspect the Run
Tool joints and remove mortar smears before they harden
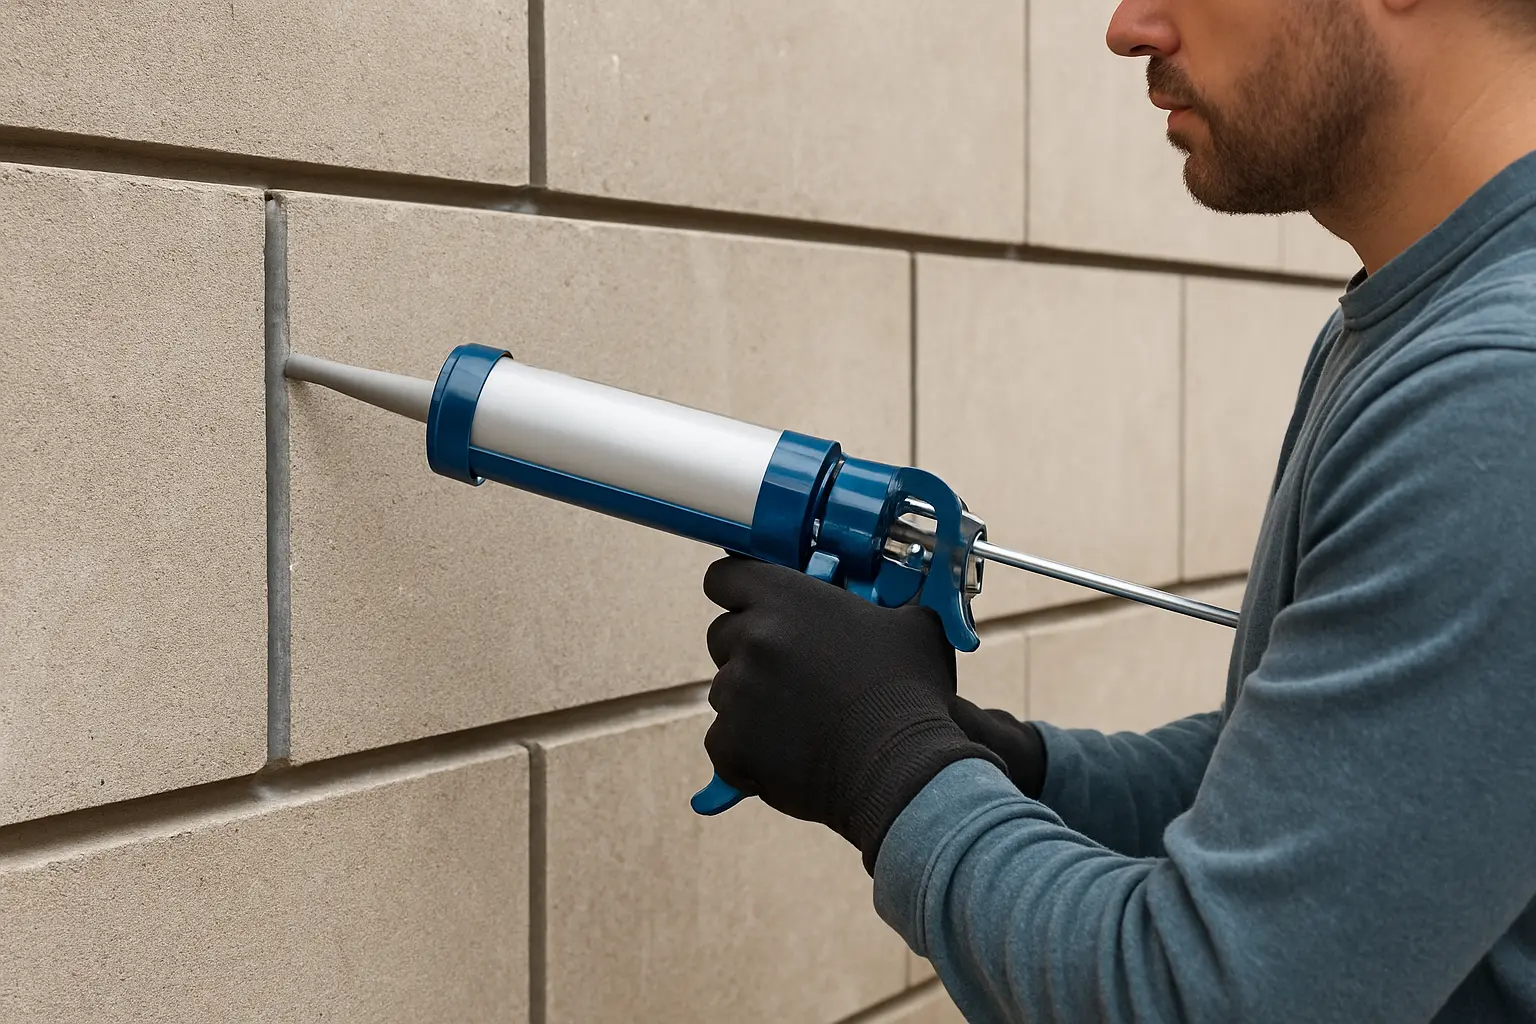
Finish the joints while the material is workable, not after it has crusted over. Remove smears promptly using methods approved for the material. Light-colored cast stone and precast accessories can telegraph sloppy cleanup. A gray smear on a pale sill reads from across the yard.
Protect adjacent veneer and trim while you clean. The last 20 minutes of careful finishing often decide whether the work looks custom or careless.
Seal exposed cuts, penetrations, and transition points as specified
Field cuts, railing penetrations, transitions to dissimilar materials, and vulnerable terminations all deserve attention. Seal those points only as specified. Blanket-sealing everything without a reason is not the answer. You are protecting exposed conditions and helping the assembly behave as intended.
If a sill dies into stucco, if a coping run meets metal, or if a fastener passes through a cap at a gate pier, finish that junction deliberately. Small penetrations become big maintenance headaches when nobody owns them.
Inspect the finished surface from multiple angles for alignment and drainage
A careful final inspection catches small alignment or drainage issues before they become expensive repairs. Look down the run from both ends. View it from the ground. Check it close-up. If the specification permits, test drainage behavior in a controlled way and confirm that water leaves the surface as intended.
Finishing details matter because they affect appearance and how smoothly the installation goes in service, not just on install day. A cap line can be beautiful and still be wrong if the water has nowhere to go.
The prettiest cap line still needs a hidden path for water to leave the wall.
Common Mistakes: What Causes Copings, Caps, and Sills to Fail or Look Off
Ordering before confirming exact dimensions
Bad measurements are one of the fastest ways to create costly rework. It happens all the time: dimensions pulled from an old elevation, veneer thickness changed in the field, a window opening tightened during framing, or a wall top that ended up wider than the shop drawing assumed. Then the cap arrives and does not sit where it should.
Measure after the substrate and adjacent build-up are real, not theoretical. If the job changes, remeasure. Fabricated accessories are forgiving in only a few directions.
Ignoring slope, drip edges, or drainage paths
Poor water management is a leading cause of long-term exterior detailing problems. Flat caps, reverse-sloped openings, blocked drip edges, and joints that funnel water back toward the wall all create trouble. Sometimes the damage shows as staining first. Sometimes it waits for a freeze-thaw cycle or repeated wetting.
A low spot between two 24-inch coping pieces may seem minor on day one. After a season of weather, it becomes the place everyone points to.
Mixing finishes or heights without a transition plan
Even good materials can look wrong together if scale and transition are ignored. A crisp smooth sill beside a coarse wall cap may work beautifully — but only if the relationship is intentional. The same goes for mixing heights around piers, changing cap widths at steps, or switching edge profiles from one elevation to the next without a reason.
When a project includes coping, wall caps, pier caps, balustrade, and decorative trim, the details need one visual language. Otherwise the building reads like it was assembled from leftovers.
The most expensive failure is usually the one that starts with a rushed measurement.
Finish Strong: Review the Work and Decide What to Order Next
Walk the wall and check the finished line from the ground
Do one last walk from the angles that matter to the owner and to the street. Stand at the driveway. Cross the yard. Look back at the parapet from the sidewalk. Late-afternoon light is especially honest; it will show you waviness, proud joints, and irregular projections faster than a close-up inspection at noon.
This final ground view is where the work either settles into the architecture or starts arguing with it.
Note any touch-ups, replacements, or missing pieces
Make a punch list while the sequence is still fresh. Note chipped corners, thin joints, missing end returns, pieces that need to be reset, and any sealant locations that still need completion. Label the exact location. Take one close photo and one wide photo for each item.
If you are sourcing from Coral Cast, a marked-up sketch with dimensions and photos makes matching, reordering, and finish confirmation much easier than a vague request for “one more cap for the front wall.”
Request samples or a quote for the remaining elevations
Once one section of the project is resolved, use it as the benchmark for the rest. Fast turnaround and a broad product range can help support project-specific choices. That is the right mindset for the next order: match what worked, correct what did not, and extend the same logic to the remaining elevations.
For many properties, that next list includes more than coping and sills. It may include wall caps, pier caps, thin veneer, moldings, columns, balustrade, or other decorative precast that completes the rest of the site and façade.
When the profile, slope, and finish all line up, the wall looks complete instead of merely built.
Do the small edge pieces well, and the whole build gets sharper, drier, and more believable.
Coping, caps, and sills are where craftsmanship meets water control. In architectural precast concrete work, careful measuring, the right profile, disciplined layout, and a hard final inspection keep those details working long after the mortar cures.
Before you order the next elevation, which edge, opening, or parapet on your project deserves a second look today?
Plan Better Finishes With Coral Cast
Architectural precast concrete manufacturing gives homeowners and project teams properly cured, maintenance-free pieces in styles and colors, made in New York and shipped nationwide with showroom help plus free estimates.