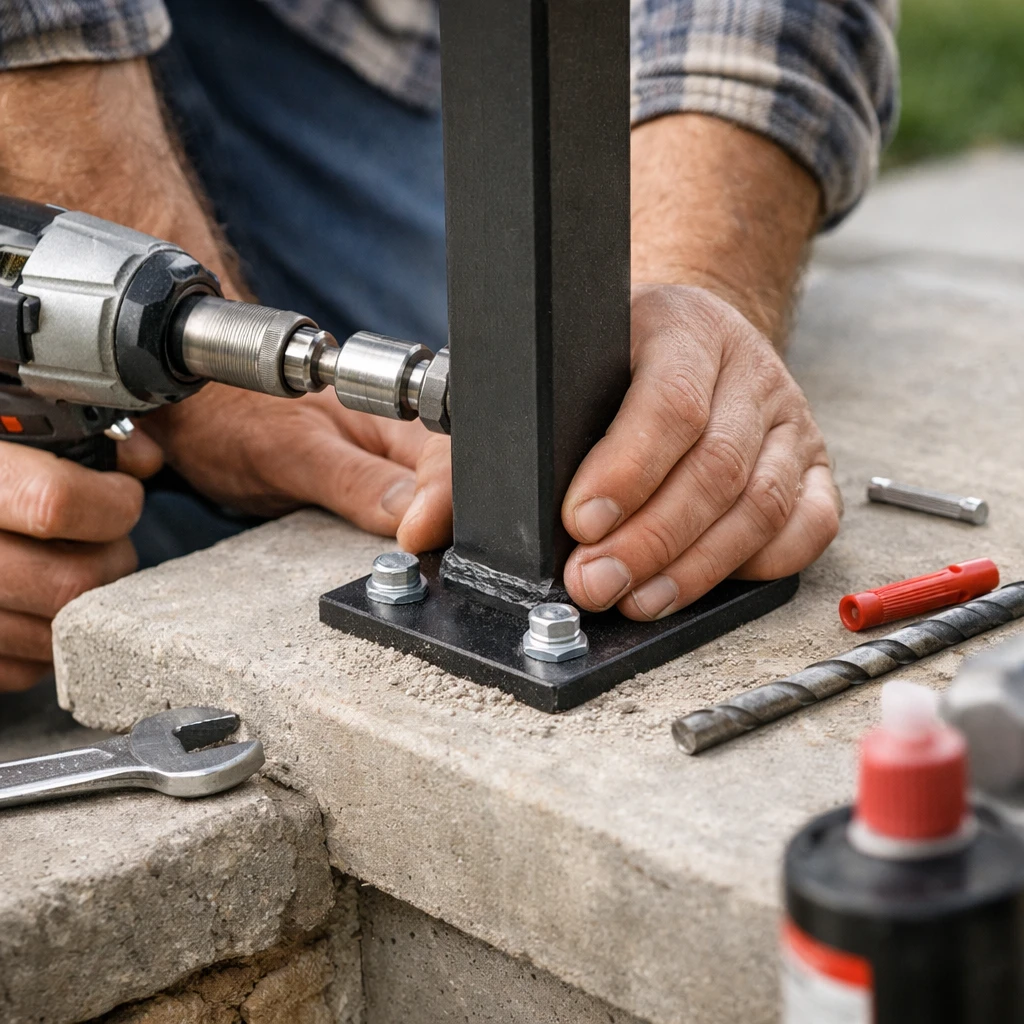
How to Install Railings on Concrete Steps
A homeowner stands at the bottom of three weather-stained concrete steps with a tape measure in one hand and chalk marks where the posts will land. The rail kit is still in the box. The stairs rise to a small porch, the landing is tighter than it looked from the driveway, and the first decision is already here: where, exactly, do the posts go? Installing railings on concrete steps feels simple right up until the first hole becomes permanent.
That is why this job rewards patience more than muscle. The current search results are packed with product information and inspiration images, which tells you what many buyers are trying to solve: matching a railing to a specific stair setup, not just finding a style they like. If you measure carefully, mark accurately, drill clean holes, and test the finished rail under load, you can end up with a safe, solid installation that looks like it belonged there from day one.
Prerequisites and Planning Checks
| Check Before You Start | Why It Matters | Quick Test |
|---|---|---|
| Sound concrete | Anchors need solid material, not crumbling edges or major cracks. | Inspect every tread and landing where a base plate may sit. Repair bad concrete first. |
| Correct railing size | Railing size has to match the stair count and layout, not just the general opening. | Count risers, measure the run, and confirm landing space at top and bottom. |
| Hardware compatibility | Concrete needs masonry-specific fasteners. | Compare included anchors to the manufacturer’s instructions and your slab condition. |
| Weather and access | Concrete dust, rain, and extension cords do not mix well. | Work on a dry day with clear footing and reliable power. |
| Local code review | Residential and commercial projects may have different handrail requirements. | Check local rules before you buy, especially for width, height, and one-side versus two-side placement. |
Step 1: Measure the Steps and Choose the Railing Layout
Count the Risers and Measure the Run
Start with the stair count. Count the risers, not just the visible treads, then measure the total run and the usable landing area where the top and bottom posts may sit. I also like to measure from nosing to nosing and note any slope irregularities. Three steps that look standard from the sidewalk can vary enough to matter once a rigid metal rail enters the picture.
This matters because many railing options are sold by step count. You will commonly see options labeled to fit 2 or 3 steps, 3 or 4 steps, and 4 or 5 steps. Those same listings are often marketed for concrete, porch, deck, and other exterior steps. That sounds flexible, but the fit still starts with your actual stair geometry.
| Your Stair Setup | Common Label | What to Verify |
|---|---|---|
| 2 to 3 risers | Fits 2 or 3 steps | Make sure the lower post lands on solid concrete, not too close to the nosing. |
| 3 to 4 risers | Fits 3 or 4 steps | Check the rail angle against the stair pitch and the top landing depth. |
| 4 to 5 risers | Fits 4 or 5 steps | Confirm both posts have full base-plate support and enough clearance around brackets. |
Decide on Single-Sided vs. Double-Sided Placement
Now decide whether you need one side or two. For a narrow front stoop with a wall on one side, a single handrail may make sense. For wider stairs, exposed edges, rental properties, or commercial entries, two-sided placement may be the better move — and on some jobs, the required move. Think about who uses the steps. An elderly parent, a delivery driver carrying boxes, and a child with a backpack all use a handrail differently.
Search results are dominated by shopping pages rather than installation guides, which is one reason people often choose a rail by appearance first. Resist that urge. A black wrought-iron rail may look great in a listing photo, but it still has to fit your stair width, slope, and landing conditions.
Match the Railing Length to the Step Count
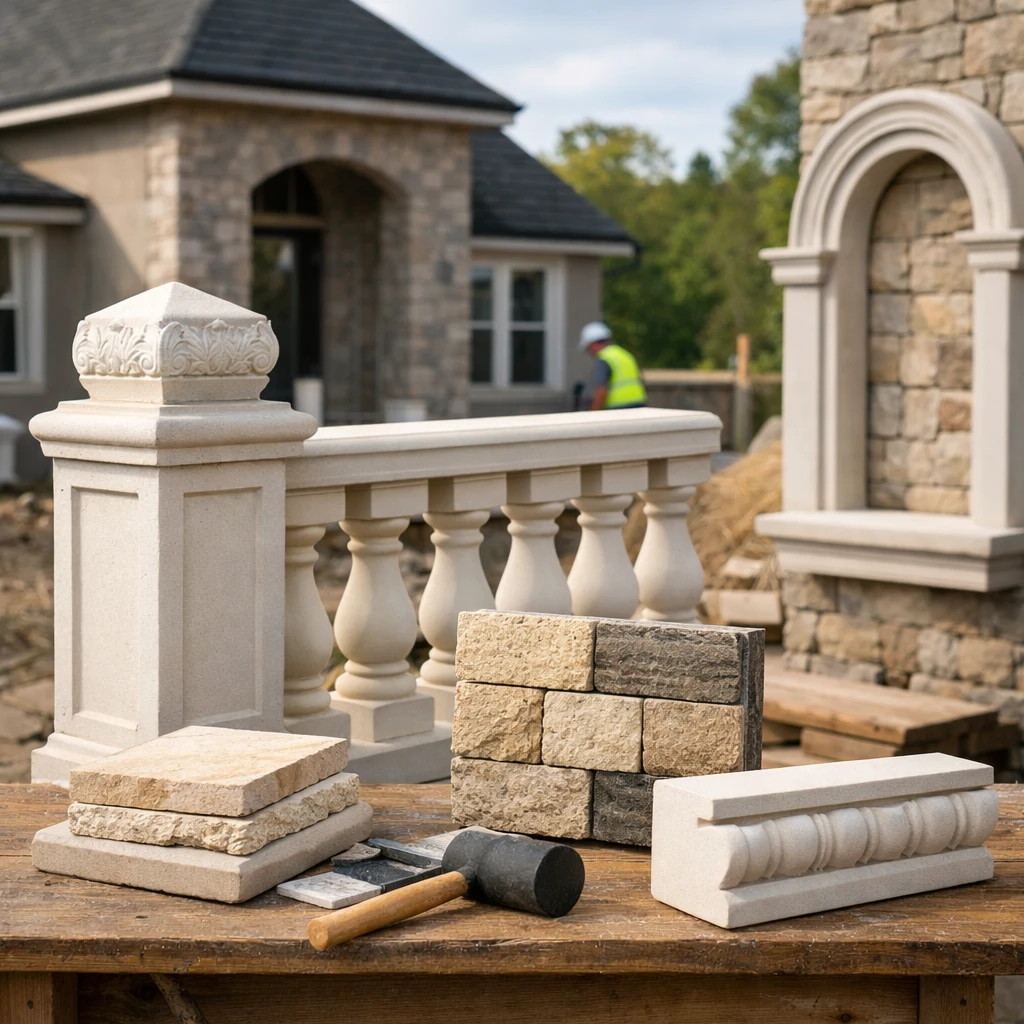
Before you buy or unbox anything, match the stated rail fit to your stair count and compare it to the dimension sheet. If your steps sit beside finished masonry features like wall caps, coping, pier caps, or balustrade pieces, account for those too. Coral Cast manufactures many of those architectural precast products, and details like that can quietly steal the 2 inches of clearance you thought you had for a base plate.
Buy for the exact step count first; guessing the length is the fastest way to end up with a railing that looks right but fits wrong.
Step 2: Gather Tools, Anchors, and Safety Gear
Basic Measuring and Marking Tools
Set up the whole job before you drill a single hole. At minimum, you want a tape measure, a level, a marker or carpenter’s pencil, chalk, and painter’s tape. A second level — even a small torpedo level — helps when you are checking both post plumb and rail angle at the same time.
I also keep a straightedge nearby for awkward landings. On a four-step porch entry, that extra check can save you from laying out a post line that drifts just enough to show once the rail is bolted down.
Masonry Drilling and Fastening Supplies
This is where the job stops being a general carpentry task and becomes a concrete task. You need a hammer drill, carbide masonry bits sized to the anchors, a socket or wrench set, and the correct fasteners for exterior concrete. Wedge anchors and concrete screws are both common, but the right choice depends on the railing manufacturer and the concrete condition.
Some railing packages include an installation kit. That can be helpful, especially since many of the options shown are metal or wrought-iron handrails designed for outdoor use. One listing in the search results carried a 4.3-star average from 49 customer ratings, which tells you these options are popular. It does not tell you the included anchors are ideal for your exact steps.
If the railing comes with an installation kit, verify the included hardware before buying extra anchors or the wrong drill bit.
Safety Gear and Cleanup Tools
Concrete dust gets everywhere. Wear safety glasses, hearing protection, work gloves, and a dust mask or respirator appropriate for the job. Add a shop vacuum or blower, plus a broom, because clean holes matter and clean footing matters too.
- Tape measure and level
- Marker, chalk, and painter’s tape
- Hammer drill with masonry bits
- Anchors and washers matched to the railing instructions
- Socket wrench or impact driver if specified
- Safety glasses, gloves, hearing protection, dust control
- Vacuum or blower for hole cleanup
Step 3: Mark the Post Locations on the Concrete
Set the Centerline and Post Spacing
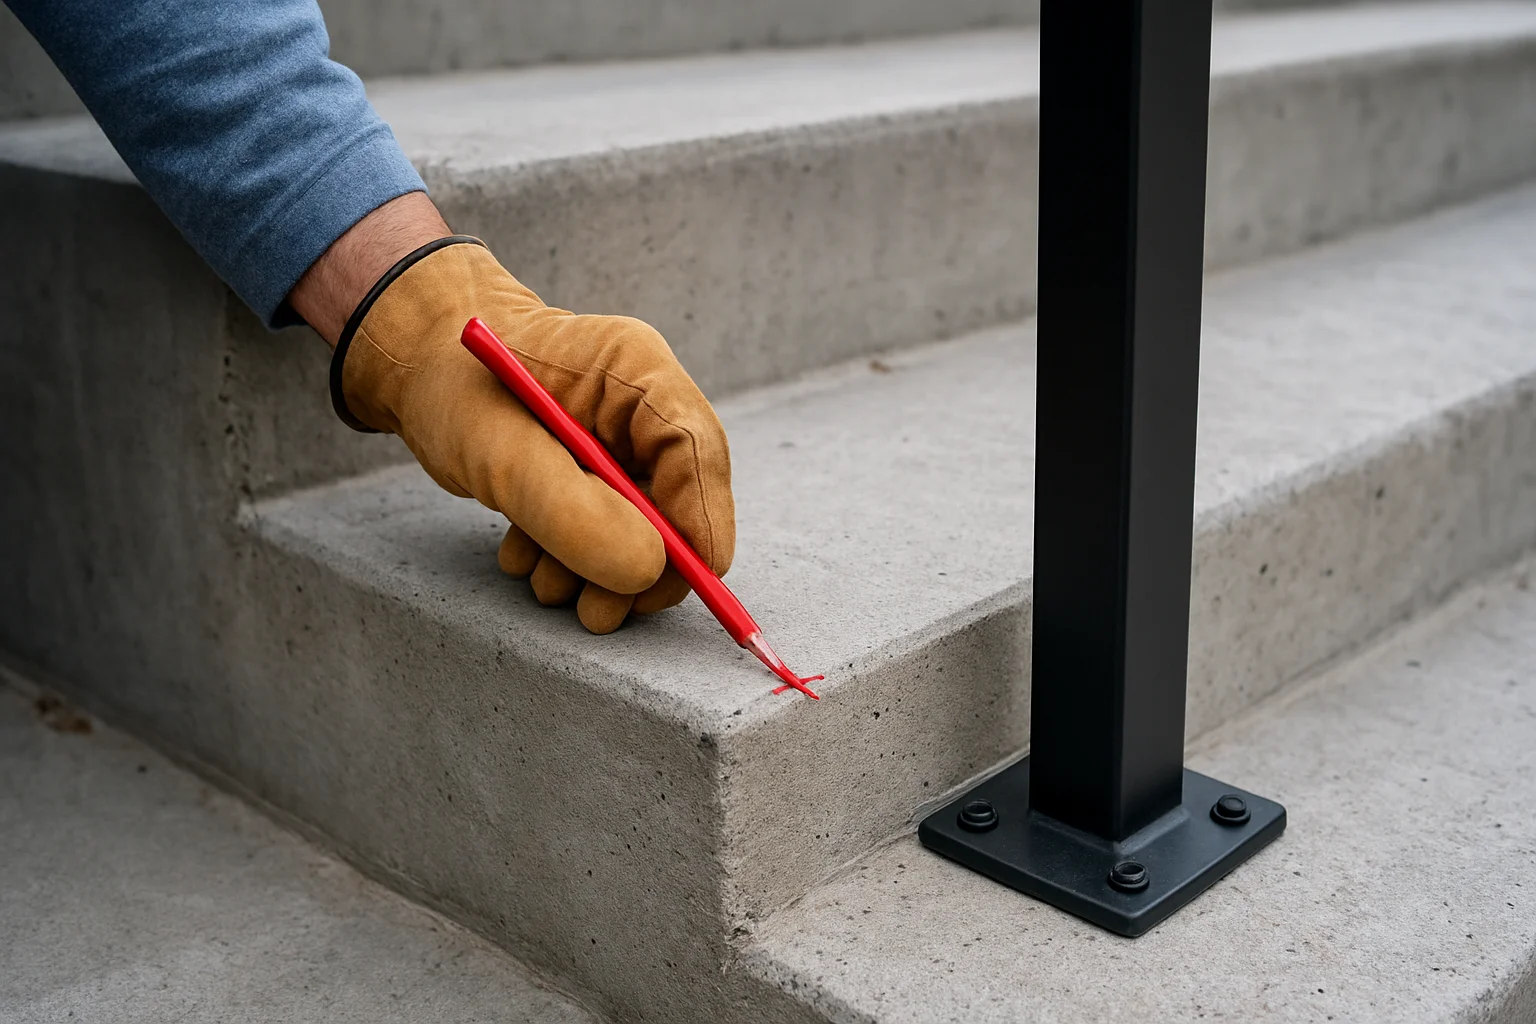
Dry-fit the rail on the stairs before you make holes. That is standard practice for a reason. Set the assembled or partly assembled rail in place, center it on the run, and mark the base plate positions lightly first. Then step back and look at it from the sidewalk, from the porch, and from the side.
Layout controls comfort. A rail can be structurally sound and still feel awkward if the posts land in strange spots. I usually mark a centerline, then transfer base-plate holes only after I like the overall stance of the rail.
Keep Posts Clear of Tread Edges
Stay away from fragile edges and nosings. Concrete-step railings are commonly installed on exterior stairs where stability matters more than decoration, and edge placement is where rushed jobs go wrong. If a post base lands too close to the front edge of a tread, you raise the risk of breakout during drilling or over time under load.
On weathered steps, the edge may already be softened by freeze-thaw cycles. Give the base plate solid bearing area. If you cannot, stop and rethink the layout before you drill.
A railing can be perfectly straight and still feel wrong if the post lands too close to the nosing.
Double-Check Height Before Drilling
Check the dry-fit from both the top and the bottom of the stairs. Grip the rail where your hand will actually travel. Does it feel comfortable through the middle of the run? Does the top transition make sense as you step onto the porch? This is the stage to catch awkward height or angle issues.
For commercial work, I do not rely on instinct alone. I compare the layout to the plans and local code notes before I put a bit into the concrete.
Step 4: Drill the Concrete and Set the Anchors
Drill with a Masonry Bit at the Marked Points
Once the marks are final, use a hammer drill with the masonry bit size required by your anchor system. Hold the drill square to the concrete. Start slowly so the bit does not skate across the surface, then increase pressure once the bit has seated itself.
I like to wrap painter’s tape around the bit to mark the required depth. It is a simple move, but on a job with eight holes and a loud drill, simple wins. Concrete is the intended mounting surface for these railings, so the fastening method has to match masonry, not wood or composite decking.
Clear Dust from Each Hole
Do not skip cleanup. Blow or vacuum the dust from every hole before you set anchors. A hole packed with dust cannot grip hardware as well as a clean one. This is common field practice, and it makes a noticeable difference in how solid the finished rail feels.
Drilling clean holes is the difference between a rail that feels solid and one that loosens after a season.
Set Anchors or Wedge Hardware to the Required Depth
Now install the anchors exactly as the hardware instructions specify. If your railing uses wedge anchors, tap them in to the required embedment. If it uses masonry screws, drill to the correct depth and drive them without stripping the concrete.
Do not improvise anchor diameter. A 3/8-inch anchor needs the correct bit and the correct hole depth. If the included hardware feels undersized for a heavy outdoor rail, pause and verify before you commit.
Step 5: Fasten the Posts and Assemble the Rail
Attach the Base Plates or Post Brackets
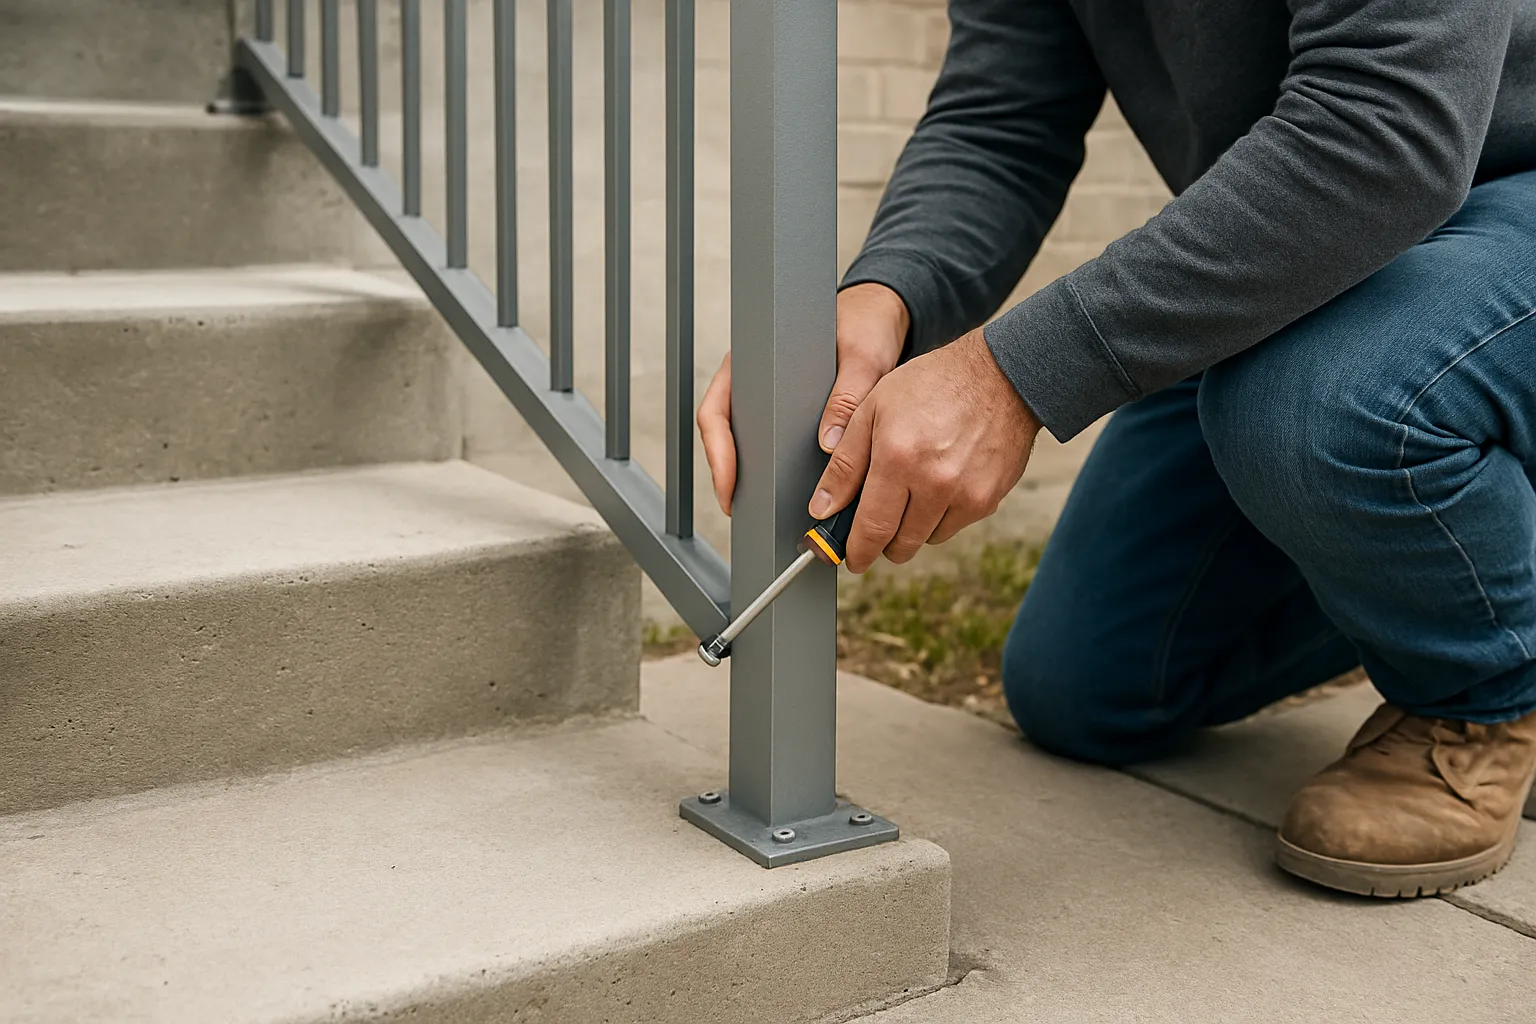
Set the base plates or brackets over the anchors and install the nuts, washers, or screws loosely at first. The metal handrails shown in retail listings for outdoor steps typically use bolted base plates or bracket-style mounting, so this stage is part of the normal workflow, not a special adaptation.
Loose is good here. You want enough hold to keep the rail standing, but enough play to make small corrections.
Dry-Fit the Rail Sections Before Final Tightening
If the rail breaks into multiple sections, connect them before you fully tighten the bases. That lets you verify slope, alignment, and handle position together. Product descriptions often emphasize installation hardware, but hardware alone does not square the assembly for you. You still have to read the lines by eye and check them with a level.
On a five-step exterior stair, even a slight twist at the bottom post can telegraph all the way up the rail. Catch it now, not after every fastener is tight.
Tighten Hardware Evenly to Avoid Twisting
Tighten the fasteners in stages. I usually alternate from one anchor to the other on each base plate rather than cranking one side down all at once. That keeps the plate from pulling unevenly and helps the post stay plumb.
Then check level again. Hardware can shift the rail slightly as it seats.
Tighten after alignment, not before; once bolts are fully torqued, small corrections get much harder.
Step 6: Test the Height, Grip, and Stability of Railings on Concrete Steps
Check Handhold Comfort Along the Full Rail
The rail should feel natural in your hand from the first step to the landing. Walk the stair several times. Grip the rail with a bare hand, then again with work gloves or a winter glove if this is an outdoor installation in a cold climate like New York, Chicago, or Minneapolis. If the grip is interrupted by an awkward joint or a bracket where your hand wants to travel, fix it now.
Outdoor handrails for concrete steps live in daily weather and daily traffic. They need to work when the surface is damp, when someone is carrying groceries, and when a guest reaches for support without looking.
Push and Pull to Test Stability
Apply firm body weight. Not a delicate shake — a real test. Push, pull, and lean on the rail the way a person would when they miss a step. A practical final check is to load the rail and watch for movement at the anchors or base plates. If anything shifts, the job is not finished.
A rail that looks good but shifts under pressure is not finished yet.
Inspect for Smooth Transitions and Safe Clearance
Run your hand along the full length and look for exposed threads, sharp edges, or bracket corners that could catch sleeves, bags, or skin. Check clear passage up the stair. On tighter stoops, a rail that steals too much width can create a new hazard while solving the old one.
For residential work, that final walk-through is your safety test. For commercial work, it should also be your pre-inspection check.
Common Mistakes to Avoid
Buying the Wrong Step-Count Railing
This is the big one. Search results clearly show options sized for 2 or 3, 3 or 4, and 4 or 5 steps, and those shopping pages can nudge you toward picking by style, finish, or price first. Do not. A rail that misses the landing by an inch or forces a post onto a weak edge is the wrong rail, even if the color is perfect.
One product title in the results is explicitly named for a concrete step, which reinforces the point: these are purpose-specific items, not universal fits. Measure first, buy second.
Drilling Too Close to the Edge of the Concrete
Concrete near corners and nosings is vulnerable. Drill too close to the edge and you risk breakout, poor anchor performance, or a cracked tread that only gets worse after one winter. I have seen otherwise clean installs ruined by one bottom anchor placed where there simply was not enough concrete to support it.
If the base plate keeps forcing you toward an edge, change the layout or the railing model. Do not force the concrete to solve a geometry problem.
Skipping the Final Alignment and Stability Check
Many top results are shopping pages, which is useful for comparing options but not so useful for reminding you to finish the job properly. A rail can be assembled, tightened, and still slightly off. If you skip the last level check and body-weight test, you may not notice the weakness until someone depends on it.
The most expensive mistake is usually the one made before the first hole is drilled: buying the wrong fit.
Slow down at the end. The last ten minutes — rechecking plumb, confirming anchor grip, and feeling the rail under load — often decide whether the installation lasts.
Solid railings on concrete steps come from three habits: measure honestly, anchor into clean drilled holes, and test the finished rail like someone will trust their full weight to it tomorrow.
If you slow down at layout and fastening, the rail stops feeling like an accessory and starts feeling like part of the stair itself.
Before you drill the first hole, what does your stair set still need — a better measurement, a different rail size, or a closer look at the concrete under your feet?
See Coral Cast Stair Solutions
Coral Cast’s architectural precast concrete manufacturing delivers custom stair and railing-related architectural components, with showroom guidance, free estimates, and secure U.S. shipping.