
Complete Guide to Building Decorative Materials
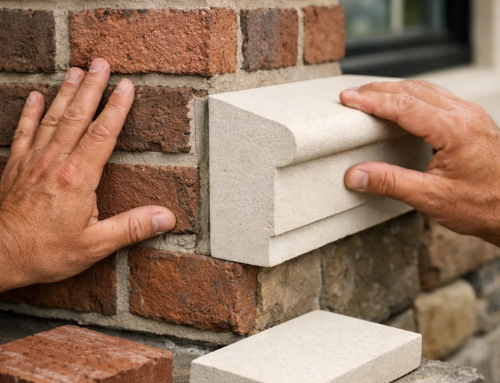
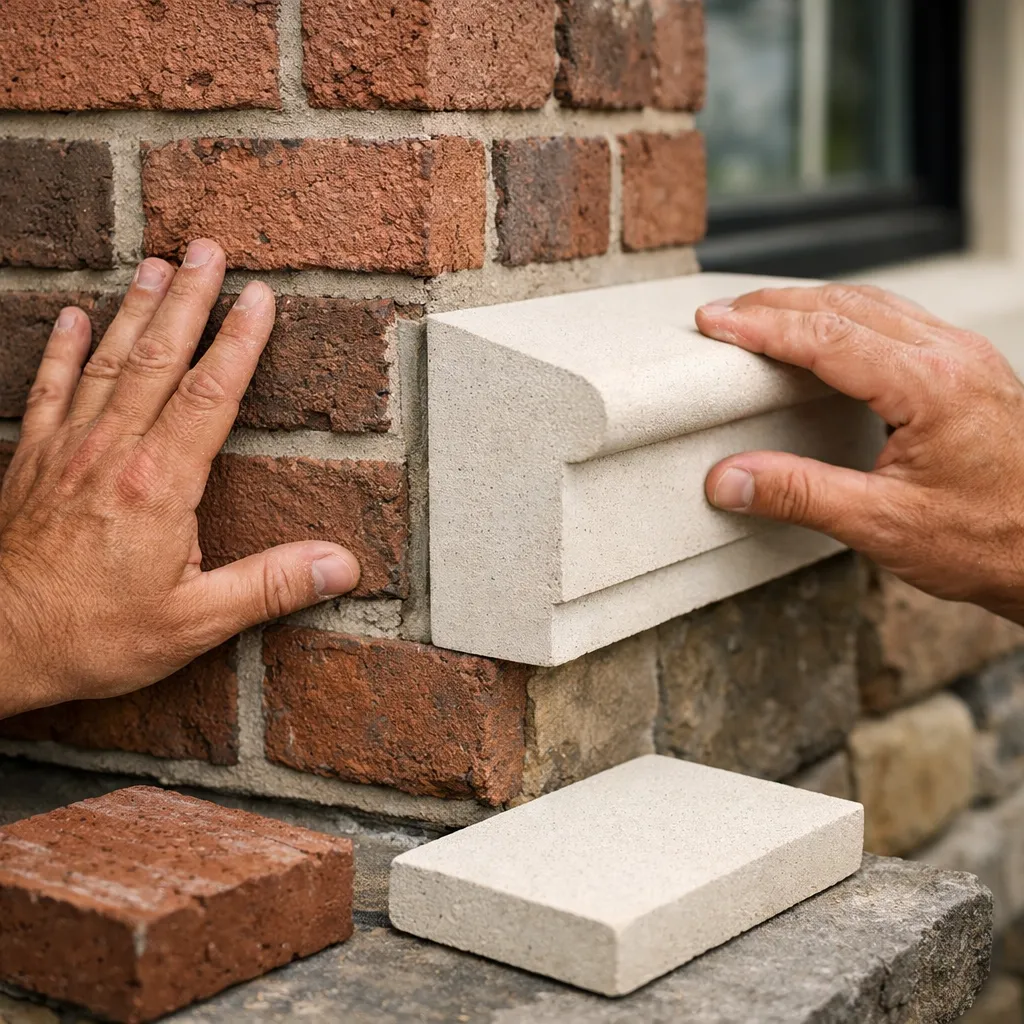
A contractor lays three finish samples across a sunlit concrete floor. The homeowner crouches to catch the light on a stone-look panel. The architect studies the edge profile, then flips one piece over to inspect the back. Before anyone talks about color, they ask the smarter question: what will this look like after a rainy spring, a hot August, and five years of cleaning?
That scene captures how real decisions around building decorative materials get made. You are not just choosing a look. You are choosing surfaces people will touch, wash, walk on, stare at, lean against, and judge for years. Tile, coatings, wood trim, wall panels, stone, moldings, cladding, and precast details all sit at the point where design meets weather, traffic, moisture, and code.
I have seen expensive finishes fail in under a year because the wall behind them stayed damp, and modest materials perform beautifully for a decade because the assembly was planned well. On a house, that might be coping and thin veneer around a front entry. On a commercial job, it might be lobby wall panels, restroom tile, or exterior columns at a retail center. The lesson stays the same: the visible surface only works when the whole system works.
Fundamentals of Building Decorative Materials
What counts as decorative materials in residential and commercial projects
Decorative materials are the visible finishes and shaped elements that give a building character, texture, and detail. They are not limited to “cosmetic” layers. In practice, they often do double duty by helping with durability, cleanability, weather shedding, or edge protection.
On most projects, that category includes:
- Paints, stains, and specialty coatings
- Tile, terrazzo, and set stone
- Wood trim, millwork, and molding profiles
- Wall panels and ceiling panels
- Thin veneer and cladding systems
- Architectural precast pieces such as balustrades, coping, columns, pier caps, and decorative stone details
In a 2,400-square-foot home, decorative materials might shape the kitchen backsplash, stair skirting, fireplace surround, and front façade. In a hotel or medical office, they might define the lobby desk, corridor wainscot, storefront base, restroom partitions, and parapet coping. Different scale. Same principle. These materials carry the design story where people actually experience it.
Interior vs. exterior applications: why the requirements change
Interior and exterior assemblies live very different lives. A powder-room wall panel might only deal with mild humidity and occasional cleaning. An exterior coping detail in Buffalo or Denver can see rain, freeze-thaw cycling, UV exposure, and thermal movement in the same week. If you ignore that difference, failure is usually not subtle.
| Location | Main Stressors | What You Prioritize | Typical Examples |
|---|---|---|---|
| Dry interior spaces | Scuffs, cleaning, light impact | Appearance, cleanability, touch-up ease | Painted trim, feature wall panels, decorative finishes |
| Wet interior spaces | Moisture, vapor, cleaners, staining | Water resistance, mold control, sealed joints | Shower tile, backsplashes, bath wall panels |
| Exterior sheltered areas | Humidity, wind-driven dust, UV | Fade resistance, stable attachment, drainage | Entry columns, soffit panels, trim details |
| Exterior exposed areas | Rain, sun, freeze-thaw, movement, impact | Durability, water management, expansion details | Coping, cladding, thin veneer, decorative stone |
A painted MDF casing can work inside a bedroom for years. Put the same material near an exterior threshold or in a damp basement and you invite swelling, edge breakdown, and callbacks. Exterior materials need a tougher resume.
Appearance, durability, maintenance, and code compliance
You are always balancing four things: how the material looks on day one, how it wears, how much maintenance it asks from the owner, and whether it satisfies local requirements. Beauty matters. So does service life. A matte black finish that fingerprints constantly may frustrate a restaurant owner by week two. A polished tile that looks sharp in a sample box may be the wrong call on an entry stair where slip resistance matters.
Code and compliance questions often show up late, which is a mistake. Depending on the application, you may need to think about flame-spread ratings, moisture management, attachment to structure, guardrail geometry, accessibility, or the dead load added to a wall. Even when the inspector never sees the sample board, the installed work still has to pass.
A beautiful finish that fails under moisture, traffic, or code review is not a finished solution.
Before you approve anything, ask four plain questions. Will it stay stable here? Can you clean it without babying it? Does the assembly meet local requirements? If it gets damaged in year three, can you repair or replace it without tearing apart half the wall?
How Decorative Materials Work in a Building System
Substrate prep: why the base matters more than the surface
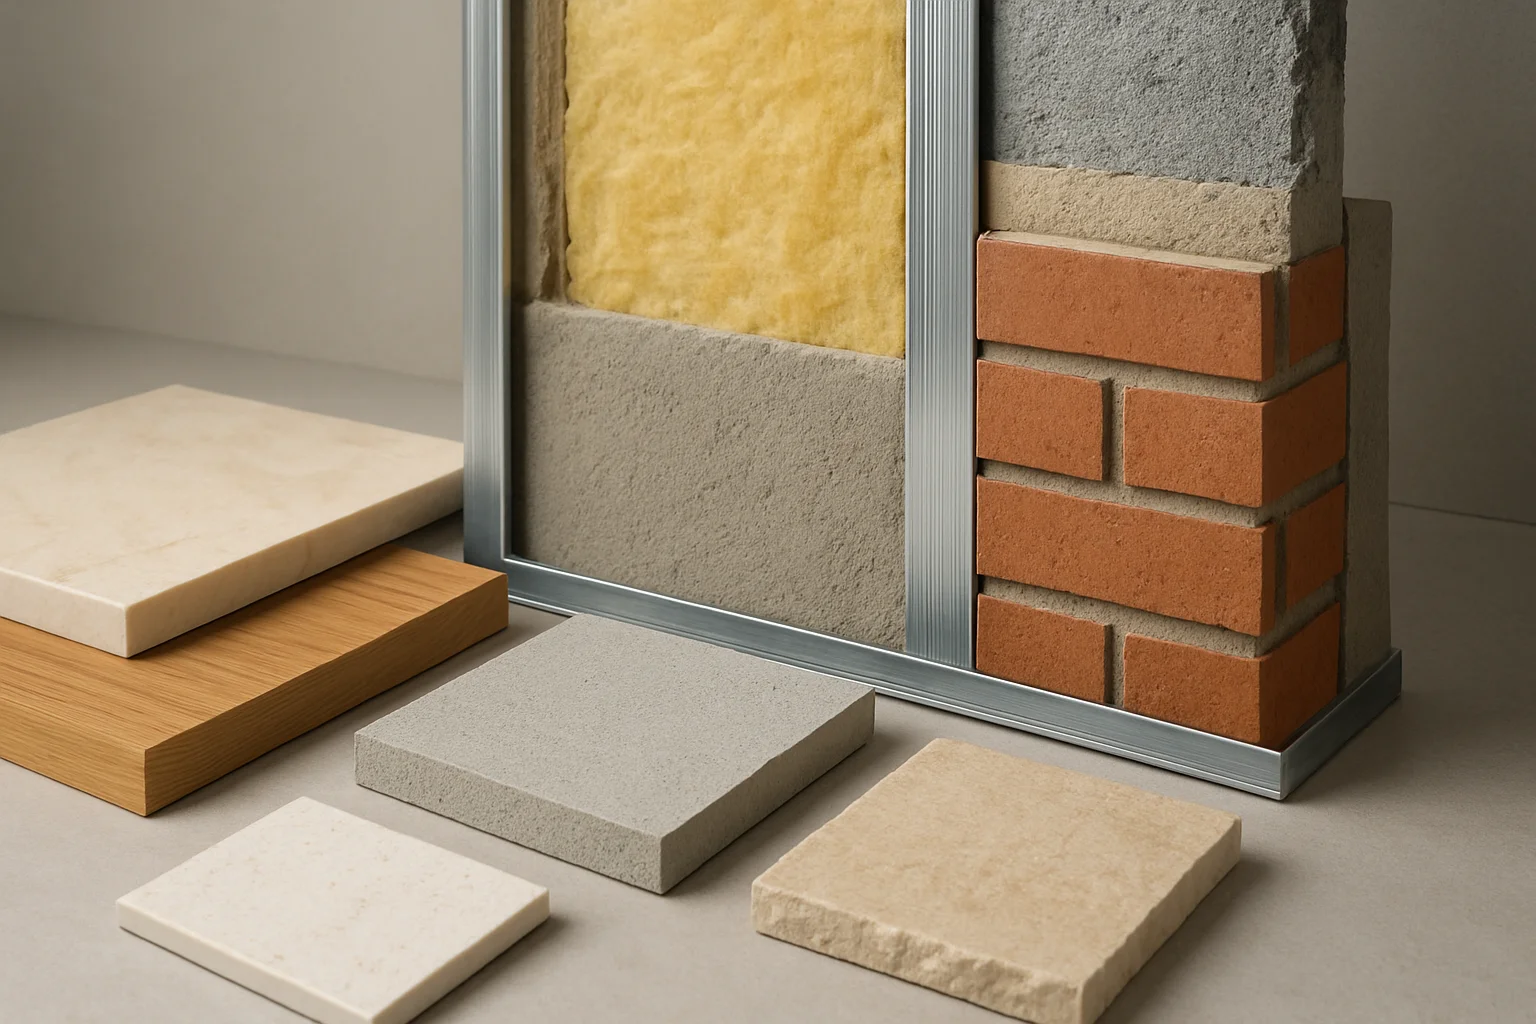
Most people judge the finish. Installers judge the base first. They are right to do it. Flatness, cleanliness, and dryness directly affect bond strength and final appearance. A wall can wear a premium finish and still look cheap if the substrate waves 1/4 inch over 4 feet, or if dust under an adhesive keeps the bond from ever settling in.
Think about a large-format wall panel. If the framing bows, the sheathing is out of plane, or the fasteners are proud, the panel telegraphs every mistake. The same is true for tile over a slab with hairline movement, thin veneer applied to a dirty base, or paint laid onto uncured patching compound. What you see on the face often started below it.
On site, a basic readiness check should include a moisture meter, a level or laser, a straightedge, and your own eyes. A wet substrate can trap trouble. A dirty one can kill adhesion. A crooked one makes even perfect materials look wrong from 12 feet away.
Attachment and bonding methods for different material types
Decorative materials do not all install the same way, and that matters. Some want mechanical fastening. Some need mortar. Some rely on adhesive chemistry. Some use multiple methods at once. If you mismatch the material and the attachment, failure can show up as loose edges, cracked corners, hollow spots, or moisture getting behind the finish.
| Material Type | Typical Base | Common Installation Method | Common Failure Risk |
|---|---|---|---|
| Ceramic or porcelain tile | Cement board, mortar bed, suitable slab | Mortar setting with grout and movement joints | Cracking or debonding from poor prep or movement |
| Thin stone veneer | Masonry or properly prepared backing | Mortar bond, sometimes with accessory support details | Loose pieces from weak bond or water intrusion |
| Wall panels and trim | Framed wall, plywood, drywall, metal support | Mechanical fastening, clips, adhesive, or hybrids | Telegraphing, oil-canning, edge separation |
| Architectural precast coping or caps | Masonry, concrete, steel-supported assemblies | Bedding, anchorage, sealant joints, support coordination | Movement cracks, poor drainage, unsupported spans |
| Wet-applied coatings | Concrete, drywall, plaster, wood | Primer plus finish coats | Peeling, flashing, blistering from moisture or poor cure |
If you have ever seen stone trim pop loose at an edge or paint peel in sheets, the root cause usually was not “bad luck.” It was a compatibility problem, a prep problem, or an installation sequence problem.
The finish stack: primer, adhesive, sealer, topcoat, and trim
The visible layer is usually only one part of a stack. That stack can be short — primer and paint over properly prepared drywall — or deep, like a cladding assembly with weather barrier, support components, attachment, sealant joints, and protective top treatment. Either way, every layer depends on the layer below.
- Base or substrate preparation
- Compatibility layer such as primer, membrane, or lath
- Attachment or bonding layer
- Finish material itself
- Protection and edge detailing such as sealers, trims, topcoats, flashings, or sealant joints
A shower wall is a simple example. People notice the tile. The assembly actually depends on the framing, the backer, waterproofing, mortar, grout, caulked movement joints, and maintenance. Exterior cladding works the same way, just with harsher consequences. Water management, especially around corners, sills, parapets, and terminations, decides whether the finish matures well or fails early.
Most finish failures start below the finish.
Best Practices for Selecting and Installing Decorative Materials
Match the material to the space, traffic level, and exposure
Selection starts with the room or exterior zone, not with the catalog page. A low-use dining room wall can handle more delicate texture than a school corridor. A pool deck wants different traction and edge performance than a formal interior stair. A rear service entry at a multifamily building gets hit by carts, salt, and hard cleaning chemicals that a private powder room never sees.
| Space | Main Demands | What to Favor |
|---|---|---|
| Kitchen backsplash | Cleaning, splashes, stain resistance | Non-porous or well-sealed finishes with simple joint maintenance |
| Bathroom or spa area | Constant humidity and water exposure | Water-tolerant materials, controlled joints, reliable waterproofing |
| Lobby or corridor | Impact, abrasion, touch points | Durable edges, easy cleaning, replaceable components |
| Exterior façade or parapet | UV, rain, movement, freeze-thaw | Stable assemblies, drainage, robust attachment, weather-ready materials |
High-traffic and wet areas almost always need tougher, easier-to-clean materials than low-use decorative zones. That sounds obvious, yet plenty of bad decisions happen because a finish was chosen under showroom lighting without thinking about carts, dogs, sunscreen, or winter deicing salts.
Use samples, mockups, and finish boards before full installation
Samples save money. Real mockups save far more. A 4-by-4-inch chip tells you color family. It does not tell you how sheen reads on a 12-foot wall, how a joint lines up at a corner, or how a sanded texture catches daylight at 8 a.m. versus LED light at night. You need to see the material in the actual space or as close to it as you can manage.
For interiors, I like finish boards that include the full stack of visible decisions: field material, grout or joint color, trim, sealant, and adjacent paint. For exteriors, a one-bay mockup or even a small façade corner can reveal more in one afternoon than a week of debating PDFs. It exposes color variation, edge shadow, and the small details that owners notice first.
If you do not approve a sample in the actual lighting, you are not really approving the finish.
This is also where you settle expectations. Natural stone varies. Coatings shift between satin and eggshell more than many clients expect. Architectural precast profiles throw shadows differently at noon than at sunset. Better to argue over a board than over 600 square feet already on the wall.
Plan transitions, joints, and maintenance access early
Transitions make or break finish quality. The field of material often goes in smoothly. Trouble starts where one surface meets another: tile to wood, panel to plaster, coping to parapet, veneer to window surround, column base to paving. If you leave those decisions until installation week, the crew will end up inventing details under schedule pressure. That usually shows.
Movement joints need the same early attention. Larger surfaces move. Mixed materials move at different rates. Exterior assemblies move even more. You need places for that movement to happen without cracking corners or telegraphing stress into the finish. Sealant joints, reveals, soft joints, and break lines are not aesthetic compromises. They are part of the design.
Maintenance access is the quiet part everyone forgets. Can the owner clean behind a balustrade? Can you reach roof drains without damaging coping? Can one damaged decorative stone detail, pier cap, or wall panel be replaced without tearing out the whole run? Design becomes more durable when repair is possible.
Common Mistakes That Ruin Decorative Finish Quality
Choosing the wrong material for moisture, sunlight, or traffic
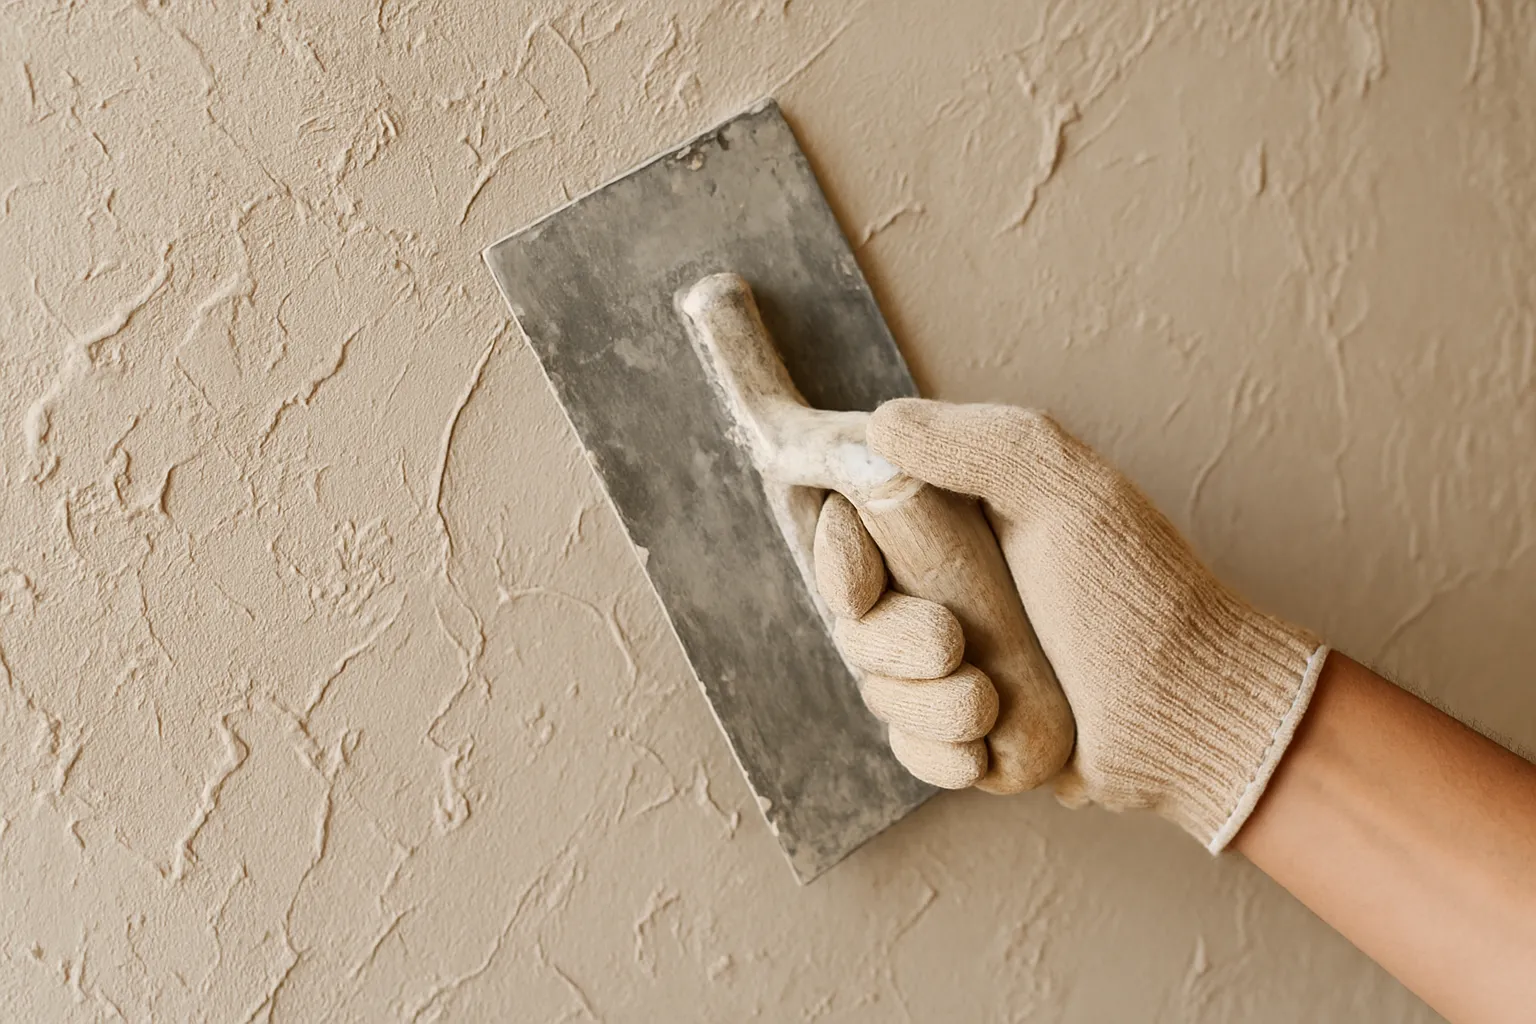
This is still the big one. Wrong material, wrong place. Put an interior-grade trim product near regular moisture and it swells. Use a coating not meant for strong UV on a sun-struck west façade and it fades or chalks early. Pick a delicate edge profile for a busy retail corner and cart damage arrives fast.
You see the same error outdoors with paving and coping. A piece that looks dense in the yard may not behave well in freeze-thaw conditions or around standing water. Thin edges chip. Porous finishes stain. Smooth surfaces become unpleasant after a storm. The sample may still look great in your hand. The building tells the truth later.
Skipping prep, curing time, or manufacturer instructions
Rushed work has a signature. Hollow-sounding tile. Flashing paint. Sealers trapping moisture. Adhesives failing where dust was never removed. Cure times and prep steps can feel slow on a deadline, but the schedule you “save” often comes back as rework.
I have watched crews start finish work over substrates that were not dry enough because the room looked ready. It was not. I have seen beautiful trim lines distorted because no one checked the wall for plane first. And yes, I have seen installers ignore the product data sheet because they thought a similar material “always works the same.” It does not.
Read the instructions. Confirm compatibility. Respect curing. On a good job, that is not bureaucracy. It is quality control.
Ignoring movement, cracking, and maintenance planning
Cracks do not always mean poor craftsmanship. Sometimes they mean the assembly had nowhere to move. Long corridors, parapets, large tiled floors, mixed-material façades, and transitions between framing and masonry all need honest movement planning. If you bridge everything rigidly, the building will choose its own crack line.
Maintenance gets missed in the same way. Owners inherit finishes they do not know how to clean, seal, or repair. A porous surface placed next to a grill station, a complicated molding where dirt collects, or a decorative wall finish that cannot handle routine disinfectants — these are planning failures dressed up as aesthetic choices.
The most expensive decorative material is the one you install twice.
Tools and Resources for Building Decorative Materials
Measuring and inspection tools for site readiness
You do not need a truck full of gadgets to catch most problems early. A few basic tools can tell you whether the site is ready and whether the installed work is staying consistent from one elevation to the next.
| Tool | What It Checks | Why It Matters |
|---|---|---|
| Moisture meter | Substrate moisture level | Helps prevent bond failure, staining, blistering, or trapped moisture |
| Level or laser | Plumb, level, slope, and alignment | Keeps reveals, panels, trim, and paving visually disciplined |
| Tape measure | Layout and tolerance checks | Confirms module, spacing, and fit before cutting or ordering |
| Straightedge | Flatness and plane | Exposes humps, dips, and substrate irregularities |
| Sample board | Color, sheen, texture, and joint consistency | Lets you compare approved finish to installed work |
| Punch-list notebook | Observed defects and corrections | Creates accountability before small misses become large repairs |
A moisture meter and a straightedge can save you from thousands of dollars in wrong-time installation. That is not dramatic. It is normal field discipline.
Specification documents, product data, and installation instructions
Good finish work starts long before delivery day. You want the documents that tell you what the product is, where it can go, what it should not touch, how it gets installed, and how it is maintained. If that information is vague, your risk goes up.
- Product data sheets
- Installation instructions
- Finish or color schedules
- Shop drawings or profile details
- Warranty terms
- Maintenance recommendations
- Mockup approval notes
For architectural precast items such as balustrade systems, coping, thin veneer, stone moldings, columns, pier caps, and decorative stone, a supplier should be able to answer practical questions about dimensions, finish options, support conditions, and installation sequencing before you commit. Coral Cast is one example of a New York-based source focused on architectural precast concrete and stone products, custom matching, fast turnaround, and delivery across the U.S. for residential and commercial work.
If the answer to a compatibility question is “we usually do it this way,” pause and dig deeper. On finish work, unclear paperwork often becomes clear repair work later.
Maintenance planning for long-term appearance
Maintenance should be part of selection, not an afterthought handed to the owner at closeout. Some finishes need resealing. Some need specific cleaners. Some do best with periodic inspection at joints, copings, or horizontal surfaces where water lingers. Even “low-maintenance” products benefit from a simple plan.
A useful handover checklist can include:
- Approved cleaner types and what to avoid
- Inspection points for joints, edges, and drainage paths
- Touch-up or replacement procedures
- Spare material quantities stored after the job
- Seasonal notes for exterior surfaces, especially after winter
This matters on both a single-family entry and a 30,000-square-foot commercial property. Owners who know how to care for the finish keep it looking intentional. Owners who do not often damage it while trying to help.
The best projects are planned like systems, not chosen like single products.
Great finishes last because the system behind them does.
Treat substrate, specification, installation, and maintenance as one chain, and your building decorative materials will look better on opening day and stay smarter choices years later. Before you approve the next sample board, what will that finish face after one rainy season, one winter, and ten years of use?
Shape Enduring Exteriors With Coral Cast
Coral Cast’s architectural precast concrete manufacturing gives homeowners, builders, architects, contractors, and owners custom stone and precast solutions from New York with free estimates, showroom consultations, and shipping across the U.S.