
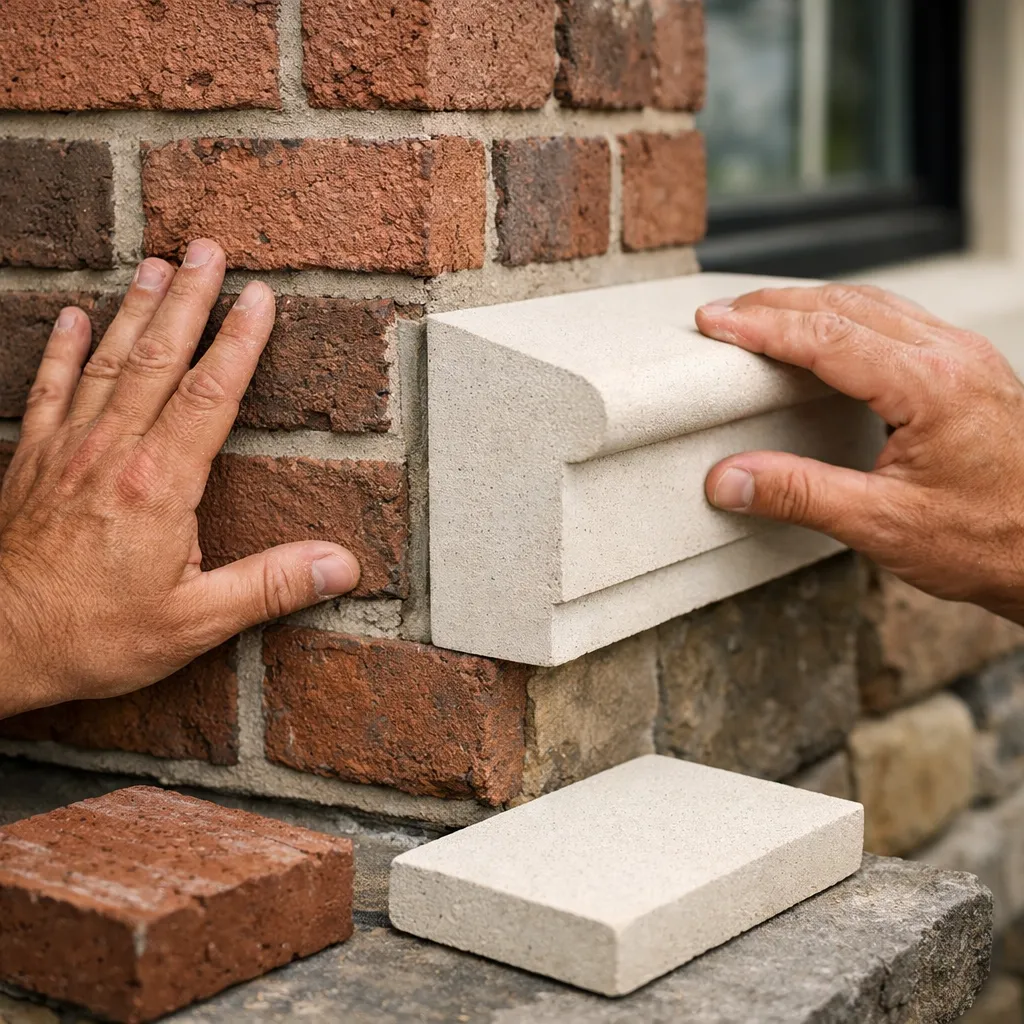
Pairing Brick and Precast Trim: Timeless Exterior Combinations
On a new facade, a crew dry-fits a pale surround against red brick and steps back to see whether the shadow line feels crisp or clumsy. The opening is only a few feet wide, but the judgment call is big. If the frame looks heavy, the wall goes flat. If it looks sharp, the elevation starts to feel composed.
That is where Precast Trim changes the result. When brick and trim are paired well, the trim is not an afterthought. It frames the masonry, sets the scale of openings, controls shadow, and gives the exterior the kind of order you notice on a 1920s townhouse, a Georgian-inspired custom home, or a well-proportioned storefront renovation.
The hard part is not finding attractive pieces. The hard part is making sure the profile, color, measurements, support, and water details all agree before anything arrives on site. If you handle those decisions in the right order, you get a facade that looks settled and intentional instead of patched together.
Prerequisites: confirm the wall system and gather the right tools
Check brick type, opening dimensions, and support conditions
Start with the wall you actually have, not the wall you hope is there. A smooth wire-cut brick behaves differently from a handmade or tumbled brick, and both read differently beside a clean, refined trim profile. Mortar joint depth matters too. A deep-raked joint throws more shadow than a flush joint, so the same trim piece can look slimmer or heavier depending on the masonry texture around it.
The Architectural Precast Association describes wet-pour cast stone as a highly refined building material used primarily in masonry trim applications. That is a useful framing device for your planning. Refined trim demands a substrate that is measured carefully, supported correctly, and visually consistent at the opening.
Measure the opening and the wall plane separately; a trim piece can be the right size and still fail if the substrate is out of square.
Gather layout, cutting, setting, and finishing tools
You do not need a theatrical tool spread. You do need the right basics. On most jobs, that means a tape measure, laser level, long straightedge, framing square, story pole, shims, mortar tools, clean buckets, sealant tools if specified, and a printed elevation you can mark up in the field. Add brick and mortar samples to the table. They are part of the decision-making kit, not decoration.
| Task | Tools | Why They Matter |
|---|---|---|
| Layout | Tape measure, laser level, story pole | Confirms real opening sizes, sightlines, and reveal consistency before fabrication. |
| Verification | Straightedge, square, chalk line | Shows bowing, racking, and wall-plane problems early. |
| Setting | Shims, trowels, lifting straps as needed | Keeps the first piece stable, level, and aligned while you adjust it. |
| Finishing | Joint tools, sponges, soft brushes | Helps clean mortar residue without scarring the face. |
Decide who is responsible for fabrication, delivery, and installation
This sounds administrative. It is not. It is where many facade problems begin. Someone has to own field measurement, someone has to approve shop drawings, someone has to confirm delivery condition, and someone has to set the pieces in the right sequence. If those lines blur, mistakes show up fast.
Sanderson Concrete describes itself as North America’s leading producer of custom architectural precast concrete and site furnishings, and it also states that it manufactures a wide range of standard and custom precast concrete products for the landscape and building construction industry. The broader lesson is simple: your supplier may be able to provide both stock profiles and custom fabrication, but that flexibility only helps if responsibilities are spelled out before production starts.
Step 1: define the architectural language before choosing the profile
Match or contrast the brick tone and mortar color
Do not pick trim in isolation. Set the brick sample, mortar chip, and trim sample side by side in daylight. Then walk back 10 or 15 feet. A red brick with buff mortar may want a warm limestone tone. A charcoal brick with gray mortar may want a cooler, cleaner trim. What usually fails is the almost-match — trim that lands close enough to the brick to feel accidental, but not close enough to feel intentional.
Wet-pour cast stone can be customized to color preference and is valued for a consistent, attractive appearance. That gives you range, but range is not judgment. On a facade, near-matches often flatten the composition, while a controlled contrast lets the opening read clearly.
The safest approach is usually deliberate contrast, not a near-match that disappears into the brick.
Select the profile: surround, sill, lintel, band, or accent
Once the color relationship is clear, pick the profile family. Decorative precast concrete is commonly used for architectural accents, but accents work best when they support the architecture instead of competing with it. A window surround frames. A sill anchors. A lintel caps. A band course stretches a horizontal line across the facade. Each does a different job.
| Profile | Best Use | Visual Effect |
|---|---|---|
| Surround | Window and door openings | Creates a strong frame and deepens the shadow line. |
| Sill | Windows, especially repeated openings | Adds a base line and helps tie multiple openings together. |
| Lintel | Heads of windows and doors | Gives the opening weight and a finished top edge. |
| Band Course | Long walls or floor-line transitions | Breaks mass and gives the elevation rhythm. |
| Accent Piece | Keystones, arches, plaques | Draws focus to selected points without trimming every opening. |
Use the building style to guide the level of ornament
A brick Colonial revival can carry a fuller surround and a more expressed sill. A stripped-down contemporary infill often looks better with thinner edges and tighter reveals. On a Tudor-inspired facade, a heavy lintel may make sense, while on a narrow urban rowhouse it can feel oversized by noon and cartoonish by dusk.
A wide range of standard and custom precast products is available for building construction, so you are rarely stuck with one look. The job is to pick the amount of ornament the architecture can support — not the most ornate profile in the catalog.
Step 2: verify dimensions, reveals, and support before fabrication
Measure width, height, depth, and reveal lines

Take field measurements in a sequence you can repeat. Measure width at top, middle, and bottom. Measure height on both sides and at center. Check depth from face of sheathing or backup to planned brick face. Then mark the reveal line you want the trim to hold. If one side of the opening drifts by even a small amount, you need to know now, not when the truck is unloading.
- Measure the opening itself.
- Measure the surrounding wall plane.
- Record brick coursing that must align with sill or head lines.
- Note any taper, bow, or twist in the substrate.
Confirm structural support and anchorage points
Precast concrete appears across construction in many forms, from building components to site amenities, so support details vary widely by application. A light surround set into masonry trim conditions is one thing. A deeper lintel or projecting sill is another. Verify bearing, anchors, clips, or shelf support before fabrication begins. If the trim returns into the jamb, confirm what backs it up and what fasteners the detail allows.
Cast stone is often positioned as a durable, cost-effective alternative to natural cut stone. That value disappears quickly when a piece is asked to bridge a condition it was never designed to carry.
Allow for movement joints and tolerances
Brick moves. Backup walls move. Trim assemblies need room for real-world tolerances. Leave space where the detail requires it, and do not assume the trim should erase every field variation. A smart reveal can hide a small discrepancy. It cannot solve a wall that is badly out of plane.
If the opening is not true, correct the opening rather than forcing the trim to hide the problem.
Custom architectural precast is commonly fabricated for specific project conditions, which is exactly why your field notes matter. Good fabrication starts with honest measurement, not optimistic measurement.
Step 3: coordinate fabrication details with the mason or precaster
Finalize profiles, returns, and sill or lintel edges
Before production, lock down the little geometry that decides whether the installation looks crisp or bulky. How far does the profile project? Does the surround die into the sill cleanly or step over it? Are corner conditions mitered, butted, or monolithic? Does the sill have a drip edge? Are lintel ends returned into the wall or left square?
If the project extends beyond the window line, decide now whether related pieces should share the same family. Coping, stone moldings, thin veneer, columns, pier caps, wall caps, pavers, balustrade elements, and decorative stone can all pull the exterior together — or splinter it — depending on how early those pieces are coordinated.
Specify finish, texture, and color expectations
Wet-pour cast stone can be customized to color preference, but color is only one part of the finished look. Texture matters just as much. A very smooth finish beside rough brick reads formal. A lightly textured finish can bridge the gap between refined trim and rustic masonry. Ask whether edges will be sharp or eased, whether pinholes are acceptable, and how batch-to-batch variation is handled.
Manufacturers of architectural precast offer both standard and custom products, so be clear about what is fixed and what is negotiable. On mixed-scope jobs, a manufacturer such as Coral Cast can coordinate matching trim, coping, and wall caps so the facade does not drift from one elevation to the next.
Review shop drawings or a full-size mockup
Do not approve with only a verbal description and a thumbnail photo. Review shop drawings against the field dimensions and against the brick coursing. Better yet, review a full-size mockup or at least a built corner showing brick, mortar, and trim together. A 12-inch sample can tell you surface character. It cannot tell you how a 6-foot surround will read on the building.
A small mockup is cheaper than a full facade correction.
That rule saves money in both residential and commercial work. One afternoon spent checking a mockup can prevent weeks of rework after installation.
Step 4: prepare the substrate and water-management details
Clean and straighten the wall plane
Trim installs better on a wall that is boring. Clean backup surfaces. Remove ridges, blobs, loose debris, and anything that creates a false bearing point. Check the plane with a long straightedge. If you find a hump behind one jamb leg, flatten it now. Otherwise the piece will either rock, crack a joint, or telegraph the defect through the finished line.
Install flashing and weep details where needed
Brick and trim only last when the assembly sheds water. That is ordinary exterior practice, but it gets ignored once everyone is staring at profiles and finish samples. Head flashing, end dams where the detail calls for them, weeps, and transitions at openings all need to be in place before trim covers the condition. Most exterior failures do not start on the visible face. They start behind it.
Most exterior failures start with water control, not with the visible finish.
Precast products are used across building construction and site applications, which means installation details vary by project type. The common thread is still water management. A masonry trim application is never just a decorative event.
Dry-fit the trim before bedding it permanently
Dry-fitting sounds slow. It is actually fast insurance. Set the piece in place without final bedding, check the reveal, confirm bearing, verify joint width, and make sure corners close the way the drawings say they should. If something is off by even 1/8 inch, you will usually see it during a dry-fit while there is still room to correct it cleanly.
This is the moment to mark shims, anchor locations, and any brick cuts that need to happen before permanent installation.
Step 5: set the Precast Trim and lock in the sightlines
Set the first piece level and plumb
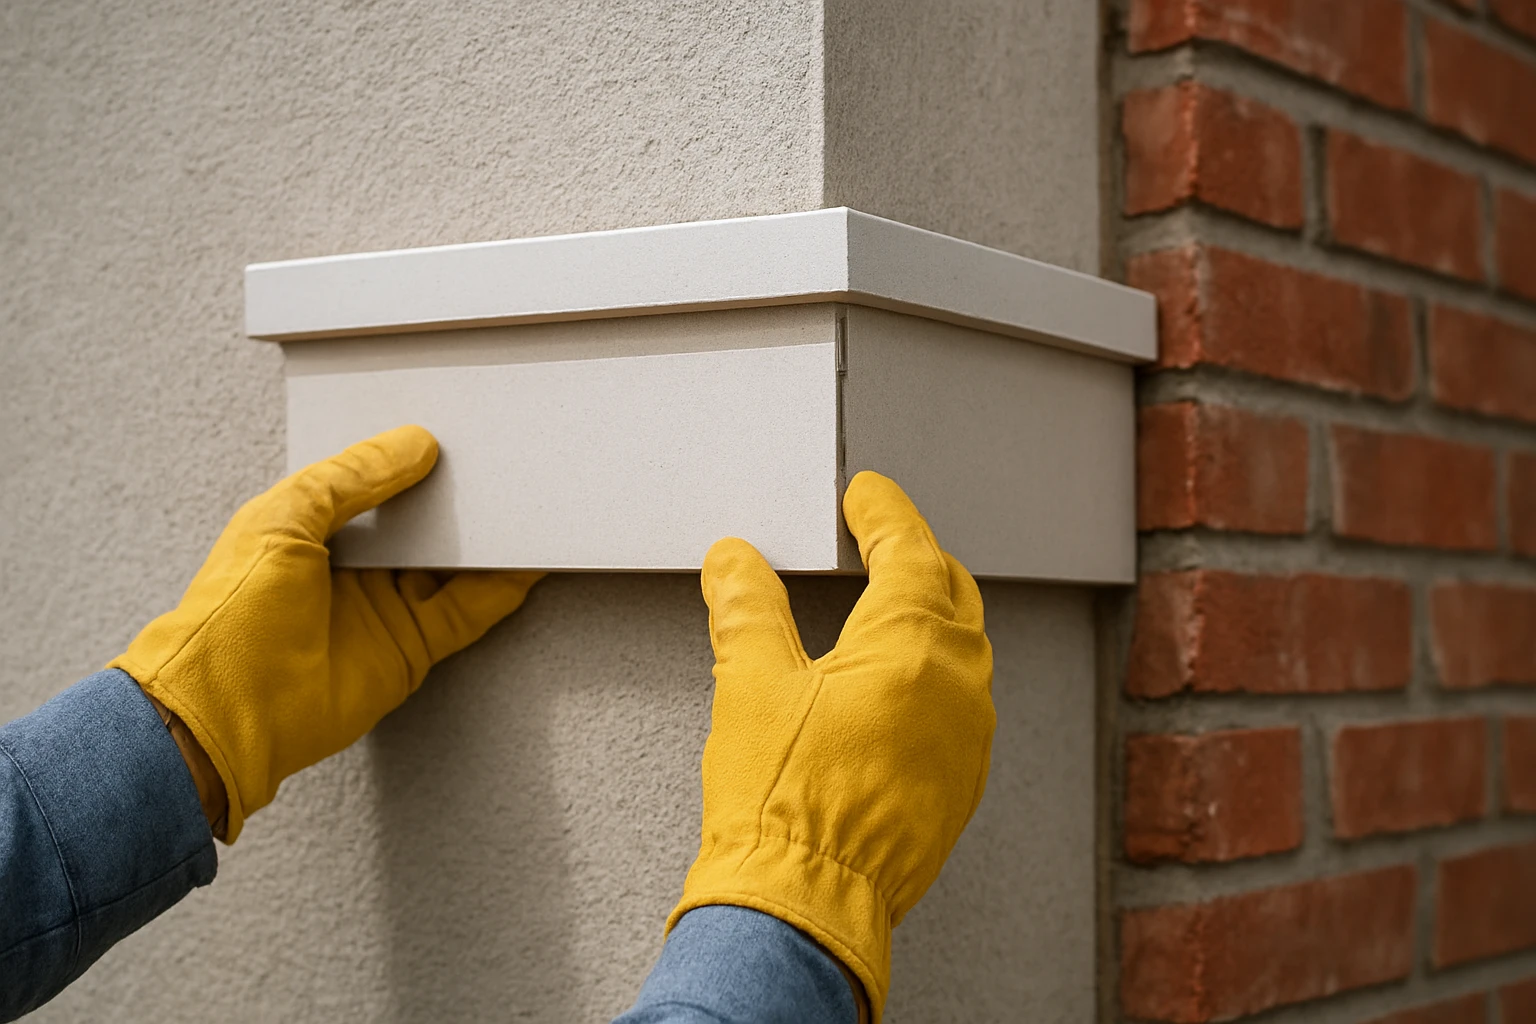
The first piece writes the rules for every piece that follows. Set it level. Set it plumb. Confirm projection. Then stop and check it again. If the first sill or jamb leg is out, the rest of the facade starts chasing that error. I have seen entire window lines look wrong because one early piece was accepted while everyone was in a hurry to keep moving.
Keep joints consistent at corners and returns
Custom and standard precast products are both used to match different building conditions, but they still need disciplined joint control in the field. Keep corner joints even. Keep return conditions consistent. If the detail shows a narrow joint at the head and a wider one at the sill, that should be intentional and repeatable — not the accidental result of field trimming or uneven bedding.
Cast stone earns much of its appeal from a consistent appearance. That consistency only shows up when the installer protects the geometry piece by piece.
Check the facade from the street, not just up close
Decorative precast concrete is used to create architectural accents because it reads from distance as well as from detail. After you set a few pieces, walk away from the scaffold. Stand across the street. Look from the driveway. If this is a commercial frontage, check it from the main approach a visitor will actually use.
A trim line that looks perfect at arm’s length can still read crooked from the sidewalk.
That curbside check is where proportion and alignment reveal themselves. A reveal that varies by a fraction can disappear up close and still throw the whole elevation off from 30 feet away.
Step 6: finish, seal, and inspect the assembly
Tool joints and clean mortar residue
Once the trim is secure, finish the joints neatly and clean mortar residue before it hardens into a permanent distraction. Use the cleaning method approved for the material. Aggressive scrubbing, the wrong acid, or sloppy wire brushing can scar the face and leave you with a repair problem instead of a cleaning problem.
Cast stone is valued as a durable alternative to natural cut stone, but durability does not excuse rough handling during the last hour of the job.
Apply sealant or protective treatment where specified
Do not assume every piece needs the same treatment. Apply sealant where the detail or manufacturer calls for it — often at movement joints or transitions — and avoid broad, unnecessary smearing that changes the appearance. Some assemblies may also call for a protective treatment, while others should be left as manufactured. Follow the project documents and the product guidance, not habit.
Precast producers commonly offer custom architectural pieces for finished building envelopes, which is another reason to verify finish requirements before the crew starts improvising in the field.
Inspect the facade in daylight and from multiple angles
Final inspection should happen in real light. Early morning or late afternoon side light is especially revealing. That is when you catch subtle joint variation, tiny chips at outside corners, faint haze, and surfaces that looked fine under scaffold shade but not under sun.
Inspect in strong side light; that is when small surface defects and uneven joints become obvious.
Walk the building once for craftsmanship and once for composition. Those are different checks, and both matter.
Common mistakes to avoid
Choosing a near-match that flattens the facade
Because cast stone can be customized for color, teams sometimes spend too much energy chasing an exact brick-adjacent tone. That can backfire. A trim piece that is almost the same value as the brick often disappears, especially once daylight changes. You lose the frame, the shadow, and the architectural punctuation you were paying for in the first place.
If you want the trim to recede, do it on purpose with a slim profile and tight reveal. Do not rely on a muddy color relationship to solve that problem.
Skipping movement joints and flashing
Cast stone is used primarily in masonry trim applications, so detailing is central to performance. When teams rush, they sometimes focus on the face and neglect the movement joints, flashing, or weeps that let the wall behave like an exterior wall. That mistake costs more than a wrong profile. Water stains, cracked joints, trapped moisture, and premature callbacks follow close behind.
Precast concrete comes in many forms, which is one more reason early coordination matters. The anchorage and water strategy for a thin window surround are not automatically right for a projecting sill or a deep band course.
Approving the look without a real sample or mockup
This is the expensive one. Cast stone may deliver a consistent, attractive appearance, but consistency at production does not guarantee the right visual relationship on the building. Scale changes perception. A sample that looks creamy indoors can look stark outdoors beside red brick at 4 p.m. in October. A profile that seems elegant in hand can feel too thin once installed over a broad opening.
The most expensive mistake is approving a finish from a small sample and assuming it will read the same at building scale.
| Mistake | What It Causes | Better Move |
|---|---|---|
| Near-match color selection | Flat facade with weak shadow lines | Test deliberate contrast in daylight with real brick and mortar samples. |
| Ignoring movement and water details | Cracked joints, staining, moisture problems | Confirm flashing, weeps, transitions, and required joint locations before setting trim. |
| Skipping mockups | Wrong scale, wrong finish, expensive rework | Approve shop drawings and review a full-size mockup or built sample corner. |
Most failures come from planning and detailing errors, not from the idea of pairing brick with trim. When the front-end decisions are disciplined, the finished exterior usually looks calm, expensive, and durable — even when the profiles themselves are simple.
Brick gets its staying power from mass; Precast Trim gives it edge, order, and a finished face when you plan the pairing carefully.
Choose the right profile, measure the real wall, manage water, and install to a clean visual line. That is how a facade avoids trendiness and starts to feel permanent.
When you study your next elevation, where should the trim frame the masonry boldly, and where should it step back and let the brick do the talking?
Shape Smarter Facades With Coral Cast
Coral Cast combines Architectural precast concrete manufacturing with properly cured, maintenance-free products made in New York, shipped nationwide, plus showroom guidance and free estimates for homeowners and project teams.