
Columns That Command Attention: Precast Styles from Classical to Modern
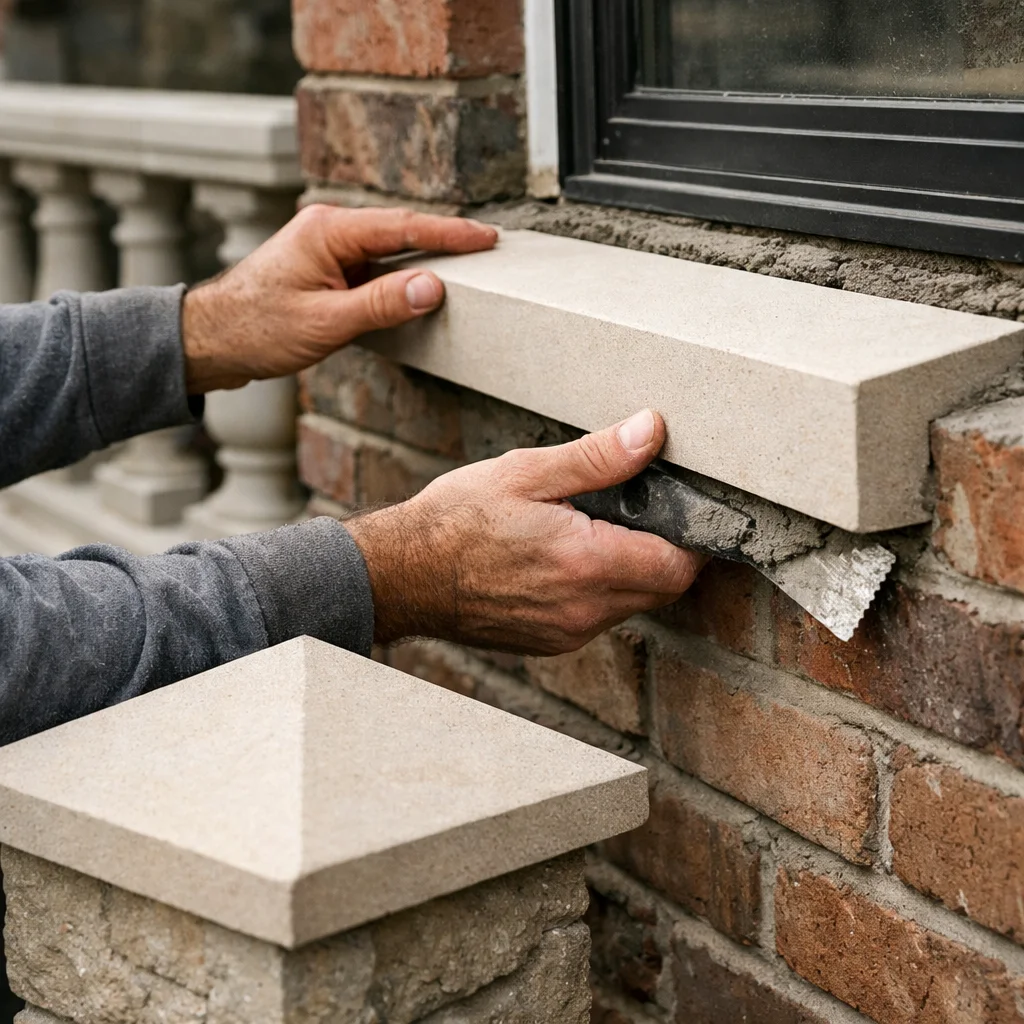
A crew sets a chalk line across a new porch while a stone-faced column mockup waits beside the forms. This is the point where Concrete Columns stop being a catalog idea and become a real jobsite decision — one that affects structure, drainage, sightlines, and the whole face of the building.
Get that decision wrong and you feel it everywhere. A classical shaft looks undersized under a heavy beam. A decorative wrap gets mistaken for a load-bearing member. A base stays damp, fasteners corrode, wood touches soil, and the callback shows up two winters later. Get it right, and the column feels inevitable, whether you are framing a Colonial entry, tightening up a mixed-use storefront, or restoring a garden wall with matching pilasters.
One thing the top search results make clear is that the word column gets used for several different things: reinforced structural members, post-frame foundation systems, decorative precast shafts, cast stone pieces, and wraps around wood or steel posts. We need to sort those out before you spend money. The sequence below will help you choose the style, material, layout, and connection details so the finished result looks sharp and lasts.
Prerequisites and tools for Concrete Columns
Identify the column’s job: structural, decorative, or both
Start here. If the column carries a beam, roof, balcony, or canopy, you are dealing with structure first. A reinforced concrete column is a structural member designed to carry compressive loads, and it relies on concrete with embedded steel reinforcement to do that work. In engineering language, reinforced concrete columns are commonly discussed as either short columns or slender columns, because height and geometry affect how the member behaves.
If your “column” is really a wrap around a steel post or a cladding element attached to framing, that is a different assembly. It can still be beautiful. It just does not replace the hidden support. On renovation work, especially with older porches and masonry façades, you sometimes have both conditions at once: a structural post inside, and a decorative precast or cast stone skin outside.
If the column carries weight, treat it like structure first and decoration second.
Gather basic layout tools and safety gear
You do not need exotic equipment for the early work, but you do need the basics on hand before layout starts moving. On most porch, entry, and light commercial projects, we reach for the same core kit.
- Tape measure
- 4-foot level and torpedo level
- String line or chalk line
- Drill/driver and the correct bits
- Hammer, wrenches, and sockets for anchors or brackets
- Shims approved for the application
- Gloves, eye protection, and hearing protection
If you are setting heavier precast pieces, add a lifting plan early. Weight changes everything — staging, crew count, equipment access, and whether that elegant column arrives as a single unit or in manageable sections.
Check measurements, clearances, and local permit needs
Before you order anything, confirm the finished floor level, beam height, soffit height, stair alignment, and the exact finished-face location. Then check what the local building department wants to see. A freestanding decorative column at a garden edge is one conversation. A column supporting a porch roof or retail canopy is another, and it may trigger engineering review.
| Question to Answer First | Why It Matters |
|---|---|
| Is the column structural, decorative, or both? | Determines engineering, hardware, and permit path. |
| Is the member short or slender? | Affects structural design and stability assumptions. |
| What is the exact finished height? | Controls base, shaft, capital, and beam alignment. |
| What is the exposure? | Drives material choice, finish, and moisture detailing. |
| Is this new work, repair, or replacement? | Changes the bracket, anchor, and sequencing. |
Step 1: Decide what look you want from classical to modern
Classical cues: base, shaft, and capital proportions
Classical columns read best when the parts feel related. You usually have a base, a shaft, and a capital, and each one wants the right proportion. A chunky Tuscan porch column on a low ranch house can work beautifully. A fluted shaft with an undersized cap under a heavy beam usually looks nervous. That mismatch is easy to create when you shop by individual piece instead of the whole elevation.
Think about the neighboring architecture too. If the façade already uses cornices, stone moldings, arches, or quoins, a classical column often feels natural because the detailing language is already formal. Product families from companies like PW Profiles reflect that reality: columns rarely live alone; they sit beside precast arches, mouldings, trim, and wall details.
Modern cues: clean lines, simpler profiles, minimal ornament
Modern columns ask for restraint. Smooth square shafts, tight joints, simple reveals, and quieter bases usually carry the design better than heavy ornament. On a contemporary entry, a crisp square profile aligned precisely with window heads and coping lines does more work than fake fluting ever will.
This is where tolerances show. A modern column that is out of plumb by even a little looks wrong fast, because there is no ornament to distract the eye. Clean design is unforgiving. You need straighter layout, sharper transitions, and better coordination with pavers, wall caps, and trim.
Use pilasters when you want the column effect against a wall
If you want the presence of a column but the project does not need a fully freestanding support member, use a pilaster. Pilasters are practical on façade stonework, house exteriors, garden walls, and restoration work because they bring rhythm and shadow without eating up as much floor area. Haddonstone’s product organization makes that point well: columns and pilasters show up alongside exterior, landscape, restoration, and replication categories because they are part of a broader architectural vocabulary.
A pilaster also solves tight conditions. Think of a garage surround, a shallow commercial entry, or a wall return where a round shaft would crowd traffic. You still get vertical emphasis. You just keep the walkway usable.
| Style Direction | What You See | Best Fit |
|---|---|---|
| Classical | Base, shaft, capital, fluting or traditional profiles | Formal entries, Colonial or Mediterranean homes, restoration work |
| Modern | Smooth surfaces, square lines, minimal ornament | Contemporary homes, retail façades, clean landscape walls |
| Pilaster | Wall-mounted projection with column-like proportions | Tight spaces, shallow entries, façade rhythm without a freestanding post |
Do not choose the style before you know whether the column is structural or just a façade element.
Step 2: Match the column material to the project
Choose between precast concrete, cast stone, GFRC, EPS, wood, or stone looks

Once the style direction is set, choose the material system that fits the job instead of forcing the job to fit the mood board. PW Profiles lists alternatives that include precast concrete, GFRC, EPS, wood, stone, stucco-coated pieces, and pilaster options. Haddonstone sells cast stone columns and pilasters as part of its exterior and landscape offerings. Those categories matter because not every project wants the same thing from a column.
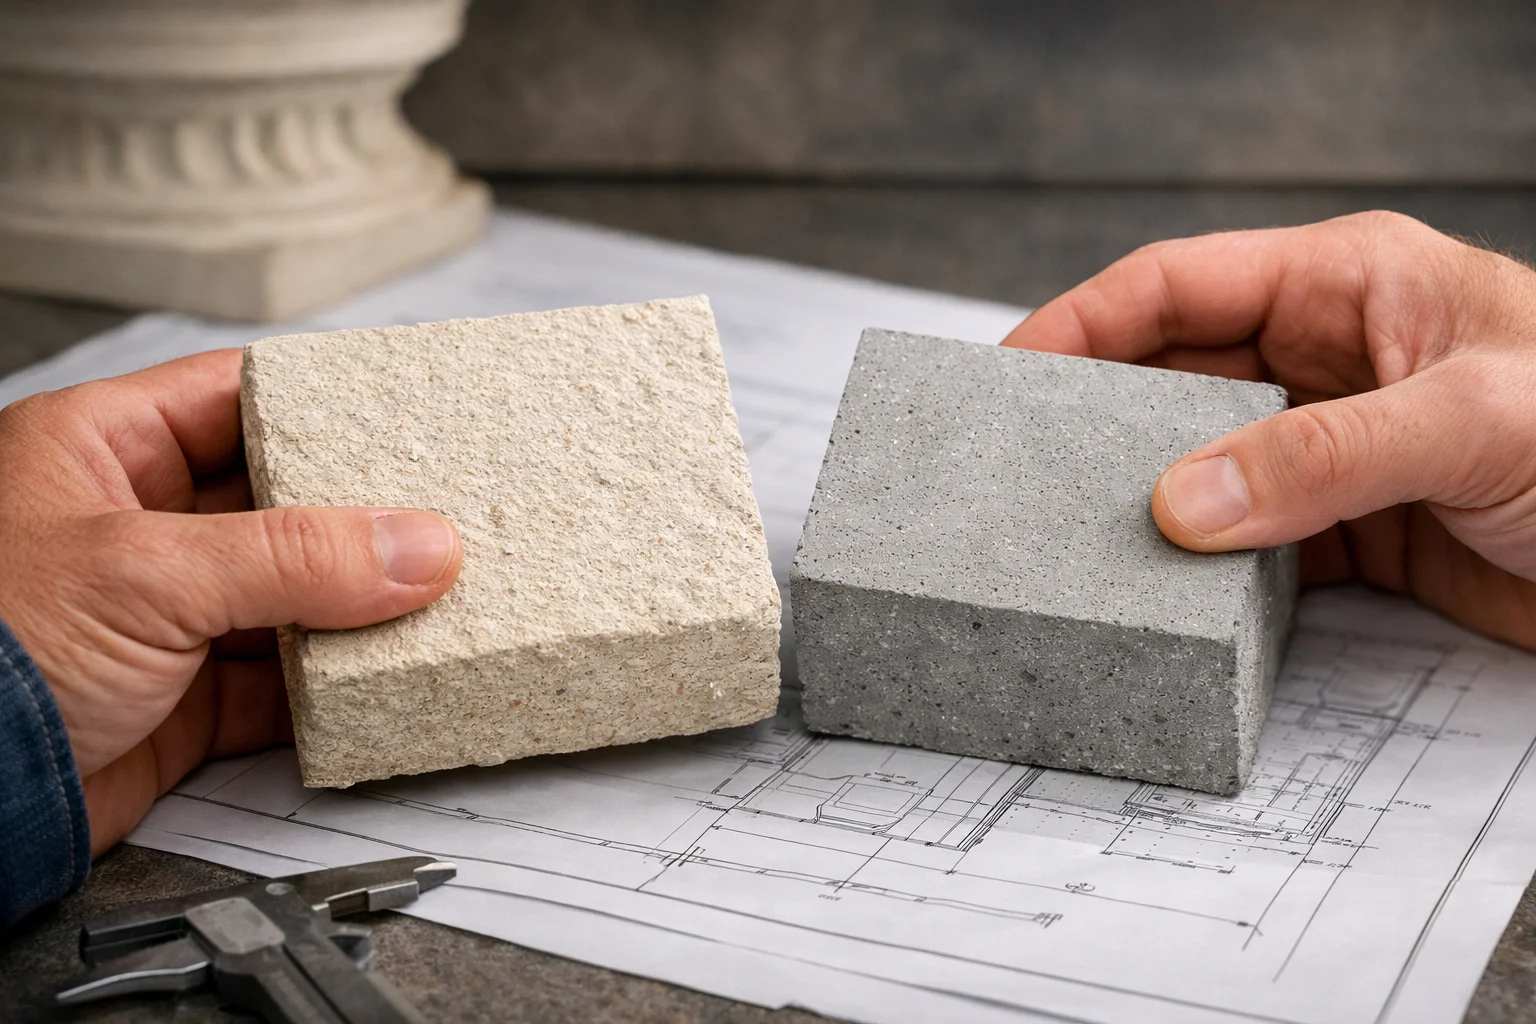
Precast concrete and cast stone usually make sense when you want strong presence, crisp architectural profiles, and a solid feel under real weather exposure. GFRC often helps when you want a lighter unit. EPS-based shapes can solve budget or weight constraints where impact risk is low and the assembly is clearly non-structural. Wood remains common on porches because it is familiar and field-friendly, but it demands more attention around moisture and maintenance.
Decide whether you need a full column or a decorative wrap/pilaster
A full column assembly is not always necessary. Sometimes the hidden structure is already there — a steel post, a pressure-treated member, or a masonry pier — and what you need is the finished shell. In that case, a wrap or cladding system may be smarter, faster, and easier to align with the rest of the façade.
That said, terminology gets messy. Some product pages talk about permanent post-frame foundation solutions, such as the Perma-Column system, while others mean decorative architectural columns. Those are not interchangeable. A post-frame foundation product addresses support and rot resistance at the base. A decorative shaft addresses appearance. Sometimes you need both, but you should never assume one does the job of the other.
Compare durability, weight, and installation complexity
Here is the practical comparison I use when narrowing a column spec with a homeowner, architect, or builder.
| Material or System | What It Does Well | Handling and Weight | Main Caution |
|---|---|---|---|
| Precast concrete / cast stone | Strong visual presence, sharp profiles, exterior durability | Usually heavier; plan lifting and bearing carefully | Needs a sound base and accurate installation |
| GFRC | Lighter architectural shapes with good detail | Easier to handle than solid precast in many cases | Verify backing, attachment, and impact resistance |
| EPS / foam-based shapes | Very light and easy to cut | Simple handling | Non-structural and easier to damage |
| Wood | Familiar porch construction and field modification | Moderate weight | Moisture and maintenance demand more attention |
| Post-frame foundation system | Keeps wood elevated and addresses the base structurally | Installed as part of the support assembly | Not a finished architectural shaft by itself |
A coordinated exterior helps, too. On projects where the column needs to relate to balustrade, coping, thin veneer, stone moldings, pavers, pier caps, wall caps, or other decorative stone, it pays to choose from a product line that treats those parts as a family rather than as unrelated add-ons.
Weight matters: a beautiful column that is too heavy or too fragile for the site creates more problems later.
Step 3: Map the layout and set your column centers
Mark centerlines and finished-face positions
Now go to the slab, porch deck, footing, or wall and mark actual centerlines. Use a chalk line or string line first, then transfer the finished-face dimensions. Do not work only from overall width. A column can be “mathematically centered” and still look wrong if the face does not align with trim, stair runs, or adjacent openings.
On a porch with three bays, for example, I like to mark the beam line, the finished outside face, and the true center at each location. That gives you three reference points instead of one. When the truck arrives with the precast pieces, you are no longer guessing.
Check spacing against openings, stairs, and traffic paths
Columns do more than hold things up. They shape how people move. Before you lock in spacing, walk the path from driveway to front step, or from sidewalk to storefront door. Does the column crowd the stair? Does it clip the sightline from the street? Does it make the landing feel narrow?
This matters on replacement jobs especially. Perma-Column also offers precast deck posts and post repair systems, which is a reminder that replacement conditions vary a lot from clean-slate new construction. Existing beams, railings, and stair geometry may force adjustments.
Confirm height, clearance, and roof or beam alignment
Check the top and bottom, not just the shaft. The base thickness, shaft height, cap profile, beam depth, and ceiling finish all add up. If you miss even one of those pieces, you wind up shimming a finished architectural part to fix a framing error, and that never looks good.
On post-frame or pole-barn work, layout also has to align with the existing building method. That is one reason systems like Perma-Column are marketed around compatibility with current post-frame practice. The support method and the visible finish need to agree with each other from the start.
A few extra minutes on centerlines is cheaper than fighting a crooked column later.
Step 4: Prepare the base, footing, or bracket connection
Level and clean the bearing surface
The connection does the hard work. Before you install anything, make sure the bearing surface is flat, sound, and clean. Sweep dust, remove loose debris, check for standing moisture, and verify that the footprint fully supports the column base or bracket. If the pad is crowned, chipped, or undersized, fix that now.
Do not count on grout, caulk, or finish trim to hide a bad base. They will not. What starts as a tiny rocking motion can become a visible crack line at the joint or a persistent plumb problem up the shaft.
Select the correct anchor or bracket system
This is where the hardware catalog matters. The reference material around Perma-Column includes concrete anchor brackets, expansion anchors, interior wall brackets, screw anchors, Sturdi-Wall drill-set brackets, Sturdi-Wall Plus wet-set brackets, drive anchors, uplift anchors, wet-set L bolts, and wood-column-to-bracket attachments. That range tells you something useful: connection hardware is application-specific, not interchangeable.
If the concrete is already cured, you may be looking at expansion or screw anchors. If the footing is new, a wet-set bracket or L bolt may make more sense. If uplift matters — say a porch roof in an exposed location — you need a connector designed for that demand. Match the hardware to the substrate, the load path, and the sequence of installation.
| Site Condition | Connection Approach to Consider | Why |
|---|---|---|
| New concrete footing | Wet-set bracket or L bolt | Lets you cast the connection into the pour |
| Existing slab or pad | Expansion anchor or screw anchor with bracket | Common retrofit path when concrete is already in place |
| Wood post above concrete | Wood-to-bracket attachment | Keeps the post elevated and separates it from constant moisture |
| High uplift or lateral exposure | Engineered anchor or uplift hardware | Addresses wind and movement demands |
Keep wood out of ground contact wherever possible
This is one of the simplest durability moves you can make. Perma-Column positions its system around elevating wood columns out of the ground and eliminating rot, and the principle applies broadly even if you are not using that exact system. Soil contact and trapped moisture are relentless. Once wood sits where it stays wet, time starts working against you.
If your visible architectural finish surrounds a wood post, protect that hidden post from splashback, wicking, and direct ground contact. Too many attractive porch columns fail because the concealed support was treated like an afterthought.
If the base is uneven, damp, or undersized, even the best-looking column can fail at the connection.
Step 5: Set the column and brace it before locking it in
Stand the column and brace it immediately

Once the base is ready, stand the column and brace it right away. Do not let it “rest there for a second” while you hunt for hardware. That is how edges get chipped and fingers get pinned. Have braces cut, tools ready, and fasteners laid out before the piece leaves the pallet.
For a decorative wrap, this may mean stabilizing the hidden structural post first, then assembling the outer pieces around it. For a load-bearing member, it means temporary restraint until the connector and top bearing are confirmed.
Check plumb from two directions
A column can look straight from the driveway and still be out of plumb toward the house. Always check two directions. We usually read the face parallel to the beam line and then the face perpendicular to it. If the shaft has visible corners or flutes, those details make error easier to spot.
- Set the column loosely in place.
- Brace it front to back.
- Check plumb on one face.
- Check plumb on the adjacent face.
- Reconfirm centerline and beam alignment.
Tighten fasteners only after alignment is confirmed
Perma-Column says its system installs quickly with current post-frame building methods, but “quickly” should never mean skipping alignment. Tighten only after the member is where it belongs. Once anchors are fully set or brackets are cinched down, small corrections become much harder.
Reference material that includes wood-column attachments and concrete anchor brackets underscores the point: the connector is part of the structural assembly, not a trim accessory. Treat it with the same respect you give the shaft itself.
Never trust the column shape alone; the connector is what transfers the load.
Step 6: Finish, inspect, and blend the column into the project
Seal, paint, or finish according to the material
Do not guess at finishing. Follow the instructions for the actual material in front of you. Some architectural precast and cast stone pieces are meant to keep their natural appearance. Some benefit from a compatible sealer. Wood wants a paint or stain system designed for its exposure. Foam-based products need the finish coat the manufacturer specifies. A wrong finish can trap moisture, telegraph joints, or wear unevenly.
If the project is coastal, freeze-thaw exposed, or near a heavily irrigated landscape bed, pay extra attention to splash zones. Finish failure often starts low, at the base, where water lingers longest.
Blend the column with the façade or landscape
The best column does not look isolated. It talks to the coping, the stair cheek walls, the pier caps, the banding, and the paving. That is as true on restoration work as it is on new construction. Haddonstone’s restoration and replication categories point to the same lesson: successful column work is about matching the whole architectural conversation, not dropping a single ornament into the scene.
That is also where a full-line supplier helps. Coral Cast, for example, manufactures columns alongside balustrade, coping, thin veneer, stone moldings, pavers, pier caps, wall caps, and decorative stone, which makes it easier to keep color, texture, and profile language consistent across one property.
Inspect alignment, hardware, and wear points
Finish day is inspection day. Check plumb again. Look at joint lines from 20 feet away and from 2 feet away. Confirm that fasteners are seated, brackets are protected, and water cannot sit where two materials meet. Open and close nearby doors. Walk the stairs. Look for rub points, splash points, and any detail that will age badly.
Some systems, such as Perma-Column, are backed by a lifetime warranty. Whether your assembly carries that kind of warranty or not, the message is the same: durability comes from installation discipline, not just from buying a strong-looking piece.
A good column should look intentional up close, not only from the curb.
Common mistakes
Confusing decorative columns with load-bearing columns
This is the big one. A reinforced concrete column is designed to carry compressive loads. A decorative wrap, cast stone shell, or EPS profile may not be. If you treat trim like structure, you invite underdesign, movement, and failure. If you treat structure like trim, you tend to ignore the connection, the load path, and the permit requirements.
When product categories blur together online, stop and ask one direct question: what exactly is carrying the beam? If the answer is vague, do not proceed until it is clear.
Burying wood or ignoring moisture exposure
Moisture does not care how expensive the finish was. When wood sits in soil, stays wet at the base, or gets boxed into an assembly with no drying path, decay begins. Perma-Column’s whole premise — elevating wood out of the ground to eliminate rot — exists because this failure mode is so common.
Even with Concrete Columns that are primarily decorative, the hidden support needs a moisture strategy. Flashing, drainage, clearance, and separation at the base matter just as much as the visible profile.
Using the wrong bracket, anchor, or spacing
Reference hardware lists include enough different anchors and brackets to make one thing obvious: there is no universal connector. The wrong anchor in the wrong concrete, the wrong bracket for the uplift demand, or the wrong spacing under a beam can turn a clean install into a problem job.
Spacing causes its own trouble. Too tight, and the porch or entry feels cramped. Too wide, and the beam or roof line looks unsupported even if the engineering checks out. Style, structure, and circulation all have to agree.
The most expensive mistake is treating a structural column like a decorative detail.
Good Concrete Columns balance style, structural capacity, and moisture-safe detailing.
When you sort out the load path first, match the material to the exposure, and stay disciplined about layout and connections, the result looks right for years instead of just for the photo day.
Which column on your project deserves a second look before you commit — the one carrying the load, or the one carrying the whole façade visually?
Refine Projects With Coral Cast
Coral Cast serves homeowners, builders, architects, contractors, and property owners with New York architectural precast concrete manufacturing, properly cured maintenance-free products, broad style options, free estimates, and secure nationwide shipping.