
Thin Stone Moldings: The Small Details That Elevate Any Facade
The front elevation looks ordinary until one move changes everything: a narrow stone band frames the windows, caps the entry, and pulls the whole facade into a single composition. Step back twenty feet, and the wall stops feeling flat. It starts feeling designed.
That is where Thin Stone Moldings earn their keep. They do not carry the visual weight of a full stone wall, yet they often decide whether a house, storefront, or mixed-use facade feels finished or unresolved. I have seen a simple 3-inch surround bring order to a renovated stucco front, and I have seen an oversized trim package make a new build look top-heavy before the landscaping even went in.
If you are a homeowner, builder, architect, or contractor, this detail matters because it sits right at the intersection of proportion, texture, and installation discipline. Done well, it sharpens openings, unifies materials, and adds depth without pushing the project into excess. Done poorly, it looks expensive for the wrong reasons.
Fundamentals of Thin Stone Moldings
What makes a molding different from full-depth stone
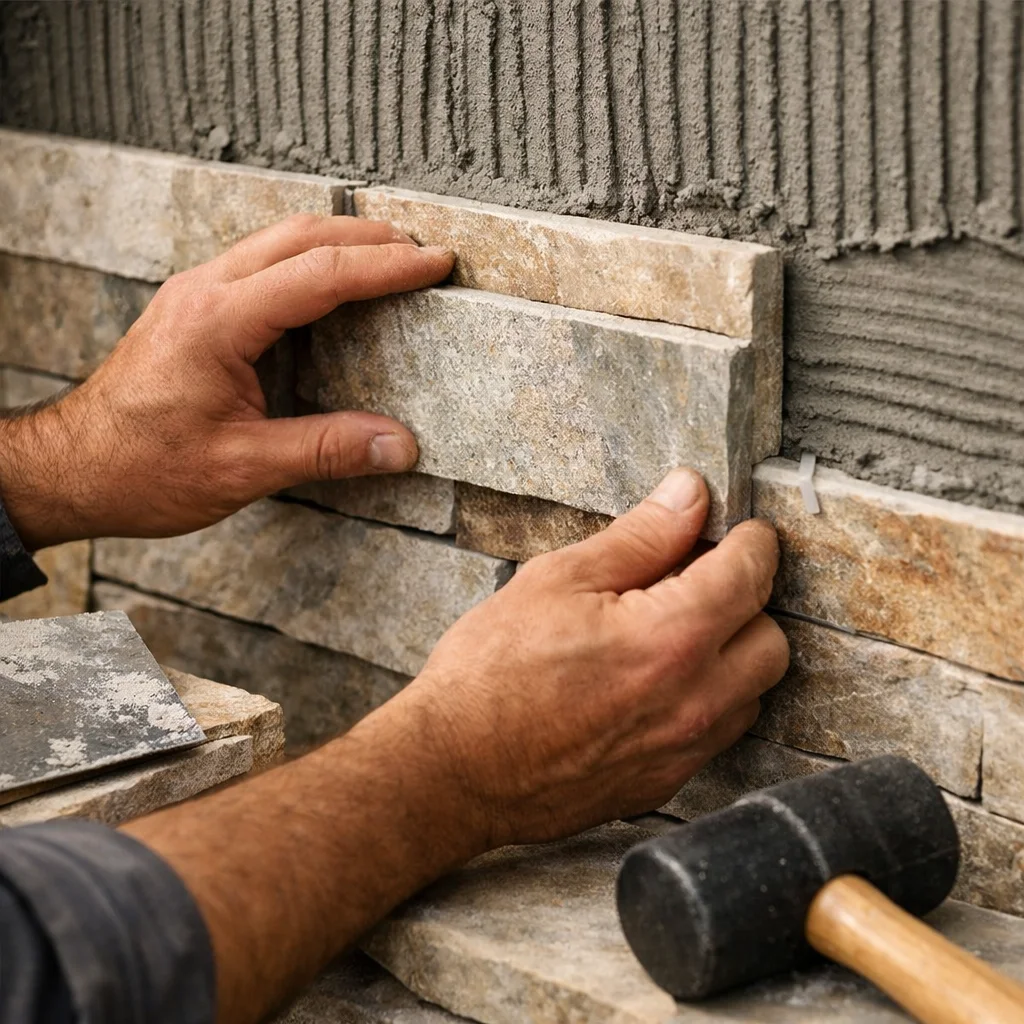
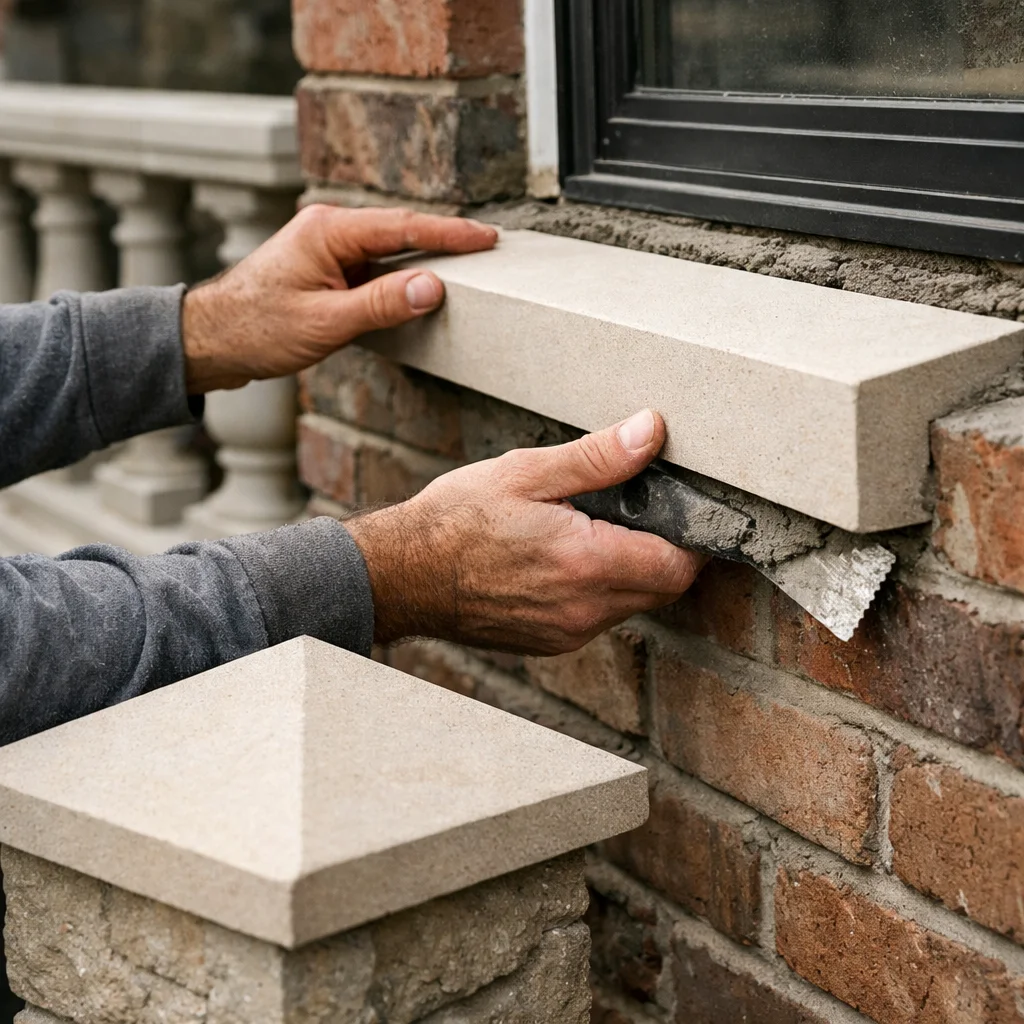
Thin stone moldings are trim pieces used to frame, cap, separate, or terminate parts of a facade. You will see them as window surrounds, door heads, sill bands, belt courses, cornice lines, and other narrow accent profiles. Sometimes they are made from thin stone veneer. Sometimes they are cast as architectural stone or precast profiles for tighter dimensional control. Either way, their job is not to create mass. Their job is to create line, shadow, and order.
That distinction matters. Thin stone veneer is real stone with the texture and visual depth of full stone, but in a lighter, easier form. That lighter format is one reason it appears so often in upscale renovations: you get authentic stone character while avoiding some of the structural headaches that come with heavier traditional stone assemblies. On a second-story window group or a retrofit entry, that difference is not academic. It changes what is practical.
| Detail Type | What It Emphasizes | Best Use |
|---|---|---|
| Full-depth stone | Mass, deep shadow, monumentality | Bases, heavy piers, large feature walls |
| Thin stone moldings | Edges, proportion, visual hierarchy | Openings, horizontal bands, trim lines, terminations |
| Thin veneer trim systems | Speed, consistency, broad style choice | Select remodels, budget-sensitive facades, simplified installs |
Where moldings work best on residential and commercial exteriors
The strongest locations are almost always the places where your eye already wants help: around windows, around doors, at floor lines, below roof edges, and where one wall material transitions to another. A brick-and-stucco colonial can benefit from clean stone window heads. A modern retail facade might need only a slim stone band at the entry canopy and a crisp sill line to break up large wall fields. Even a small duplex can look more deliberate when the front door surround relates to the garage opening and the porch columns.
They also work well where you want continuity. One of the more useful ideas in the thin stone category is the ability to create smoother transitions across connected facade elements. A profile that begins at the exterior entry and reappears at a fireplace or garden wall can make the project feel tied together without resorting to matching every surface.
- Window surrounds that need sharper definition
- Doorways that want more depth without full masonry build-out
- Horizontal break lines between cladding materials
- Parapets, porticos, and roof-adjacent terminations
- Commercial entries that need a stronger focal point
Affinity Stone, for example, describes its thin veneer options as affordable, durable, and available in a wide range of styles. That broad menu matters because moldings are never one-size-fits-all. A narrow trim that works on a farmhouse elevation may look weak on a medical office, while a chunky profile that suits a club building may overwhelm a one-story ranch.
Choosing profiles, widths, and visual hierarchy
Start by deciding which line matters most. Usually that is the main entry or the primary window family. After that, assign supporting roles. If everything gets the same heavy surround, nothing reads as special. On a two-story front, you might give the entry a deeper head profile, the first-floor windows a slimmer surround, and the garage no molding at all. That is hierarchy.
- Primary elements: main entry, signature window group, central bay
- Secondary elements: repeated windows, porch openings, band courses
- Tertiary elements: minor transitions, service openings, side elevations
Think in relative terms, not just catalog terms. A 4-inch profile can feel refined on a townhouse and undersized on a wide commercial facade. A deeply carved shape can look right on a traditional elevation yet awkward beside standing-seam metal and flush fiber cement. You are not choosing decoration in isolation. You are editing the whole facade.
A molding should clarify the architecture, not compete with it.
How Thin Stone Moldings Work on a Facade
From elevation drawing to field layout
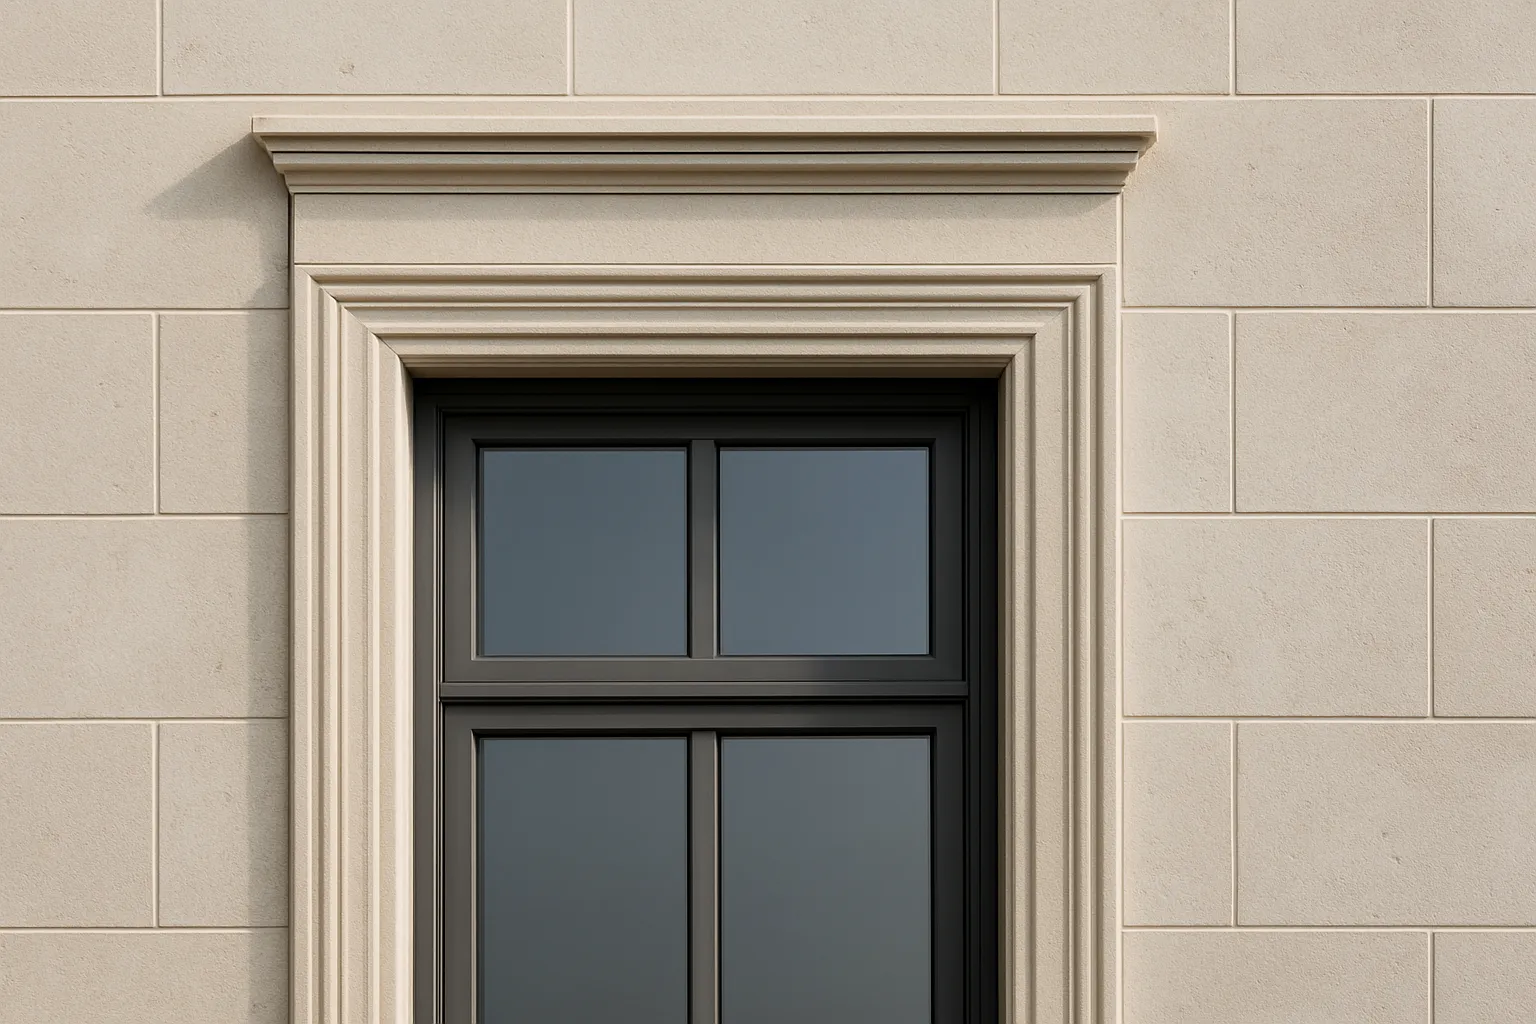
The cleanest stone trim usually starts long before anyone opens mortar or sets a panel. You begin on the elevation. Find your control lines. Confirm where the window heads actually align. Check whether the water table, porch beam, and upper sill band want to relate to one another. If they do not, fix the drawing before the wall forces the issue.
- Mark horizontal datum lines across the elevation.
- Establish centerlines for doors, windows, and key bays.
- Decide which openings receive full surrounds and which get selective trim.
- Resolve corner returns, head conditions, and material transitions on paper.
- Mock up one representative area before full installation.
This is the stage where you save money. When the mason, installer, architect, and owner can all point to the same marked-up elevation, you avoid the usual field improvisation. I have watched a one-bay mockup reveal that a header was half an inch too tall, a sill projection was too sharp for the siding reveal, and a corner return needed a different cut. Better then than after twelve windows.
How moldings connect with corners, openings, and rooflines
Connection points make or break the detail. Around windows, the surround has to decide whether the sill passes through, tucks between jambs, or projects beyond them. At outside corners, the molding must either return cleanly, die into another profile, or stop in a way that looks intentional. At rooflines, a band cannot wander into a gutter, a soffit, or a flashing line without a clear reason.
This is also where thin stone shows its real advantage. Because the assembly is lighter than traditional full-bed stone, you can often refine openings and link facade elements without the same structural burden. That gives you room to create graceful transitions between exterior zones without designing every condition like a load-bearing masonry monument.
Look especially hard at these intersections:
- Window heads meeting trim or soffits
- Door surrounds crossing from veneer to stucco or siding
- Horizontal bands turning outside corners
- Moldings dying into pilasters, columns, or accent panels
- Top terminations below parapets, eaves, and coping lines
Why sequencing and substrate prep matter
No profile, however elegant, survives sloppy prep. The substrate needs to be flat enough to keep trim lines straight. Openings need proper flashing before the stone work begins. If windows shift late in the schedule by even 1/2 inch, your carefully aligned head course may suddenly telegraph that mistake across the entire front elevation.
The category itself tells you this. Manufacturers like Affinity Stone organize support around installation pages, downloads, videos, and FAQs because planning and execution are central to the result. Some projects use adhered veneer. Some use thin veneer systems. Some pair thin stone trim with cast sills or precast caps. Different systems ask for different sequencing, but the principle stays the same: first establish the detail, then protect the substrate, then install in the order that preserves line and drainage.
Detail first, installation second: the best-looking stone trim is usually planned before the first piece goes up.
Best Practices for a Cohesive, High-End Look
Match scale to the size of the building
Scale is your first filter. A modest one-story cottage and a three-story office frontage should not wear the same trim language. On smaller facades, slimmer profiles often read as crisp and confident. On larger elevations, you may need broader bands or slightly deeper relief so the detail does not disappear at street distance. The point is not to make the molding larger. The point is to make it proportional.
| Facade Situation | Usually Works Better | Risk If Overdone |
|---|---|---|
| Small home with narrow windows | Lean surrounds and selective entry emphasis | Heavy trim makes openings look squeezed |
| Wide suburban front elevation | One strong entry profile plus restrained window trim | Everything becomes equally loud |
| Urban mixed-use or civic facade | Clear banding and disciplined repetition | Oversized pieces feel theatrical instead of architectural |
I have seen this mistake more than any other. A homeowner falls in love with a profile sample in hand. Then it goes on the wall, thirty feet from the curb, beside standard-size windows, and suddenly the trim feels swollen. Always judge the piece at building scale, not countertop scale.
Coordinate stone color, texture, and surrounding materials
Good facades do not depend on one material shouting over the others. They depend on materials agreeing about tone, roughness, and shadow. The luxury-renovation conversation around thin stone often centers on three things: it looks good, it feels real, and it helps preserve long-term value. That only happens when the molding belongs to the larger palette.
- Match undertones across stone, brick, siding, and stucco.
- Compare textures in daylight, not just in a showroom or warehouse.
- Choose mortar or joint color that supports the profile instead of outlining every piece.
- Check adjacent metals such as bronze, black aluminum, or galvanized steel.
- Review roof, shutter, and trim colors together with the stone sample board.
Contrast still matters. Thin stone products are often marketed as a way to make a space pop by adding dimension and visual difference. That can be true. A cool gray molding against a warmer wall can sharpen a facade beautifully. But contrast works best when it is controlled. If the stone texture is rugged, keep the profile cleaner. If the profile is ornate, keep the field material quieter.
Use moldings to reinforce symmetry and focal points
Think like an editor. Ask where the eye should land first. On many residential projects, that is the front door. On a small commercial building, it may be the entry bay, the canopy, or the primary display window group. Moldings help when they reinforce that intention. They hurt when they hand equal visual weight to side doors, service openings, and minor windows.
A classic example: a center-hall facade with five front windows and a recessed door. Give the door surround the richest profile, align the first-floor window heads with a clean band, and let the upper windows stay lighter. The building reads as balanced. Do the opposite — heavy trim on every opening, plus a thick garage header — and the composition starts arguing with itself.
The best trim is usually the trim you notice only after you’ve noticed the whole building.
Common Mistakes That Undermine the Detail
Using profiles that are too large for the facade
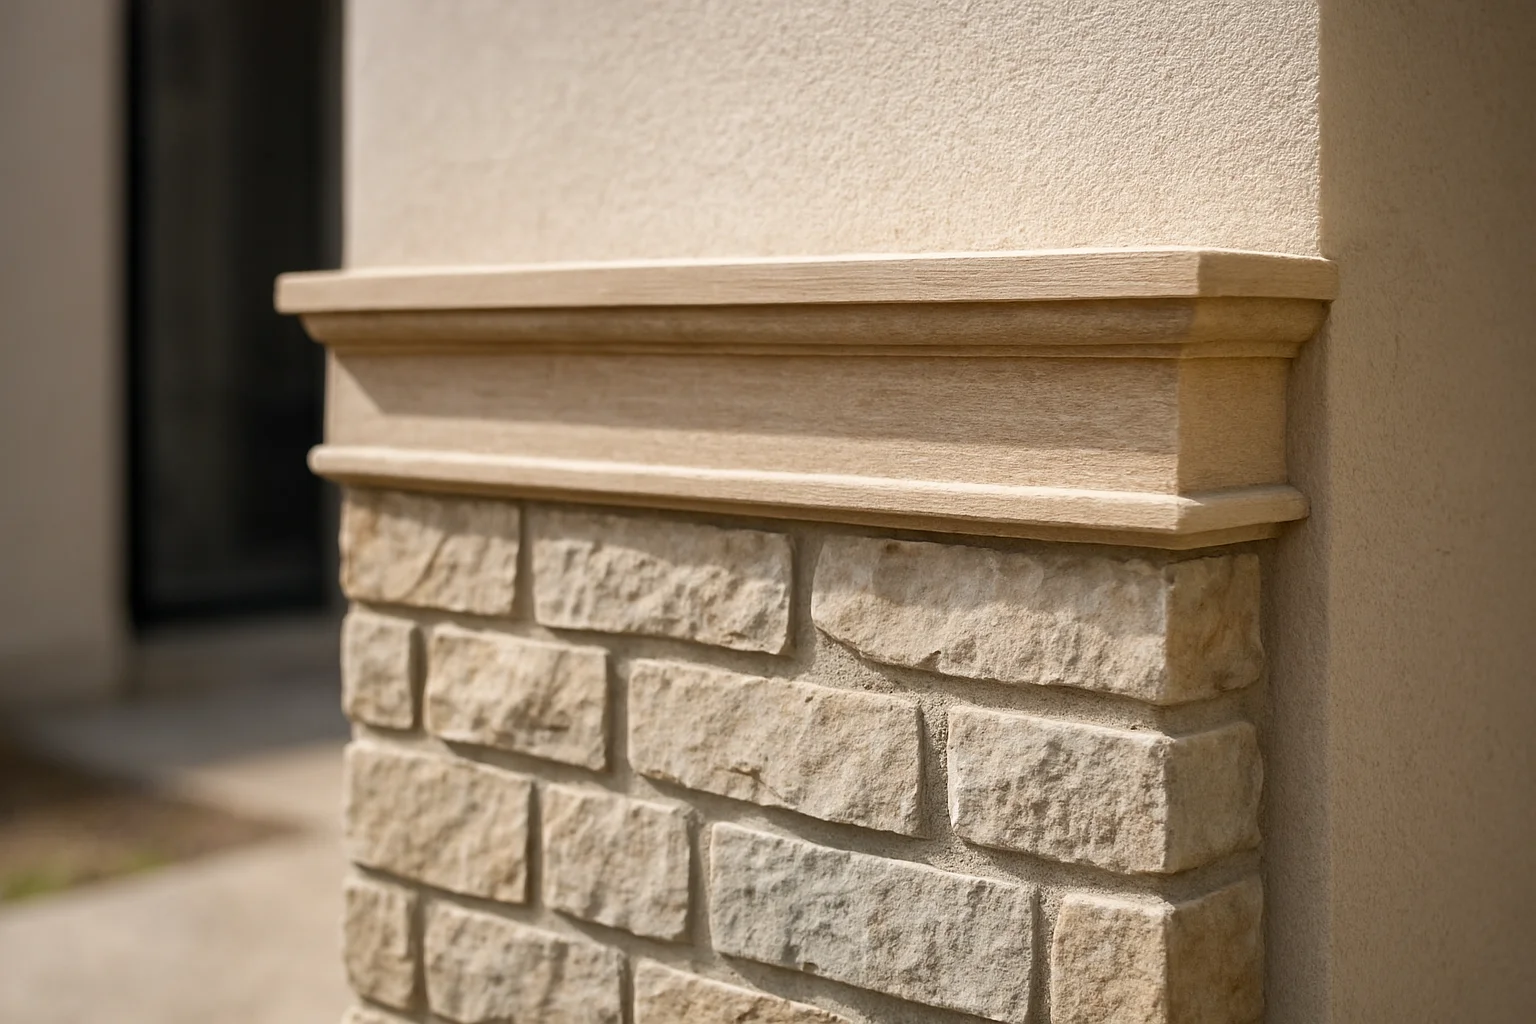
This is the fastest way to turn a refined idea into visual bulk. Thin stone is attractive partly because it gives you texture and depth without the mass of traditional stone construction. When you overbuild the trim, you work against that strength. The surround gets thick, the shadow line gets clumsy, and the opening starts looking buried instead of framed.
You also lose the structural simplicity that drew you to the category in the first place. Coverage on thin stone points to reduced structural challenges compared with heavier stone work. Treating every detail like full-depth masonry defeats that advantage. You are no longer using the material for elegance. You are using it to imitate weight.
The most expensive mistake is often proportion, not material.
Ignoring transitions to siding, brick, stucco, or metal
A beautiful profile can still fail if it dies badly into the surrounding wall. The joint where stone meets lap siding, metal panel, brick, or stucco needs to be deliberate. If thickness changes abruptly, if the reveal is inconsistent, or if the termination lands at a random height, the eye goes straight to the seam.
| Mistake | What It Causes | Better Move |
|---|---|---|
| Stone trim stops randomly beside siding | Facade feels unresolved | Terminate at a clear casing line, corner board, or band |
| Header crosses into soffit without room | Crowded top of opening | Lower, slim, or reprofile the header on the drawing |
| Brick and stone meet without reveal control | Uneven depth and visual clutter | Set a consistent plane and define the edge condition early |
| Metal trim color fights stone undertone | Material palette feels accidental | Review samples together in daylight |
This is where mockups pay for themselves. One clean window bay, built with the actual siding or stucco adjacent to the actual molding profile, tells you more than ten catalog pages ever will.
Skipping moisture-management and maintenance planning
Water does not care how pretty the profile is. If the flashing is weak, if the sill lacks a sensible drip, or if the wall system is not detailed for drainage, the facade will remind you later. Material durability and maintenance-free marketing language do not exempt you from water management. They just raise the stakes, because you expect the assembly to last.
System choice matters here too. Thin veneer options, adhered veneer systems, cast sills, and precast trim each come with their own installation guidance. Read it. Follow it. Plan access for sealant joints, cleaning, and future inspection. A stone molding should look permanent, but the people installing it still need a practical path to build it correctly.
Tools, Resources, and Planning Aids
Measurement and layout tools
You do not need exotic gear to plan trim well, but you do need discipline. A short tool list covers most of the critical work.
- 25-foot and 35-foot tape measures
- Laser level for head and sill alignment
- Story pole for repeated opening heights
- Chalk line for long horizontal bands
- Printed elevations with dimensions marked in the field
- Painter’s tape or temporary battens for on-wall mockups
The story pole is the sleeper tool here. If you are trimming six front windows and one rough opening is 5/8 inch higher than the rest, the molding will expose that error instantly. Catch it before the first piece is cut.
Visualizers, calculators, and sample boards
This category has embraced planning tools for a reason. Affinity Stone offers a Product Calculator and Product Visualizer, along with a Gallery and related trim components such as Column Kits. Those tools do not replace design judgment, but they are useful for estimating quantities, previewing style direction, and narrowing profile families before you order material.
Sample boards matter even more. Build one with the stone molding, field veneer or wall finish, mortar color, metal trim color, and any adjacent precast or cast-stone piece. Hold it in daylight at the site. If your project combines thin veneer moldings with coping, wall caps, balustrade, columns, pier caps, or decorative stone, working with a coordinated supplier such as Coral Cast can help keep color families and profile language aligned across the facade.
Installation guides, videos, FAQs, and field coordination
Do not treat manufacturer support as a formality. In this segment, even products promoted as easy to install benefit from careful review of installation guides, downloads, videos, and FAQs before work begins. The best field teams I know hold a short pre-install meeting with the drawings, sample board, and one target mockup location already chosen.
| Project Stage | What to Confirm |
|---|---|
| Before ordering | Profile sizes, quantities, corner conditions, color selection, related trim pieces |
| Before installation | Substrate readiness, flashing, opening dimensions, datum lines, sequence with other trades |
| During installation | Joint consistency, return conditions, terminations, alignment to mockup, protection of finished pieces |
That meeting is where you catch the quiet problems: the gutter that drops into your band course, the recessed light that lands inside the entry header, the metal panel edge that wants a cleaner reveal. Fix those items once, and the whole wall gets easier.
If you can mock up one bay cleanly, you can usually avoid a lot of expensive guesswork later.
Thin Stone Moldings do the quiet work of making a facade look resolved.
When you size them well, align them carefully, and handle transitions honestly, they sharpen proportion, connect materials, and add depth without turning the building noisy or heavy.
If you stepped across the street and studied your elevation for five minutes, which opening, corner, or roofline would benefit most from a thinner, cleaner stone line?
Explore Thin Stone Moldings With Coral Cast
Coral Cast offers maintenance-free architectural stone, free estimates, showroom support, and secure nationwide shipping for residential and commercial work.