Stone Moldings for Windows and Doors: Finishing Touches That Sell a Home
At a half-finished entryway, a builder leans in with a tape measure and checks the window reveal for the third time. Daylight skims the raw opening, then flashes across a stack of newly cut pieces beside the door. Nothing is installed yet, but you can already tell whether the front of the house will look calm and expensive — or slightly wrong forever.
That is where Stone Moldings earn their keep. When you choose the right profile, measure honestly, and finish the joints with discipline, a plain window or door starts reading like part of a complete design. Buyers notice it from the sidewalk. Appraisers may not call it out by name, but they absolutely react to the overall finish level.
I have seen this on everything from a 1920s Tudor in Westchester to a newer brick-front colonial with undersized builder trim. The difference is rarely about extravagance. It is about proportion, crisp lines, and details that look like they belonged there from day one. If you want window and door trim that adds curb appeal instead of visual noise, follow the process below.
Prerequisites / Tools: Choose the Right Stone, Finish, and Setup Before You Start
Select a finish that fits the project’s style and exposure
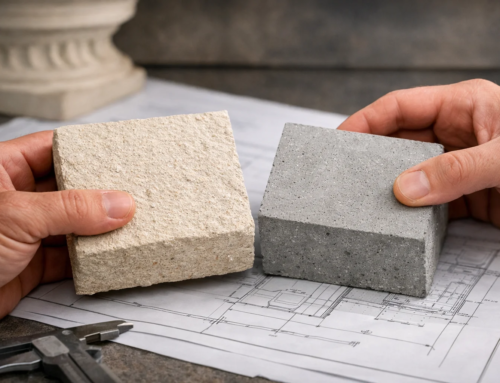
Before you cut anything, decide what the opening needs to say. A front door on a formal masonry façade can carry a deeper profile than a small side-yard window. Limestone-like appearances are often a strong visual choice because they can be matched in multiple sizes, colors, and textures, and are commonly specified for both interior and exterior applications. That flexibility matters when you are trying to tie together a foyer, an exterior surround, and a sill line without the house feeling patched together.
You also have a wide style field. Precast stone moldings and veneer lines can be finished to evoke marble, travertine, granite, basalt, mixed stone, or terrazzo-like effects without changing the underlying precast material. Not every look belongs around every opening, of course. But the list tells you something useful: selection is not automatic. You need to match the appearance to the architecture, the climate, and the amount of visual weight the opening can handle.
On a farmhouse in Pennsylvania, a honed limestone- or travertine-like profile may feel settled and quiet. On a sleek stucco project in Scottsdale, a flatter, sharper-lined piece with a smoother finish often reads better. And if you are coordinating moldings with sills, coping, columns, or wall caps, choose the family first so the façade stays coherent.
Gather the measuring, cutting, and setting tools
Good results come from setup, not heroics. Put the basic kit in one place before you start laying pieces on sawhorses.
- Tape measure, story pole, and notepad for cut lists
- 4-foot level, laser line, framing square, and straightedge
- Pencil, painter’s tape, angle finder, and labeling marker
- Wet saw or bridge saw with the correct blade for the material
- Notched trowel, mixing bucket, appropriate setting material, and margin trowel
- Shims, wedges, spacers, and temporary bracing
- Soft cloths, sponges, and residue-safe cleaner
- Safety gear: eye protection, hearing protection, gloves, and dust control
If you are trimming a single interior cased opening, the tool list stays light. If you are dressing a front elevation with repeated windows and a main entry, bring a laser and keep a written piece schedule. It saves hours.
Plan for interior vs. exterior installation conditions
Interior trim work is mostly about alignment, cleanup, and how the stone meets drywall, wood, or tile. Exterior work adds weather, movement, substrate condition, and water management. A piece that looks fine in a climate-controlled foyer may fail outside in Buffalo if you ignore moisture paths and freeze-thaw stress. The same precast stone finishes that suit interior beauty can also work outdoors — but only when you detail them like exterior components.
Think through the exposure before you order or cut. South-facing openings bake in direct sun. North-facing façades stay damp longer. Commercial entries and outdoor walls take more wear than a powder room archway. Finishes matter too: polished, honed, tumbled, brushed, split-faced, and textured surfaces all clean up and read differently once installed.
If the profile and finish do not suit the façade, no amount of perfect installation will make it look intentional.
Step 1: Match the Stone Moldings Profile to the Window and Door Style
Compare the profile to the casing and surrounding façade
Your first decision is visual. The molding should reinforce the architecture, not compete with it. Stand 20 or 30 feet back and look at the whole elevation: siding or brick pattern, window size, door width, shutters, porch columns, roof overhangs, and the trim already in place. Then bring the sample to the opening.
This is where catalog language can help if you read it correctly. Some precast trim lines are sold as chair rails, bar liners, or base moldings. That tells you there is a broad range of profile types available, from slim accent pieces to fuller bands with more shadow. It also reminds you that not every molding belongs around a front door. Some profiles solve edges. Some act as decoration. Some do both. Choose the one that suits the opening.
Keep proportions consistent across all visible openings
If the street-facing side of the house has three windows and one door, they should look related. That does not mean identical. Your main entry can take a slightly richer surround, and a large picture window may need a broader band than a narrow double-hung. But the profile family should stay consistent enough that the eye reads one deliberate system.
| House Style | Profile Direction | Finish That Usually Reads Right |
|---|---|---|
| Colonial or Federal | Moderate depth, clean lines, restrained projection | Honed or smooth |
| Craftsman or Bungalow | Broader, simpler bands with visible weight | Honed or lightly textured |
| Mediterranean or Traditional Masonry | Softer edges, deeper shadow lines | Brushed or tumbled |
| Modern Stucco or Minimalist | Flat or liner-style profile, crisp geometry | Honed or polished, used sparingly |
A common mistake is oversizing one showpiece opening while leaving the adjacent windows thin and forgettable. That breaks the rhythm. Buyers may not say why, but they feel it immediately.
Decide whether the look should feel crisp, traditional, or soft-edged
Profiles read emotionally. Sharp arrises and tight reveals feel crisp. Softer edges feel traditional. Brushed or tumbled surfaces can warm up a rustic elevation, while polished stone can feel formal or overly slick depending on the setting. Around windows and doors, split-faced textures usually need careful handling; they can look rugged on walls but messy when you want a clean shadow line at a frame.
Think of the opening from both directions. From outside, the trim should frame the façade. From inside, the return line and edge condition should still feel resolved. That is why the best installers step back often, even on small jobs.
The best profile is the one that makes the opening look finished from the street and balanced from inside the room.
Step 2: Measure the Opening, Reveal, and Substrate Carefully
Measure each side separately instead of assuming symmetry
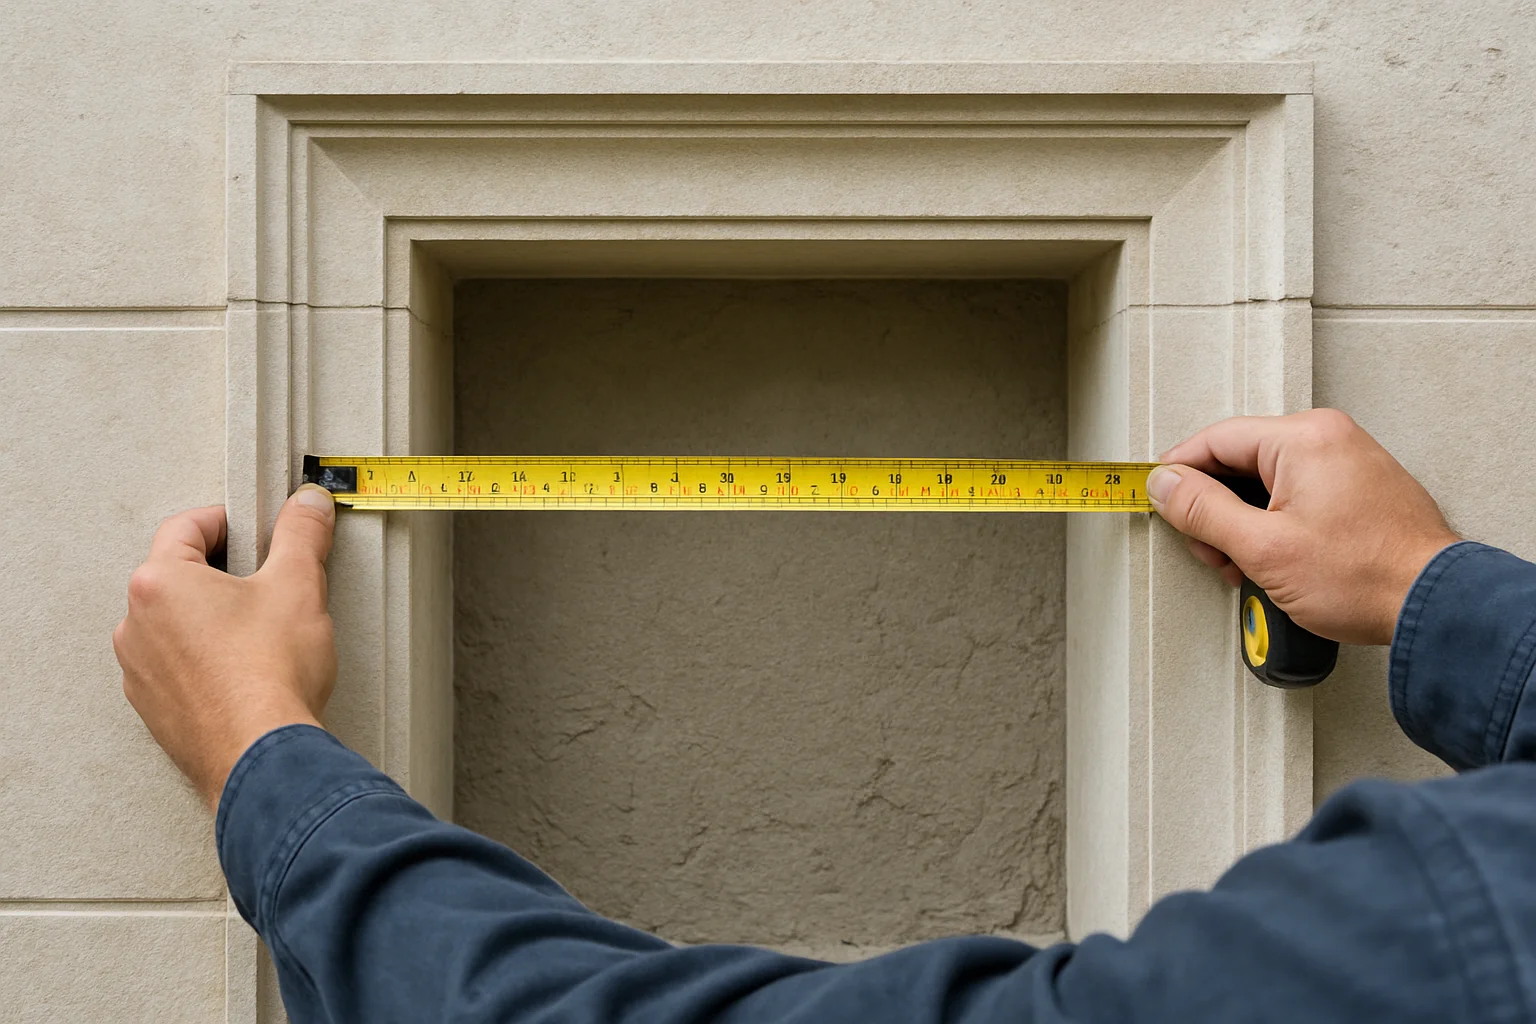
Do not assume the left jamb matches the right jamb, or that the head is level because the window is new. Measure every leg independently. Record head width, both side heights, return depth, sill projection, and any changes in wall plane. On a 1958 ranch or a prewar brick building, a quarter-inch difference is not unusual. That quarter-inch will show up in your miters if you pretend it is not there.
I like to mark each opening with its own code — W1, W2, D1 — and keep a cut sheet for each one. If you are ordering prefinished pieces or combining standard lengths, that small bit of discipline prevents a pile of expensive almost-fits.
Check for plumb, level, and square before laying out cuts
Use a level, laser, and framing square before you start cutting. If the substrate is leaning, bowed, or twisted, you need to know whether you will shim, float, scribe, or adjust the reveal. A perfect 45-degree miter does not rescue an out-of-square opening.
| What to Check | Tool | Why It Matters |
|---|---|---|
| Head width at both ends and center | Tape measure | Catches taper that will open or crush the corner joints |
| Jamb plumb and head level | 4-foot level or laser | Keeps reveals even around the frame |
| Diagonal square check | Tape measure | Shows whether opposite corners match |
| Substrate flatness | Straightedge | Prevents rocking pieces and hollow spots |
| Transitions at waterproofing or flashing | Visual inspection | Protects exterior openings from moisture trouble |
If one jamb is out by 3/16 inch over 6 feet, you can often hide it with a controlled reveal. If you ignore it until the last piece, you will be trying to cheat the final miter, and it will show.
Confirm backing, waterproofing, and load support where needed
Stone trim shows up in demanding places: commercial spaces, outdoor walls, fireplaces, landscape features, and public-facing entries. That tells you something simple but vital — the substrate has to be ready for the load and the environment. Check that you have sound backing, stable attachment surfaces, and the right transition details wherever the molding meets cladding, sealant joints, or a window unit.
Exterior openings need honest water management. Interior openings still need solid backing and clean contact. Heavier pieces may need temporary ledgers, mechanical support, or both depending on the system and manufacturer guidance.
Measure every opening on its own — older frames are rarely perfectly square.
Step 3: Dry-Fit, Mark, and Cut Every Piece Before Setting
Lay out each piece in install order and label the backs
Dry-fit everything first. Lay the pieces out in a U-shape on padded sawhorses and arrange them in install order: left side, head, right side, plus any returns or sill elements. This matters even more when the material line offers multiple sizes, colors, and textures. Slight tone shifts or surface variation can either look natural and intentional — or accidental — depending on how you sequence them.
Label the back of each piece with its opening code and orientation. Use plain notes like “D1 left,” “W3 head,” and arrows for top. When the setting material is mixed and the clock is running, those marks are gold.
Mark miters, returns, and cut direction before touching the saw
Make every mark while the full assembly is still visible. Put painter’s tape on the face if the pencil shows poorly, then note the short point, long point, cut angle, and saw direction. If you are building a door surround with returns, mark those separately. Do not trust memory after the second or third piece.
This sounds elementary. It is. It also prevents half the waste I see on site. One reversed miter in a precast piece can eat a morning fast.
Protect edges so the stone does not chip during handling
Most chipped corners happen before installation, not after. Support the full length of the piece. Pad your table. Tape vulnerable arrises if needed. Feed the stone through the saw steadily instead of rushing the blade. Harder material behaves differently than softer material, but the rule is the same: let the blade work.
After each cut, test the fit again. Touch the miters together in place, not just on the bench. A corner can close beautifully flat on sawhorses and still misbehave once it meets a wavy wall.
Do not save the dry fit for the end; it is the cheapest way to catch an expensive mistake.
Step 4: Install the Molding with Even Lines and Strong Support
Start on the most visible side so the eye lands on the best line
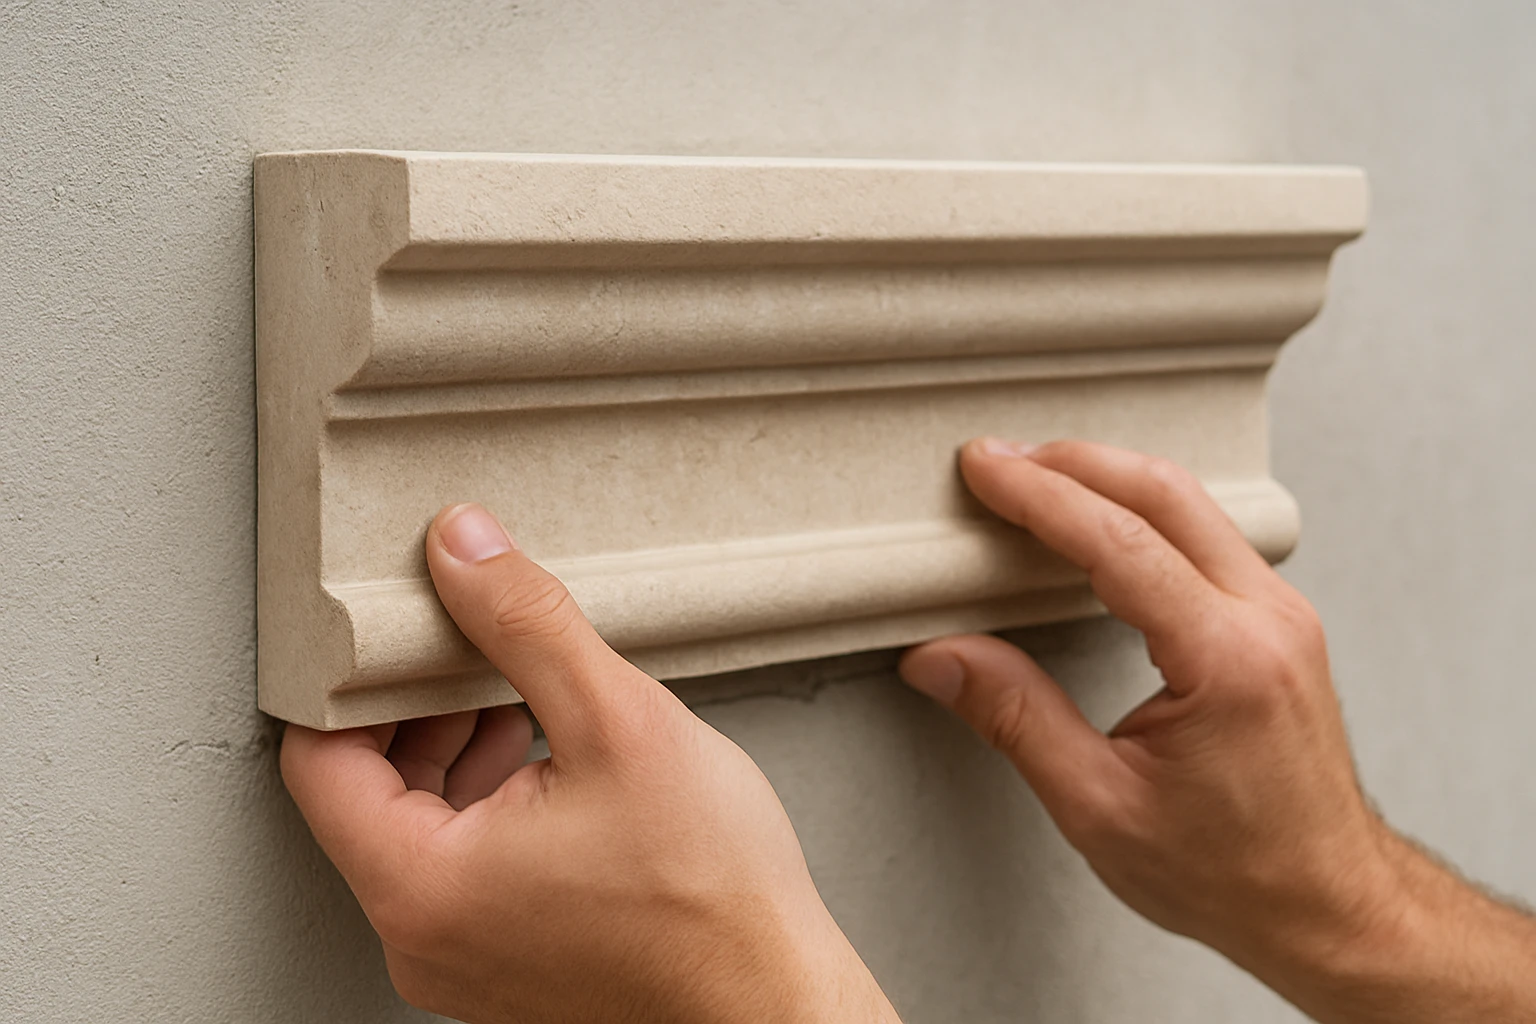
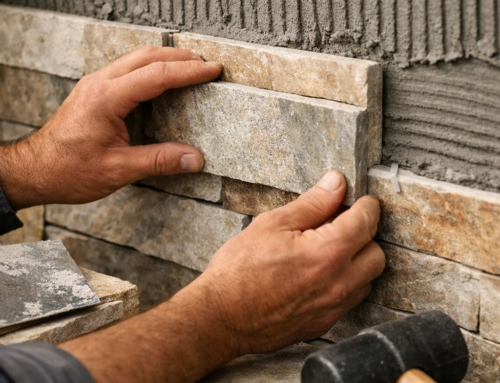
Installation is about control. Start where people naturally look first. On a front entry, that is often the latch side of the door or the main head piece visible from the walkway. On an interior opening, it may be the side you see when entering the room. Establish the best line there, then work around the frame while protecting that reveal.
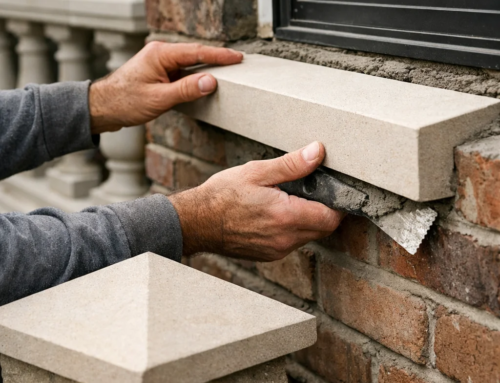
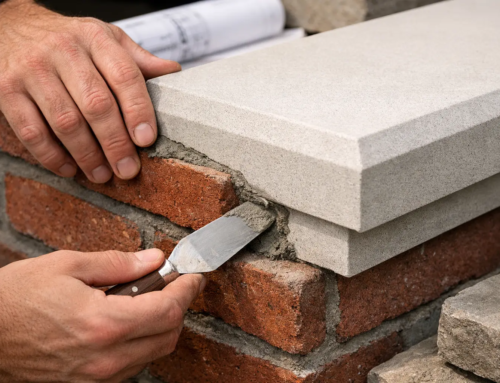
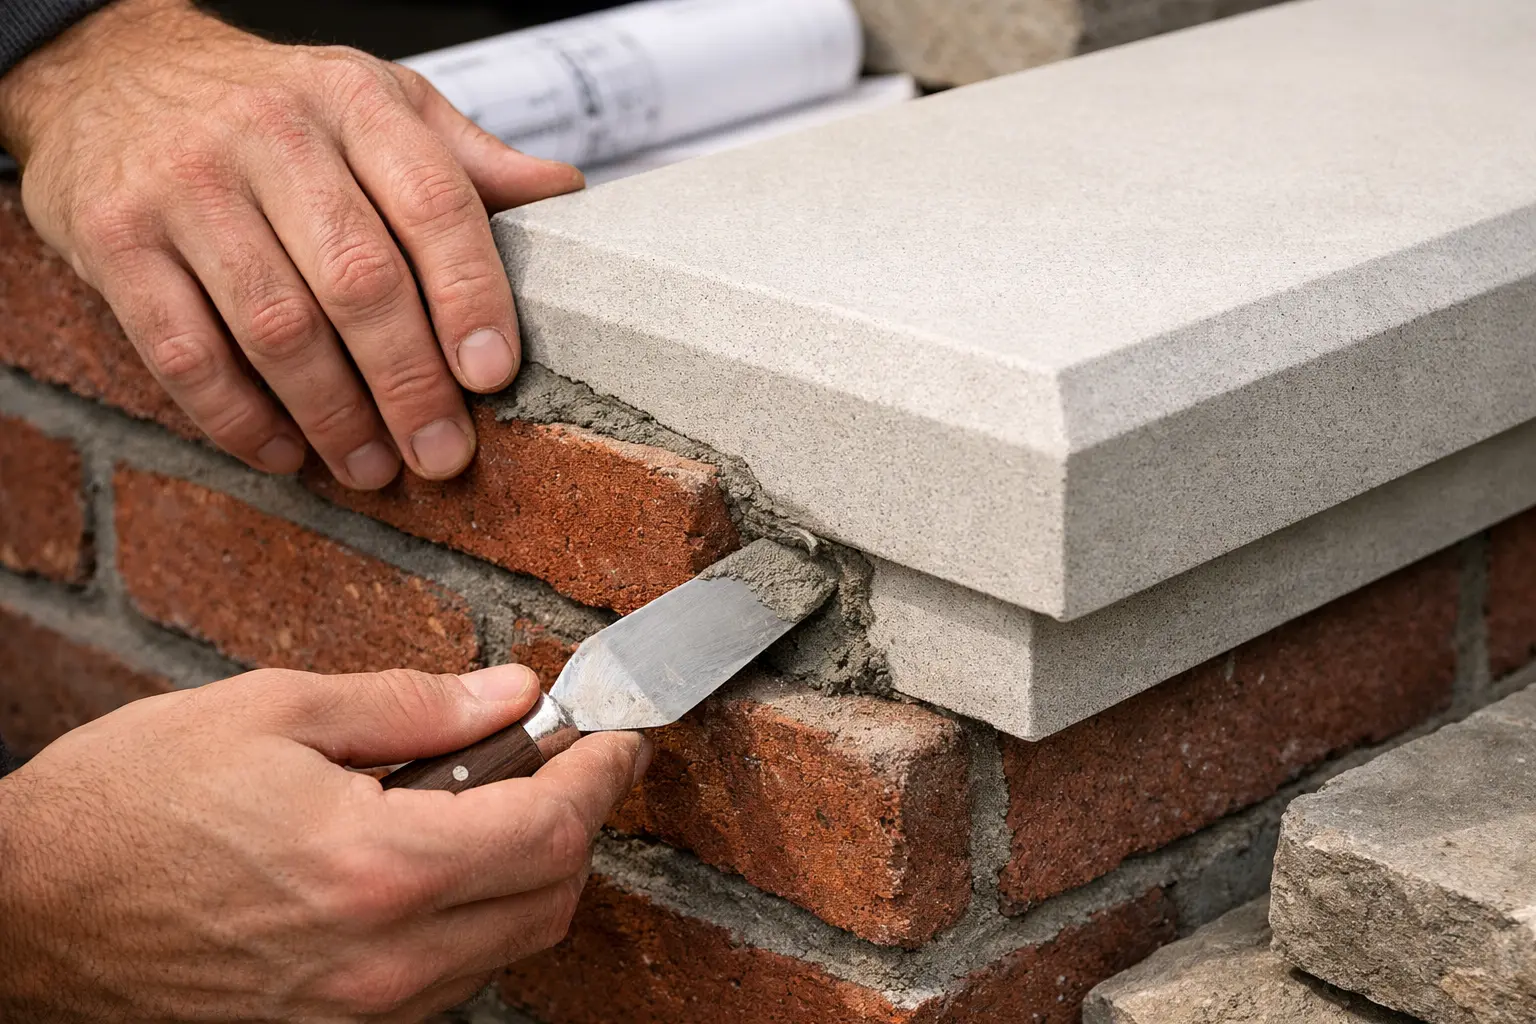
Spread the setting material consistently, seat the piece without starving the bed, and check for full contact. A stone return that sounds hollow today often becomes tomorrow’s callback.
Keep the reveal and joint spacing uniform around the frame
Uniform reveal beats heroic improvisation. Set a target reveal, use spacers or shims, and keep checking it after every piece. If the wall wanders, decide whether you will correct the substrate, adjust the back, or change the reveal slightly in a place the eye will forgive. Do not drift little by little and hope the last piece hides it.
- Dry place the first piece and verify the reveal.
- Set it and recheck plumb or level immediately.
- Install the adjacent corner piece before the bed firms up too much.
- Confirm the miter, then continue around the opening.
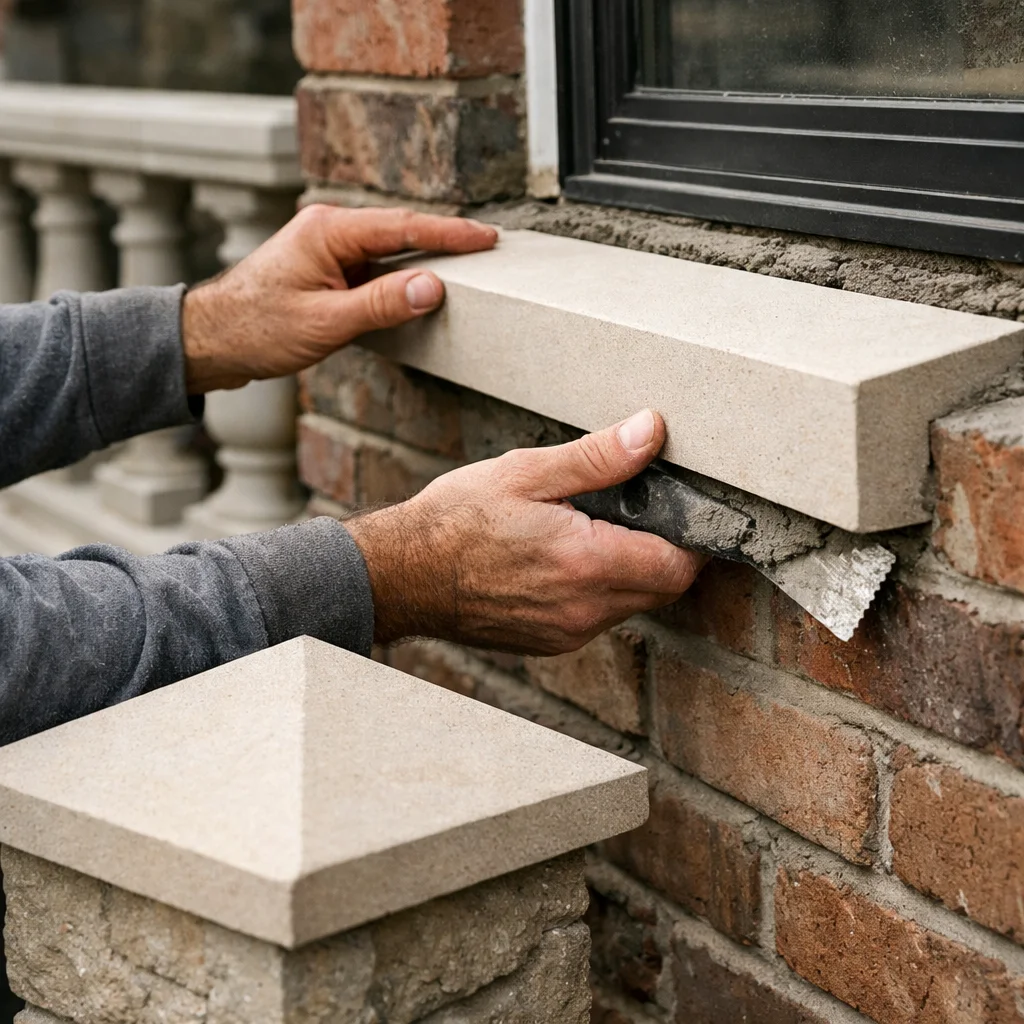
If you are matching the surround to other exterior elements, such as coping or wall caps, keep the profile language consistent. On larger custom jobs, a full-line manufacturer such as Coral Cast can help you coordinate those related pieces before installation day so the house reads as one composition instead of separate purchases.
Brace heavier pieces until the setting material fully holds
Stone is patient. Gravity is not. Brace heavier sections with wedges, temporary ledgers, or nonstaining tape until the setting material has done its job. On a tall exterior surround, I would rather spend 20 extra minutes on support than explain a slipped joint later.
This matters even if the material itself is durable enough for interior and exterior use. Durability in the catalog does not cancel physics on the wall. Support the weight where the stone needs it most.
If one side is off, correct it early; do not force the last piece to hide a layout problem.
Step 5: Finish the Joints, Clean the Face, and Seal for Presentation
Caulk movement joints where dissimilar materials meet
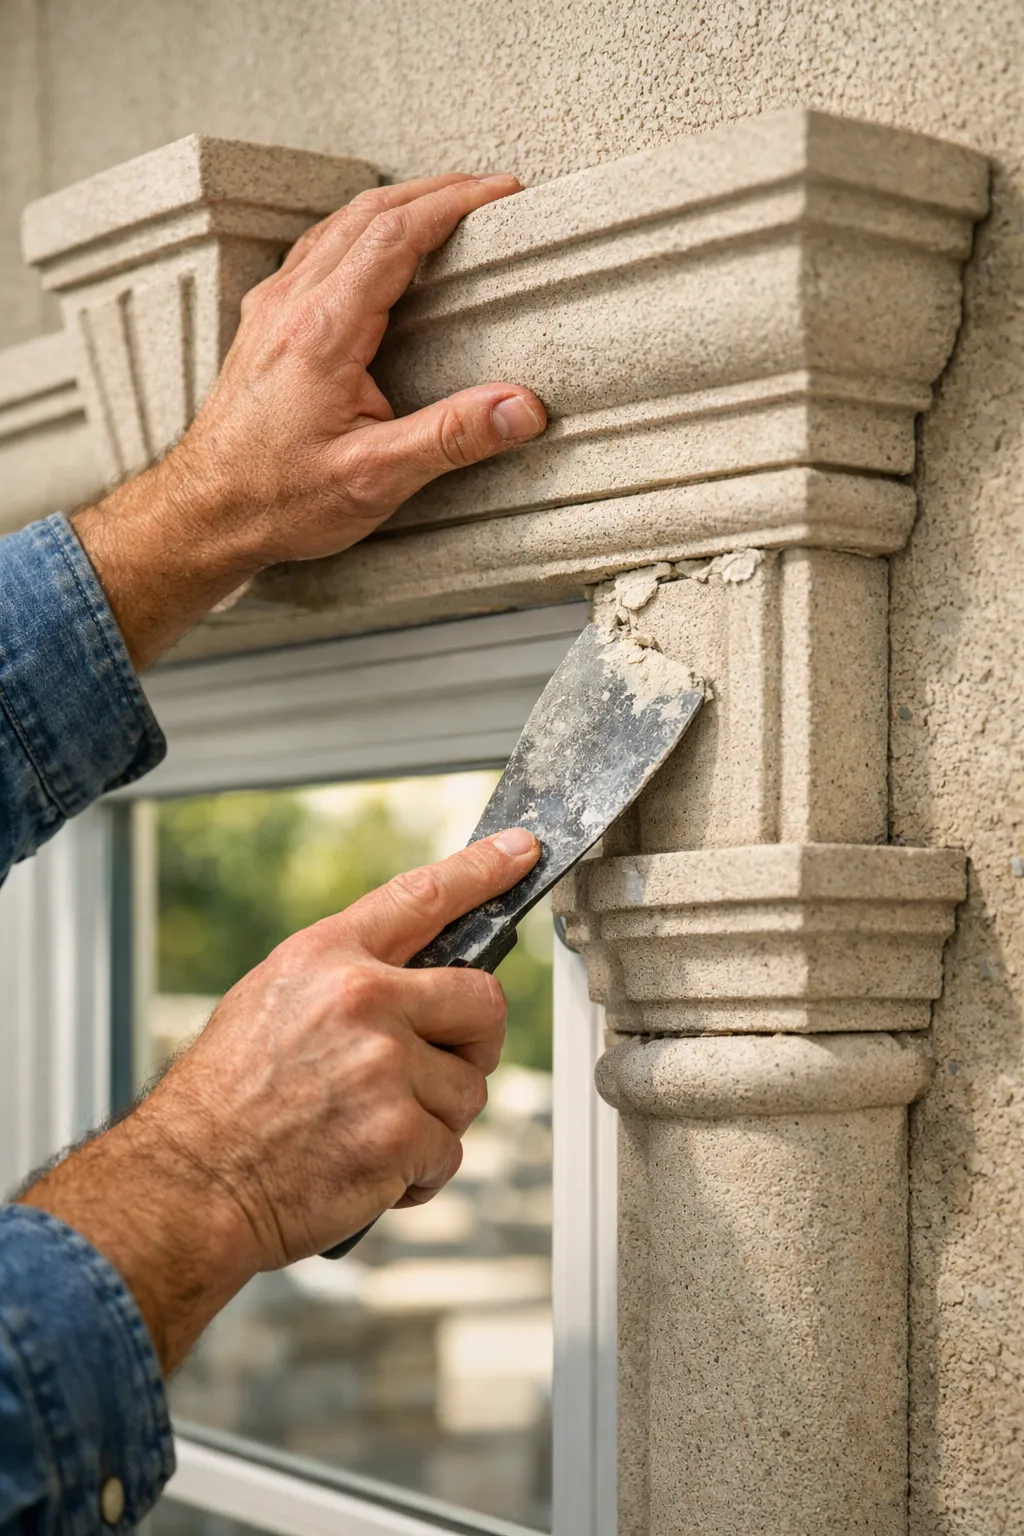
Where stone meets a window frame, siding, metal, or another material that moves differently, you need a proper movement joint. That usually means a compatible sealant, not a hard fill that will crack or debond. Color-match it if you can. Tool it neatly. Keep the bead tight and deliberate.
A clean sealant line around an aluminum-clad window does more for the finished look than many people expect. It reads as care. Sloppy caulk reads as repair, even when the installation is brand new.
Clean haze, dust, and adhesive residue before it hardens
The final appearance depends heavily on cleanup. Polished surfaces show smears fast. Honed finishes can carry a chalky haze. Textured faces trap dust in the recesses. Wipe residue before it cures, and use cleaners appropriate to the material. Acid-sensitive stone-like finishes need different treatment than denser finishes.
This is where many otherwise solid jobs lose their premium feel. The trim is square, the miters are decent, but there is dried adhesive at the corner or grinding dust in the pores. Buyers notice that kind of neglect in listing photos within seconds.
Seal the stone only as appropriate for the material and exposure
Not every stone, finish, or installation condition wants the same sealer. A brushed exterior surround, a polished foyer casing, and a textured bar liner used indoors all behave differently. Follow the manufacturer’s guidance for the material in front of you. Seal only when appropriate, and do it after the surface is fully clean and dry.
Remember that material choice affects the long-term maintenance conversation. Precast stone moldings and related profiles can be finished to resemble limestone, travertine, and other traditional looks while keeping the maintenance benefits of precast. Choose with that in mind, especially if the goal is a move-in-ready appearance with minimal fuss.
A clean joint and crisp edge usually sell the upgrade better than a bigger, busier profile.
Common Mistakes to Avoid
Choosing a finish that fights the architecture
Just because a finish is available does not mean it belongs on your house. Precast stone moldings are offered in a wide range of sizes, colors, textures, and finishes. That range is a gift, but it also creates plenty of room for poor choices. A highly polished black profile around a soft, traditional cottage window can feel abrupt. A rough split-faced trim around a narrow contemporary aluminum frame can look unresolved.
When you are unsure, simplify. A quieter honed or lightly textured piece usually ages better than an overly busy selection chasing attention.
Ignoring water management or movement joints
Most exterior failures are detail failures. Water gets behind the surround. The joint at the window frame is too rigid. The substrate was not ready. Then the blame lands on the stone when the real problem was planning. The same products used for outdoor and commercial settings imply something jobsite veterans know well: exposed locations demand better detailing, not just better-looking material.
Give water a path. Respect movement. Do not trap moisture behind decorative ambition.
Accepting uneven reveals, chipped corners, or sloppy miters
These are the things that kill the sale. Even a nonbuilder standing on the sidewalk can spot a reveal that widens at the top, a chipped outer corner, or a miter that opens like a V. You cannot talk your way around that once sunlight hits the façade at 5 p.m.
- Walk the job from 20 feet back and from 3 feet away.
- Check that all visible reveals match your target.
- Run your eye along every miter and outside edge.
- Clean the face one last time before you call it done.
If the trim looks hurried, the house feels hurried. That is why rushed layout hurts more jobs than bad material ever does.
Most bad installs look bad because the layout was rushed, not because the material was wrong.
Done right, Stone Moldings make windows and doors look custom, settled, and worth more before a buyer ever steps inside.
Choose a profile that fits the architecture, measure every opening on its own, dry-fit the full surround, and clean every joint until the lines read sharp from the curb.
When you stand across the street at dusk, do your openings feel tacked on — or do they finish the house the way they should?
Choose Better Details with Coral Cast
A large selection of architectural precast stone products, properly cured in New York, ships nationwide with showroom guidance and free estimates for residential or commercial projects.