Thin Veneer Stone Tiles: Fast Installation, Timeless Appeal
At 7:12 a.m., the wall is still bare block. By noon, there is a straight ledger screwed in place, corner pieces are stacked on a sheet of plywood, and the first few courses have already changed the whole room. You can feel the shift before the mortar cures. A flat surface starts reading like architecture.
That speed is a big reason Thin Veneer Stone Tiles have become a go-to finish for fireplace surrounds, entry walls, facades, garden features, and commercial storefront accents. You get the depth, shadow lines, and texture people associate with traditional masonry, but without the same weight, footprint, or installation burden of full-bed stone.
If you are a homeowner planning a remodel, an architect drawing a feature wall, or a contractor pricing a fast-moving exterior package, this material sits in a sweet spot. It can look substantial. It can move quickly. And when you specify it well, it stays convincing for years instead of feeling like a shortcut.
Fundamentals of Thin Veneer Stone Tiles
Definition
In plain terms, Thin Veneer Stone Tiles are thin-profile pieces of stone-facing material applied to a prepared wall surface. They are not structural masonry. They are a finish system. Some are cut from natural stone. Others are manufactured to mimic stone and come in repeatable profiles, colors, and corner units.
What separates them from full-depth stone is the build-up. You are usually working with a facing material that can adhere to a substrate rather than relying on the mass and bearing of traditional masonry. That difference changes everything — handling, staging, labor, transitions, and whether a remodel can happen without major structural changes.
| System | Typical depth | What changes on site | Best fit |
|---|---|---|---|
| Thin veneer stone tile | Thin profile, often around 3/4 to 1 1/4 inch | Lighter load, easier retrofits, quicker staging and cutting | Fireplaces, facades, accent walls, remodels |
| Full-bed stone | Several inches deep | Heavier assembly, slower handling, may need ledge or footing | Ground-up masonry and heavy traditional builds |
If the wall is decorative rather than structural, thin veneer usually deserves the first look.
You will also hear the term used loosely. One installer may mean natural stone flats and corners. Another may mean manufactured stone veneer panels. A designer may simply mean any thin adhered stone finish. That is normal. The details change by product, so the label is only the start.
Why it matters
Thin Veneer Stone Tiles matter because they let you add masonry character where full stone would be slow, heavy, or impractical. Think second-story gable accents, an office lobby feature wall, a restaurant hostess stand, or a fireplace upgrade in a 1990s living room. In each case, the visual payoff can be immediate.
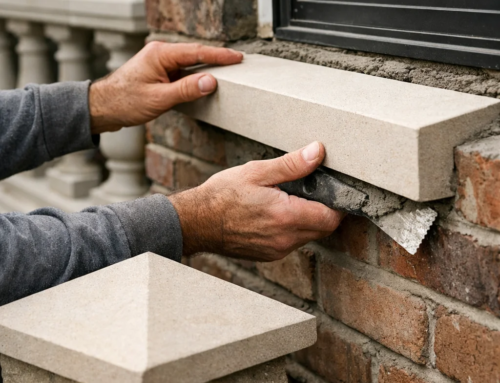
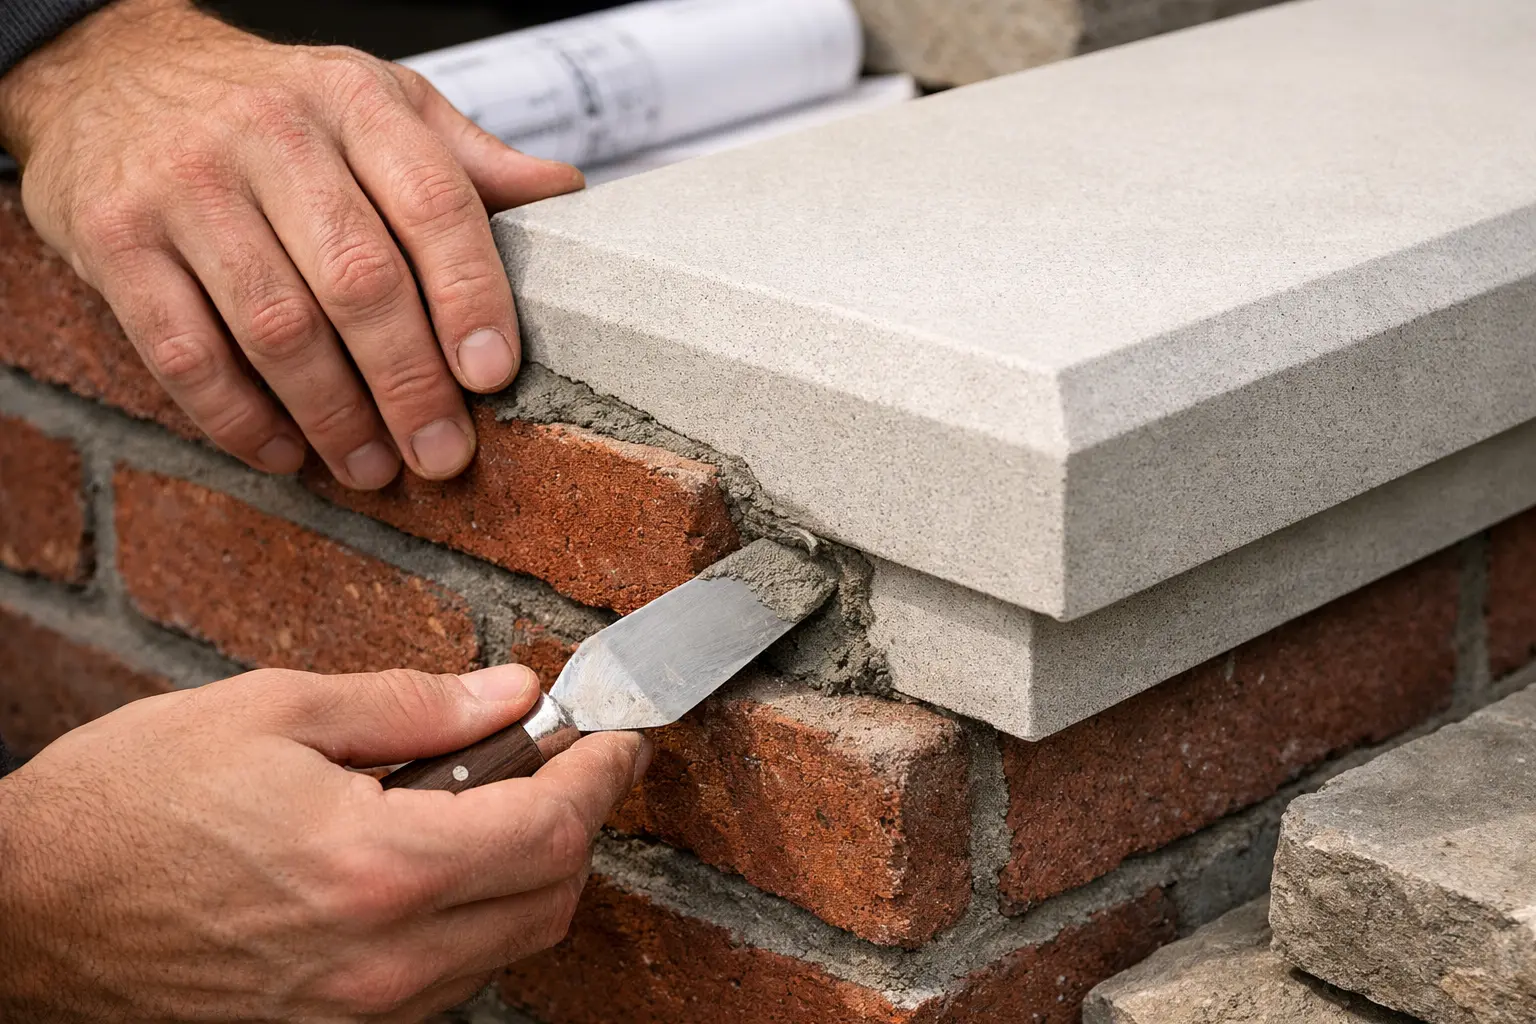
They also simplify coordination. You can pair veneer with trims and related elements — window sills, coping, pier caps, wall caps, stone moldings, columns, or even nearby pavers — without designing the whole project around the weight of full masonry. For residential work, that often means fewer structural surprises. For commercial jobs, it can mean less disruption and shorter schedules.
Climate matters too. In places with driving rain, freeze-thaw cycles, or wide seasonal swings — New York and Chicago are obvious examples — the value of thin veneer is not just speed. It is the ability to build a controlled wall assembly behind the finish. Done well, it looks old-world from the street and performs like a modern envelope.
How Thin Veneer Stone Tiles Work
Core process
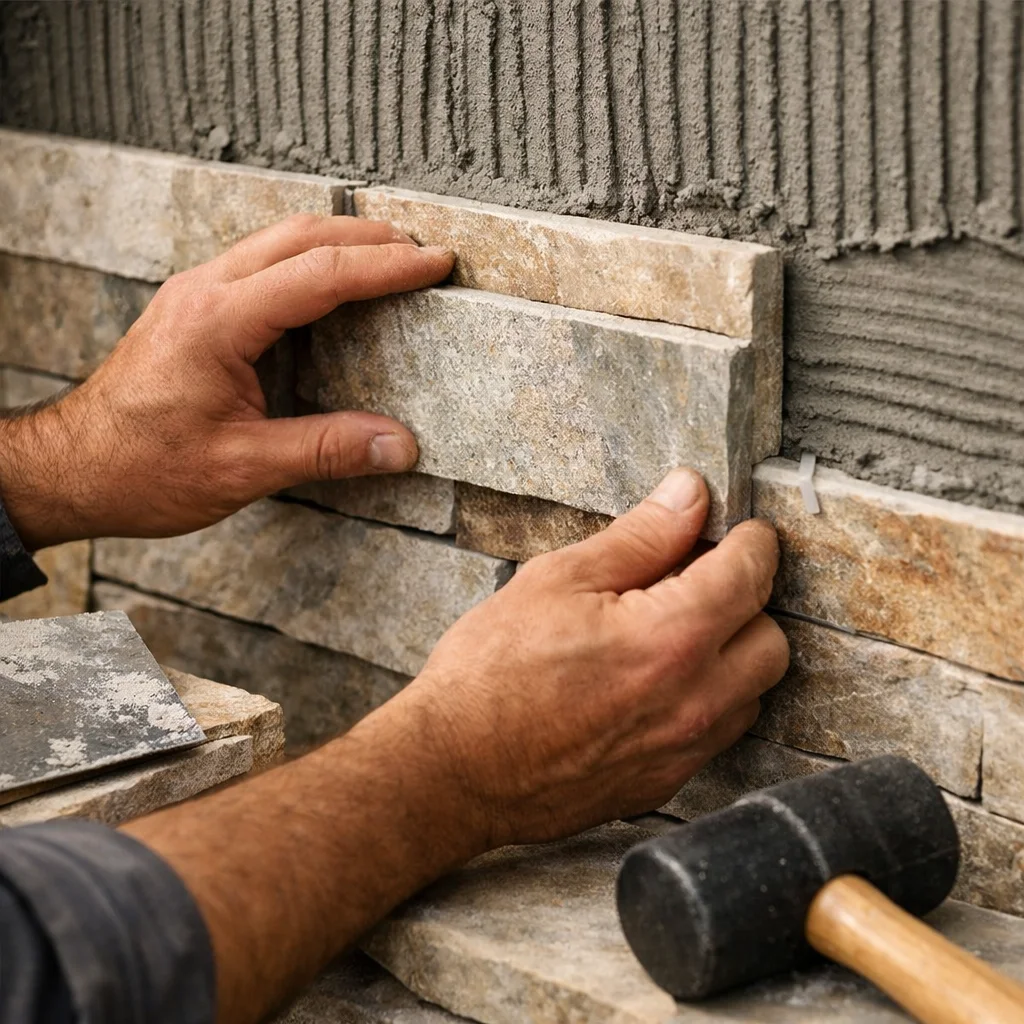
At the jobsite level, the process is straightforward. First, you confirm the substrate and wall condition. Then you build or verify the right backing system. After that, you install the veneer in a planned layout, maintain clean bond and joint lines, finish edges carefully, and let the assembly cure as directed.
The steps are simple on paper, but the wall behind the stone decides whether the installation lasts. A fireplace surround on interior cement board is one thing. An exterior framed wall is another. Some products can go directly over clean masonry or concrete. Others need a weather-resistive barrier, metal lath, and a scratch coat. Guidance varies because the products and wall types vary.
- Check the substrate for flatness, soundness, and moisture issues.
- Install any required water-management layers, flashing, and drainage details.
- Add lath and scratch coat where the system calls for it.
- Lay out corners, terminations, and cut locations before spreading mortar.
- Set corners first, then field pieces, keeping courses visually balanced.
- Tool joints or dry-stack the look based on the selected profile.
- Clean gently and allow proper cure time before exposure to heavy weather or traffic.
Most veneer failures start behind the stone, not on its face.
After enough field walks, that pattern becomes obvious. A wall that looks beautiful on day one can fail early if water gets trapped, if the bond coat was wrong, or if the substrate moved more than the finish could tolerate. The face of the material gets the attention. The hidden layers earn the lifespan.
Key components
You can think of the system as six parts working together: substrate, moisture control, mechanical or bonded preparation, setting material, veneer units, and edge or transition pieces. Miss one, and the assembly starts improvising — never a good plan in masonry work.
| Component | What it does | What to check |
|---|---|---|
| Substrate | Provides the base plane | Flat, solid, clean, and approved for the veneer system |
| WRB and flashing | Manages bulk water | Continuity at windows, tops of walls, and penetrations |
| Lath and scratch coat | Creates bond-ready texture on some assemblies | Required or not required for your exact wall type |
| Mortar or adhesive | Bonds the veneer | Approved by the manufacturer; mixed to the right consistency |
| Corner and field pieces | Create the visual stone pattern | Balanced blend, correct orientation, tight support during set |
| Trim pieces | Finish edges and transitions | Sills, caps, returns, and terminations planned before install |
That last row gets ignored more than it should. A wall rarely ends in empty space. It turns a corner, meets a soffit, hits a window, wraps a column, or stops at grade. The cleanest projects are usually the ones that solved those moments before the first box was opened.
Best Practices for Thin Veneer Stone Tiles
Getting started
Start with the wall, not the sample. Check plumb and flatness with a long level or a laser. A 6-foot level tells you a lot very quickly. If the substrate waves, the veneer will broadcast every bump. Thin materials do not forgive sloppy base work.
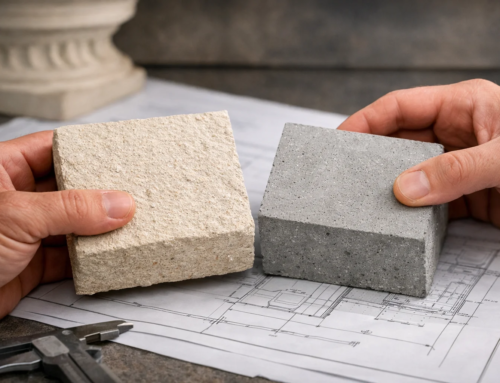
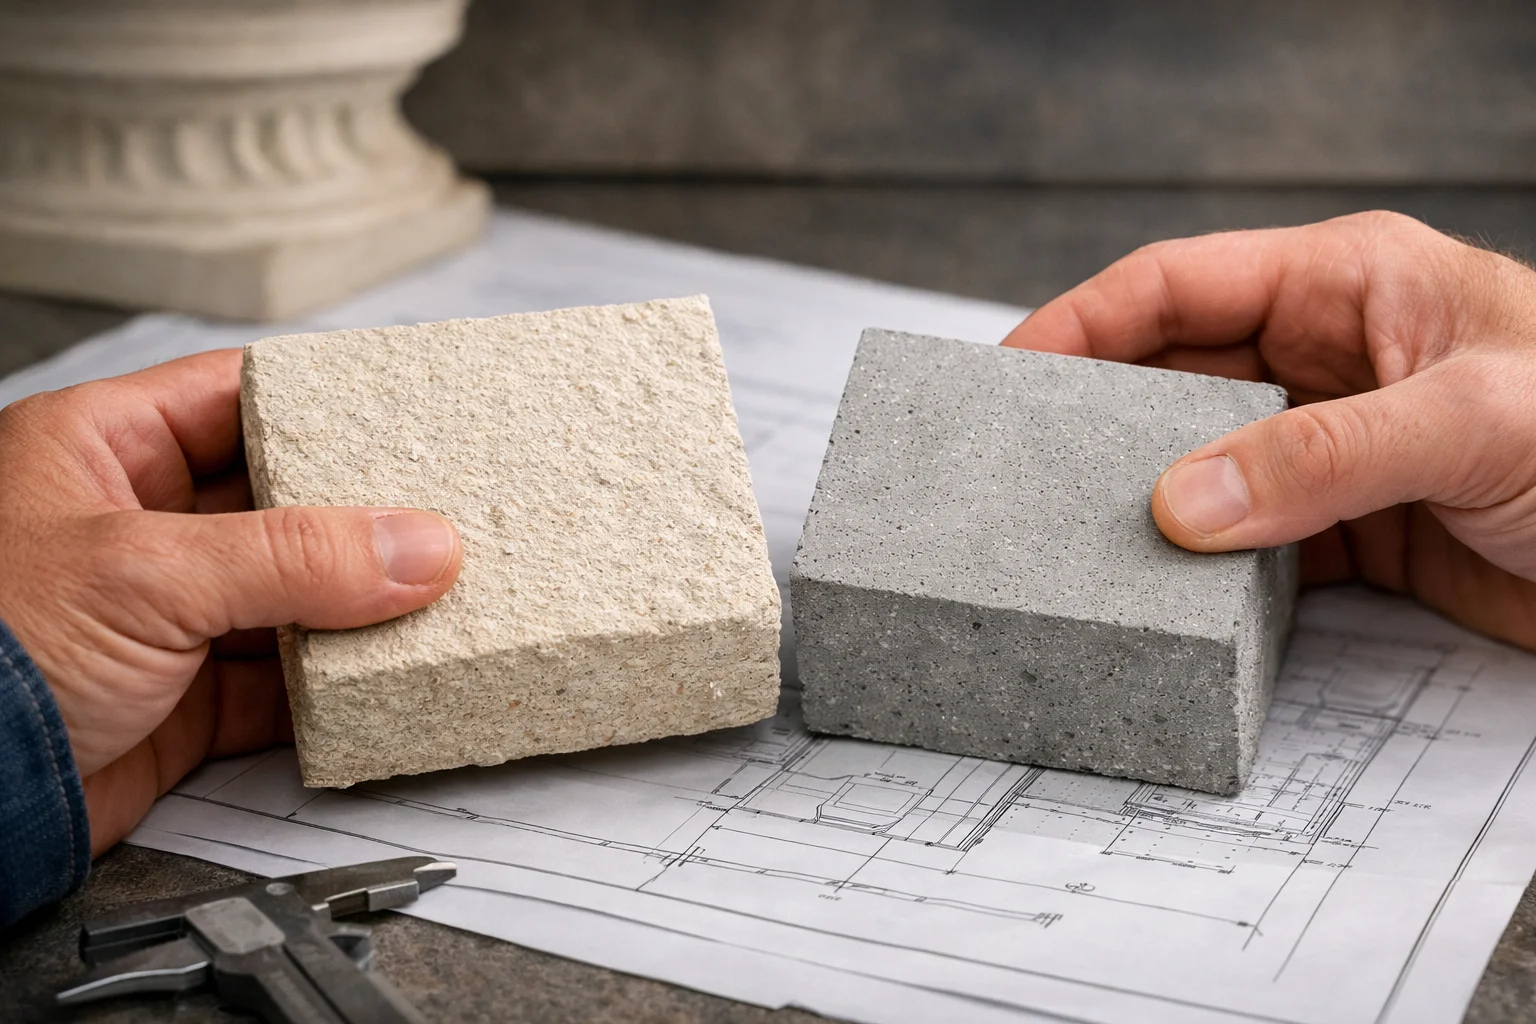
Next, build a mock-up. It does not need to be huge. A simple board or small on-site panel can reveal color blending, joint style, cut frequency, and whether the selected profile feels right at full scale. A tiny sample can look refined in your hand and busy on a 10-foot fireplace chase.
Blend before you bond — three open boxes beat one perfect-looking carton.
That one habit fixes a surprising number of visual problems. Pull from several boxes or pallets at once so color and shape variations scatter naturally. If you install one carton at a time, you risk stripes, dark clusters, or repeated shapes that make the finish feel manufactured even when it is not.
- Start with corners and highly visible edges.
- Use a ledger or starter strip to hold level lines early.
- Pre-sort pieces by size so you are not hunting mid-install.
- Coordinate lights, outlet boxes, vents, and trim before the veneer goes up.
- Keep a brush and sponge handy, but clean lightly and only as the product allows.
If the wall includes windows, mailboxes, signage, or a hearth, measure the revealed thickness honestly. Even a thin profile plus mortar changes how adjacent materials die in. Recessed lights, switch plates, sill returns, and countertop splashes can all look awkward when nobody accounted for that extra build-up.
Common pitfalls
The most common field pitfall is rushing the layout. Installers sometimes chase speed and start sticking pieces without stepping back every few courses. Then the pattern drifts. Joints stack. Small slivers collect near a casing. The wall technically gets finished, but it never settles visually.
Weather is the next trap. Exterior veneer work during very hot, very cold, or wet conditions demands discipline. Mortar behavior changes. Cure times shift. Some surfaces dry too fast; others never get a fair set. Read the product instructions every time, even if you have installed dozens of stone jobs.
Heat zones deserve separate attention. Around fireplaces, fireboxes, and vented units, always follow the appliance manufacturer’s clearance requirements and the veneer system guidance. Stone may look rugged, but the assembly still needs the right substrates and thermal allowances where heat builds up.
Common Mistakes
Skipping substrate prep and drainage
This is the expensive one. If the wall is dirty, painted, loose, wet, or poorly detailed, the bond and the water management are already compromised. Exterior walls especially need a real plan for bulk water. Flashings, weeps where required, and clean transitions are not optional details you add later if there is time.
I have seen beautiful veneer installed over a wall that should have been corrected first. For a few months, it looked flawless. Then staining appeared at the bottom edge, a few pieces sounded hollow, and one corner started telegraphing movement. The stone was not the villain. The prep was.
If water has no planned exit, veneer becomes a trap instead of a finish.
Designing without thickness planning
Thin does not mean invisible. A profile that adds roughly an inch to the wall still changes returns, outlet extensions, trim alignment, and sill depth. When designers or owners choose the veneer late, after windows, mantels, or cabinets are fixed, the installer ends up solving three-dimensional problems with cut pieces and compromise.
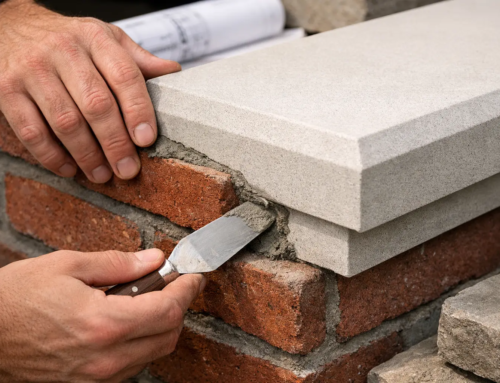
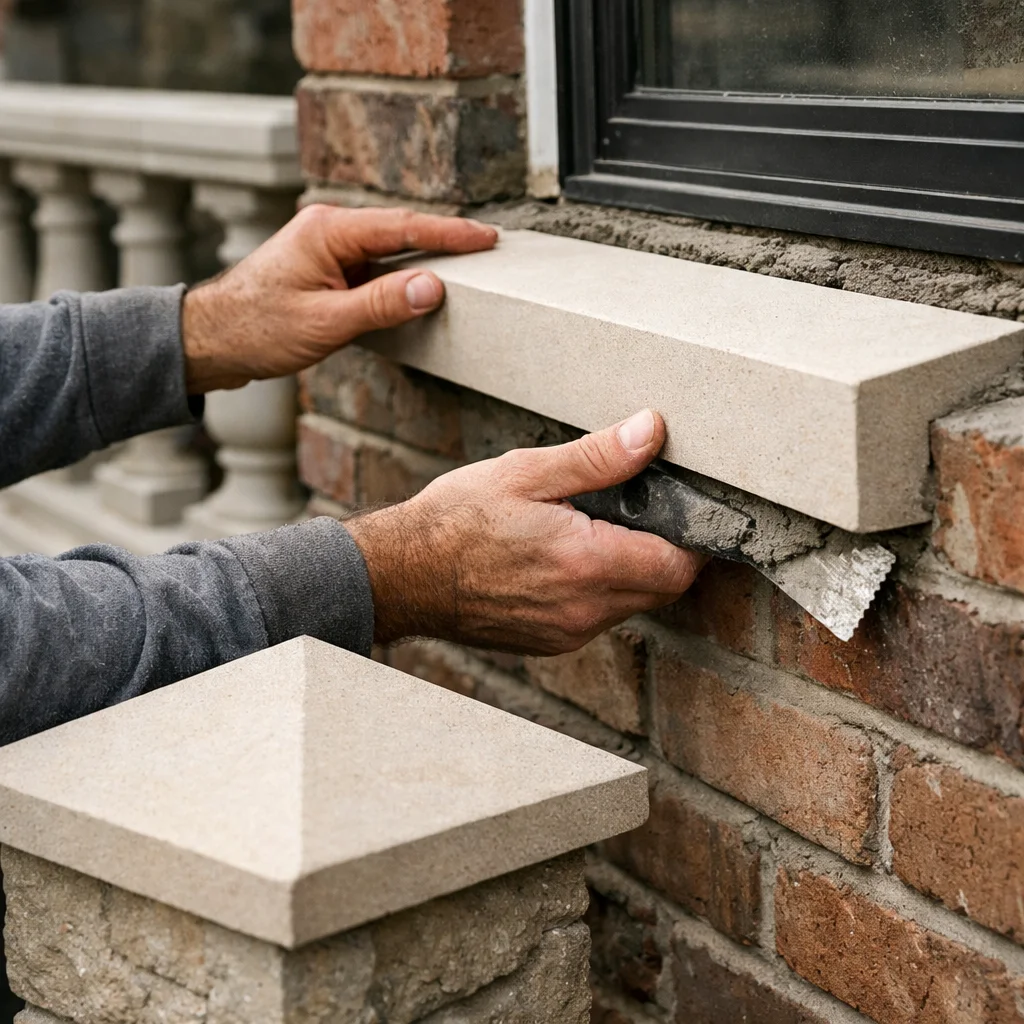
This is where coordinated accessories matter. A clean cap, a properly proportioned sill, or a matching coping piece can make the installation look intentional rather than patched together. That is true on a front entry column, a low site wall, or a retail facade where customers see every edge up close.
Choosing by sample alone
A small sample tells you color and texture. It does not tell you pattern cadence, shadow depth at 4 p.m., or how the veneer feels next to black windows, bronze lighting, or brushed concrete pavers. You need the larger view.
There is a contrarian truth here: the most dramatic sample board is not always the right finished wall. Busy blends can overwhelm a modest room. Deep textures can trap dirt near grade. A subtle profile can read richer over 200 square feet than a louder one spread across the same surface.
The prettiest sample in the showroom can still make the wrong wall.
When you are unsure, test the material in real light, beside the actual trim color, and near the other site materials. That five-minute exercise saves a lot of second-guessing.
Tools and Resources
Essential tools
You do not need a truck full of specialty gear, but you do need the right basics. Thin veneer work is part masonry, part finish carpentry in its attention to line and reveal.
| Tool or resource | Why it matters | Field note |
|---|---|---|
| Wet saw with diamond blade | Makes cleaner cuts with less chipping | Best for visible edges and repeated cuts |
| Angle grinder | Handles fast trims and irregular shaping | Use carefully; dust control matters |
| Mixing paddle and buckets | Keeps mortar consistent | Mix small batches you can use in working time |
| Trowels and margin trowel | Spread and back-butter material properly | Do not swap in a random adhesive without approval |
| Level or laser | Protects the layout | Small drift early becomes obvious later |
| Brushes, sponges, PPE | Supports cleanup and safe cutting | Clean gently; aggressive methods can scar the face |
Planning aids
The best resource on many veneer jobs is a simple checklist. Before install day, gather the product data sheet, the approved substrate details, the layout sketch, and a list of all finish pieces. If you need coping, wall caps, pier caps, moldings, or coordinated columns nearby, put those decisions on the same page. A stone wall rarely lives alone.
- Elevation sketch with start and stop points
- Accessory list for caps, sills, corners, and returns
- Mock-up or sample board approved in site lighting
- Weather window for exterior work
- Cure and protection plan after installation
On larger commercial or mixed-use projects, I also like a quick transition schedule: where veneer meets metal panel, stucco, brick, storefront framing, or paving. Those junctions decide whether the whole composition feels sharp or improvised.
When supplier support matters
Supplier support matters most when your project includes multiple related elements or when you are balancing schedule against appearance. A supplier with a broad catalog and showroom support, such as Coral Cast, can help you compare profiles, corners, sill options, coping, pier caps, and other finish pieces before the installer mixes a batch of mortar.
That kind of coordination is useful on both ends of the market. A homeowner may just want confidence that the fireplace stone will not clash with the hearth and mantel. A builder or architect may need consistent material language across a facade, garden wall, entry columns, and adjacent hardscape. In both cases, the right resource trims risk.
- Ask whether matching corners and accessories are in stock.
- Ask how the product should be cut, cleaned, and protected.
- Ask what substrate and weather limits apply to your exact assembly.
- Ask to see full-size displays when color or texture is a close call.
Conclusion
Thin Veneer Stone Tiles give you real visual weight without the slow, heavy burden of full-depth masonry.
When you plan the substrate, water management, layout, and trim details before installation starts, the finished wall reads calm, permanent, and intentional instead of rushed.
Where could Thin Veneer Stone Tiles change the look of your next fireplace, entry, facade, or commercial feature wall?
Explore Architectural Stone With Coral Cast
Coral Cast offers a large selection of properly cured, maintenance-free architectural stone and precast products with free estimates, showroom guidance, and secure nationwide shipping.