
Thin Veneer Stone Panels: The Luxury Stone Look Without the Weight
By 8:15 a.m., sample pieces are spread across a sunlit driveway. One person checks warm gray tones against the window trim. Another snaps a chalk line on the wall. A third steps back ten feet, squints, and swaps one piece out because the finish looks too slick beside the stucco.
That is how Thin Veneer Stone Panels should start — with decisions made early, in real light, against the actual building. If you treat the wall as a decorative add-on, you invite the usual trouble: wrong color blend, awkward terminations, rushed lead times, and a finished surface that never quite looks like the sample you approved.
1. Explain Why This Checklist Matters Before You Start
Define the project goal and the visual result
Set the target before you talk about quantities or delivery dates. Thin veneer, as a category, is thin material designed to be affixed to masonry surfaces to create the illusion of full bed stone construction. That word matters: illusion. The whole job succeeds or fails on whether the installed wall reads as intentional, solid, and integrated with the architecture.
You need a clear answer to basic questions:
- Decide whether you want a tight, contemporary stacked look or a more varied, traditional field blend.
- Match the stone character to nearby materials such as trim, siding, stucco, pavers, or metal railings.
- Set expectations for joint size, course lines, color range, and corner treatment.
- Pick the viewing distance that matters most — curb view, entry walk-up, patio seating area, or interior focal wall.
If you are matching an existing elevation from 2004 or tying into a fireplace surround beside crisp white millwork, write that down. A fuzzy visual goal turns into field improvisation, and field improvisation gets expensive fast.
Identify where the veneer will be installed
Location changes the job. Thin veneer is often used for exterior home finishes, outdoor kitchens, interior fireplaces, and accent walls. Those are not interchangeable settings, even when the color name on the box is the same.
- Mark whether the install is exterior or interior.
- List adjacent conditions: siding returns, window heads, outlets, hearths, soffits, countertops, coping, wall caps, or column bases.
- Note whether the wall is a broad façade, a chimney chase, a fireplace face, or a narrow accent panel.
- Confirm what the veneer must visually relate to — existing stone, painted trim, a front door finish, or a neighboring pier cap.
A 40-foot front elevation reads differently than a 5-foot powder room wall. So does an outdoor kitchen that sits in full afternoon sun in Phoenix versus a shaded covered porch in New York.
Gather the planning resources before ordering
Do not start from a screenshot and a rough square-foot guess. Gather drawings, measurements, substrate information, corner counts, penetration locations, and the install literature for the exact system you chose. Coral Cast can help with custom design, fabrication, and production details for precast architectural concrete items, but the planning still starts with accurate field information.
Ask for documentation before you place the order, not after the first pallet hits the driveway.
- Collect wall elevations and field dimensions.
- Confirm substrate type and readiness.
- Request product literature and measuring guidance.
- Prepare a sample approval record with photos and notes.
Treat the checklist like a scope document — the wall should be planned before the first piece is set.
2. Pre-Work Checklist: Confirm the Material, Format, and Lead Time for Thin Veneer Stone Panels
Choose natural stone or manufactured stone

This decision shapes appearance, variation, and installation expectations. Thin veneer can be made from natural stone cut from quarries or from cast material created in molds and colored to mimic the look of natural stone.
Neither category is automatically right or wrong. They are simply different, and you should treat them that way.
- Choose natural stone when the project calls for true geological variation and quarry-cut character.
- Choose manufactured stone when the design intent, budget, and profile call for a molded alternative.
- Confirm thickness, edge profile, and how corners are handled before you compare prices.
- Ask whether you are buying a panelized format, loose pieces, or another system entirely.
| Decision Point | What to Confirm | Why It Changes the Job |
|---|---|---|
| Natural vs. manufactured | Quarry-cut stone or pre-cast molded product | Changes visual variation, texture, and how closely the finish tracks the approved sample |
| Panel vs. random pieces | Pre-fabricated modular sections of about 1 square foot or loose stone units | Changes layout speed, pattern repetition, and how much field adjustment the crew can make |
| Stock vs. quick ship vs. special order | What is on hand, what ships in 1-2 weeks, and what requires a longer run | Changes scheduling, staging, and whether your wall sits unfinished waiting on material |
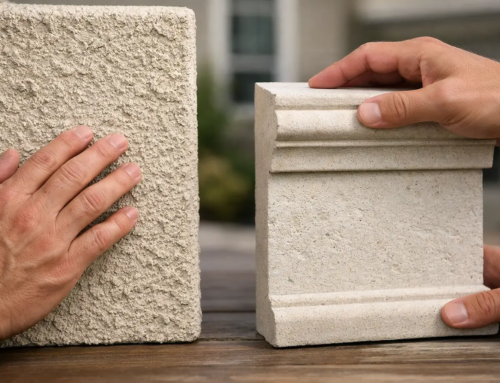
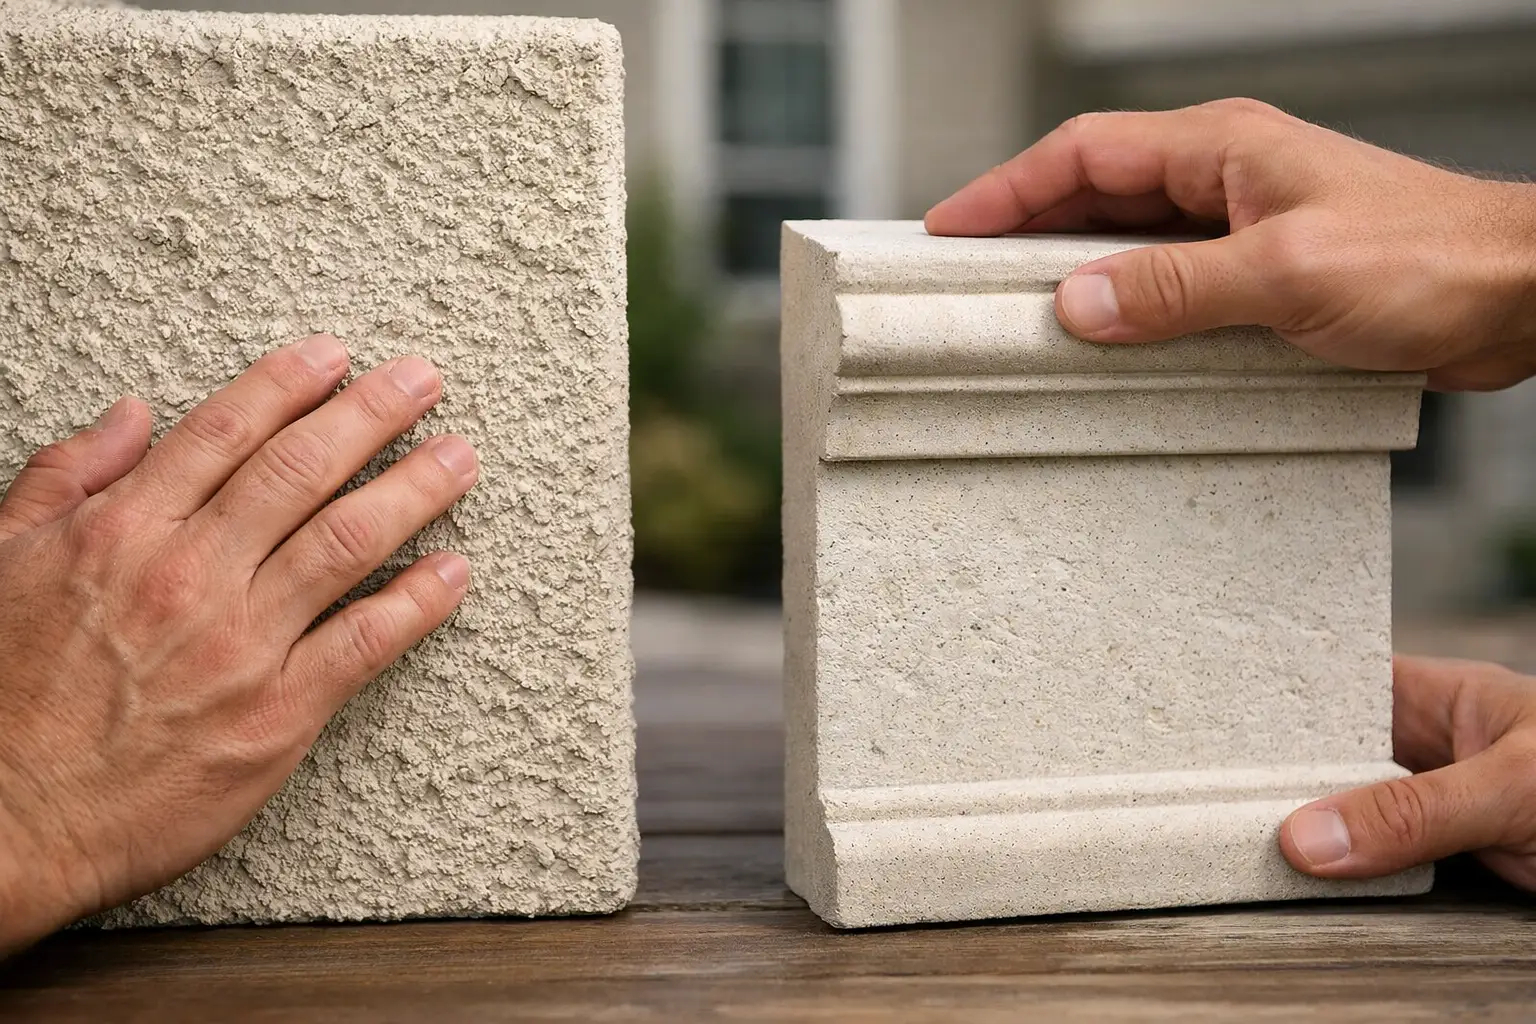
Order samples and compare them in real light
Approve from a real sample, never from a phone screen. Samples are available for many veneer products, and the important point remains the same: color and sizing may vary from what you see online.
That warning is not fine print. It is field reality.
- View the sample in morning light, noon light, and late-day shadow.
- Hold it against the exact siding, trim, paint, stucco, or cabinet finish it will sit beside.
- Check surface sheen, not just color. A tone can be right while the finish still feels wrong.
- Record the approved sample with photos and written notes.
I like to check samples in at least two places: flat against the wall and then several feet back from the curb or the main room threshold. A sample can look rich at arm’s length and washed out from 12 feet away.
Do not approve color from a screen; approve it from an actual sample in the project’s light.
Match the panel format and shipping schedule to the project
Thin veneer can be available as panels — pre-fabricated modular sections of approximately 1 square foot — and as random pieces. That choice affects labor rhythm and visual outcome. Panels move faster and help standardize layout. Random pieces give you more flexibility in stone placement and joint size.
Then there is lead time. In-stock veneer may be ready to ship within 1-2 weeks, but that only helps if your schedule is aligned. If you are sourcing from Coral Cast or any manufacturing partner, ask what is actually in stock, what needs a custom run, and what ship window you can put in writing.
- Choose the format that fits the visual goal and crew skill.
- Get a ship date before you promise a completion date.
- Order corners, trims, and transition pieces at the same time as the field material.
- Plan staging space so pallets, samples, and approval pieces stay dry and organized.
3. Execution Checklist: Install in the Right Sequence
Set the layout and starting point
Good veneer work starts with control lines, not guesswork. Establish a true starting point, confirm the first course, and work from the most visible reference points. On a front elevation, that may be the entry corner or the line under a window band. On a fireplace, it may be the relationship to the hearth and mantel.
- Snap level lines and vertical control lines before mixing or adhering anything.
- Dry-lay representative pieces or panels to see color distribution and pattern repetition.
- Pull material from multiple boxes or pallets to avoid a blotchy wall.
- Check reveals where veneer meets trim, doors, or adjacent cladding.
Panels show layout errors quickly. Random pieces hide repetition better, but they also demand sharper field judgment. If your first course is off by even 1/4 inch at the base, the whole wall will announce it by the time you reach a head trim or soffit.
Follow the chosen installation system
This is where many crews get overconfident. Thin veneer is made in several formats and should be installed according to the exact product specifications you received with the order.
That spread is not a contradiction. It is proof that one name now covers several systems.
So follow the exact system you bought. Use the provided product information and coordinate with the manufacturer or supplier as needed. Do not borrow steps from a different product line because it “looks close enough.”
- Verify the approved substrate for the exact material.
- Use the specified bond, backing, or attachment method.
- Respect the sequence for starts, overlaps, seams, and panel placement.
- Keep the product information on site where the crew can reference it.
If the manufacturer gives you an install system, follow it exactly; do not improvise the bond or layout.
Build corners, edges, and transitions carefully
Corners sell the illusion. If they look thin, misaligned, or repetitive, the wall loses depth immediately. The same goes for window returns, door heads, stair stringers, countertop splashes, and the point where veneer dies into another material.
- Start with the corner strategy and keep it consistent across the elevation.
- Pre-plan terminations at trim boards, soffits, and base conditions.
- Coordinate adjacent elements such as coping, wall caps, columns, sills, or stone moldings before the veneer reaches them.
- Cut penetrations and edge pieces with finish quality in mind, not just speed.
A clean field with bad edges still reads as bad work. On a front entry, the eye goes straight to the outside corner first, then to the line where the veneer meets the casing. Get those two areas right, and the whole installation feels more expensive.
4. Validation Checklist: Inspect the Finish Before Sign-Off
Check alignment, joints, and coverage

Do not sign off from three feet away with a punch list in your hand. Step back. Then move in. Check the wall at multiple distances, and inspect it as a surface, not as isolated stones or panels.
- Look for drifting courses, awkward pattern repeats, and inconsistent joint treatment.
- Check that transitions, returns, and terminations are complete and intentional.
- Verify that the installed area matches the planned coverage and edge lines.
- Review the most visible elevations first — entries, chimneys, fireplaces, and long runs.
| Sign-Off Item | What to Look For | Closeout Note |
|---|---|---|
| Alignment | Level starts, controlled verticals, no creeping lines | Photograph wide shots from the main viewing angle |
| Joints and pattern | Consistent intent, no obvious repeats, no distracting gaps | Compare against the approved mock-up or sample notes |
| Edges and transitions | Clean terminations at trim, corners, caps, and openings | Capture detail photos for records |
| Color blend | Balanced variation across the wall, not concentrated in one zone | Review in daylight before final acceptance |
Compare the installed wall to the approved sample
This is the moment that settles most disputes. Hold the approved sample next to the finished wall in natural daylight. Color and sizing can vary from online imagery, which is exactly why samples exist in the first place.
You are not looking for a pixel-perfect duplicate. You are checking whether the installed surface lands inside the approved visual range.
- View the wall in real daylight, not only under temporary job lights.
- Compare color, texture, scale, and sheen to the approved sample.
- Check the wall from both close range and typical approach distance.
- Resolve blend concerns before the site is demobilized.
Approve the wall in real light, not just under jobsite lights or from a render.
Document the completed area for closeout
Finish the paperwork while the details are still visible. Keep your records clean. Save photos, product information, the approved sample record, and any closeout notes tied to the installation.
Also verify that the installed system matches the intended use. Stone veneer systems can carry different performance expectations, not just different looks. If your design called for a specialty application, make sure the final install matches it.
- Photograph overall elevations and detail conditions.
- Store sample approval notes with project records.
- Keep product literature in the closeout file.
- Confirm that any specialty system installed is the one specified for the space.
5. Common Misses: Catch the Problems That Create Callbacks
Avoid treating all veneer products as interchangeable
This is the big one. Different thin veneer products are not the same product type. Add bookmatching, stacking stones, self-adhesive systems, acoustic panels, translucent veneers, lightboards, and ultrathin 3D-formable options, and the category gets even broader.
So when two products are both called “stone veneer,” do not assume they share the same appearance, thickness, substrate requirements, or install sequence.
- Do not substitute one product type for another without a fresh approval.
- Do not assume a self-adhesive system installs like a masonry-affixed panel.
- Do not compare prices without comparing system components and edge conditions.
The most expensive mistake is assuming every stone veneer product installs and performs the same way.
Do not skip sample approval or lead-time planning
Sample approval sounds slow until you have to remove or replace a finished wall. Lead-time planning sounds fussy until the schedule slips because one accessory was not ordered with the field material.
A quick ship note — 1-2 weeks for in-stock veneer — is a useful reality check. Even “fast” still needs planning.
- Approve the sample before the order is finalized.
- Confirm shipping windows for field units, corners, trims, and caps together.
- Do not let a render, website photo, or showroom lighting override what the sample shows on site.
- Build the install date around material arrival, not wishful sequencing.
Do not overlook special-use spaces and system requirements
Exterior homes, outdoor kitchens, interior fireplaces, and accent walls are common applications. Those four spaces alone should tell you the category is not one-size-fits-all. An interior accent wall may welcome a certain format that makes no sense at a wet exterior entry. A fireplace feature may have edge details and adjacent finishes that a broad façade never sees.
Check the conditions before you order and again before you install.
- Match the system to the exact location, not just the desired look.
- Review substrate, surrounding materials, and terminations for that space.
- Confirm whether the job calls for a purely visual finish or a specialty panel type.
- Make sign-off depend on field performance and appearance together.
Thin Veneer Stone Panels reward disciplined prep: confirm the material, approve the sample, install by the book, and inspect in daylight.
Do that, and you get the depth and presence of stone without carrying the baggage of a rushed, poorly coordinated install.
Before your order goes out, what still needs a written approval — the sample, the layout, or the install method?
Discover Stone Options with Coral Cast
A large selection of properly cured, maintenance-free architectural stone and precast products supports residential and commercial projects with custom fabrication, fast turnaround manufacturing, and secure nationwide delivery.
Generated on SEOPro AI