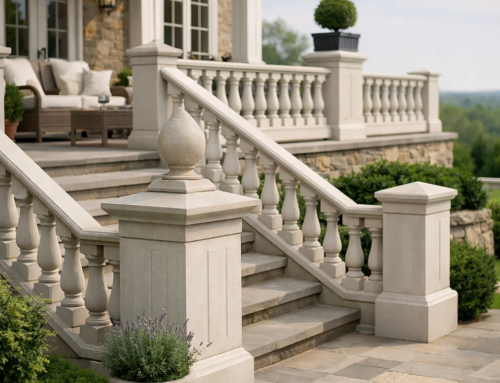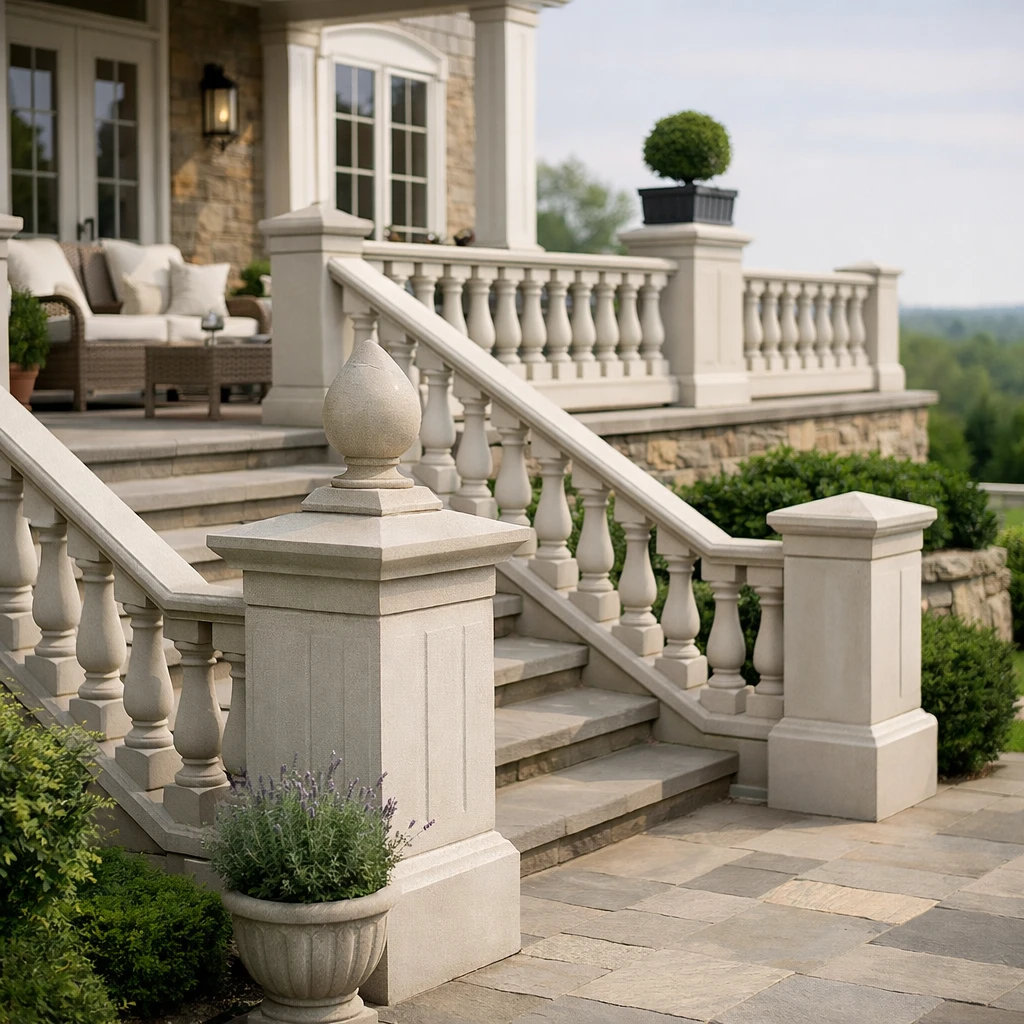

Thin Stone Moldings: The Small Details That Elevate Any Facade
A crew steps back from a newly finished facade. The wall looked plain an hour earlier. Now a narrow band of carved stone catches the morning light above the windows, throws a crisp shadow across the stucco, and suddenly the whole elevation feels tailored instead of generic.
That is the quiet power of Thin Stone Moldings. You are not rebuilding the whole front of the house or storefront. You are adding trim, bands, surrounds, caps, and edge conditions that control proportion, create transitions, and give the eye a reason to stop in the right place.
On a two-story home in Westchester, a mixed-use corner building in Queens, or a small office facade in Phoenix, those details can do more for perceived quality than a much larger material change. I have seen a simple window surround rescue a flat wall that expensive brick alone could not. But these pieces only work when design judgment, water detailing, and workmanship all line up.
What Thin Stone Moldings Are and Why They Matter
What qualifies as a thin stone molding
Thin stone moldings are surface-applied architectural details with modest depth and projection. Think of them as the refined edge pieces of a facade: a flat band around a window, a sill with a slight drip edge, a cap at the top of a wall, or a narrow trim that frames a door opening. They are not massive carved blocks meant to carry structure. They are visual and functional finish pieces.
In practical terms, these moldings are used as trim, bands, surrounds, caps, and accent details on walls, openings, and rooflines. A profile can be restrained or ornate, but its job stays consistent — define the edge, sharpen the transition, and cast a useful shadow with relatively little material.
Where moldings show up on exteriors
You will see these details on both residential and commercial facades because they solve the same design problem in both settings: a wall needs hierarchy. On a brick colonial, that might mean a sill course and window heads. On a retail frontage, it might mean a sign band, parapet cap, and clean jamb trims that make the storefront read as one composition.
- Around windows and doors as surrounds, jamb trims, heads, and sills
- Between floors as belt courses or horizontal bands
- At parapets, low walls, and rooflines as coping or caps
- At base conditions where one cladding material meets another
- At entries, columns, arches, and accent panels that need visual emphasis
Why small stone details make a big visual difference
The visual effect does not come from sheer mass. It comes from shadow lines, reveals, and the change from one plane to another. A 1-inch projection at the right location can make a wall feel deliberate. Without that projection, the same wall may read as flat or unresolved, especially in raking morning or late-afternoon light.
That is why curb appeal often changes fast when the trim changes. A plain stucco facade with a crisp stone surround over a 3-foot by 5-foot window looks more finished because your eye reads depth and completion. The material quantity is small. The visual return is not.
Small details do the heavy lifting: if the proportion is right, a thin stone accent can make an average elevation look intentional.
Fundamentals: Materials, Profiles, and Where They Fit
Common profile shapes and edge conditions
Molding profiles range from plain flat bands to more expressive cornices, sills, jamb trims, and caps. The edge condition matters almost as much as the profile itself. A square edge reads crisp and contemporary. An eased or bullnose edge softens the line. A drip edge underneath a sill adds both visual sharpness and water control.
| Profile Type | What It Does Visually | Typical Exterior Location | Best Style Match |
|---|---|---|---|
| Flat band | Creates a clean shadow line with minimal projection | Window surrounds, floor bands, panel edges | Modern, transitional, light commercial |
| Sill with drip | Defines the bottom of an opening and sheds water | Below windows, ledges, accent recesses | Almost any facade if scaled correctly |
| Cornice or cap | Gives the top of the wall a stopping point | Parapets, entries, garden walls | Traditional, civic, Mediterranean |
| Jamb trim or surround | Frames the opening and adds depth | Windows, doors, arches | Residential and storefront facades |
Natural stone vs. thin-cut stone applications
Material choice starts with the wall, the exposure, and the budget for detailing. Natural stone brings authentic variation and weight. Thin-cut stone reduces thickness and dead load, which can matter on framed walls or retrofit work. In some projects, cast stone or architectural precast is considered because repeatable profiles and consistent dimensions make trim work easier to coordinate across dozens of openings.
You also have to think about where the molding sits. A trim piece next to brick behaves differently than one crossing from stucco to metal panel. Exterior trim needs to work with adjacent materials, sealants, backing, and the movement each assembly expects over time. A beautiful profile that ignores the wall behind it is a bad choice, no matter how good it looks on a sample board.
Matching the molding to the architectural style
Stone details should fit the building style rather than compete with it. A restrained flat band often suits a modern elevation better than a heavy classical cornice. A Georgian-inspired facade can carry layered sills, heads, and keystones because the rest of the composition supports that language. A small one-story ranch in New Jersey usually cannot.
When we review elevations, this is one of the fastest judgment calls to make: is the trim amplifying the architecture, or trying to replace it? If the facade is compact, keep the profile simple. If the massing is formal and symmetrical, you can give the openings a bit more presence.
Rule of thumb: the more compact the facade, the simpler the molding profile should be.
How Thin Stone Moldings Work in the Wall Assembly
Substrate and attachment basics
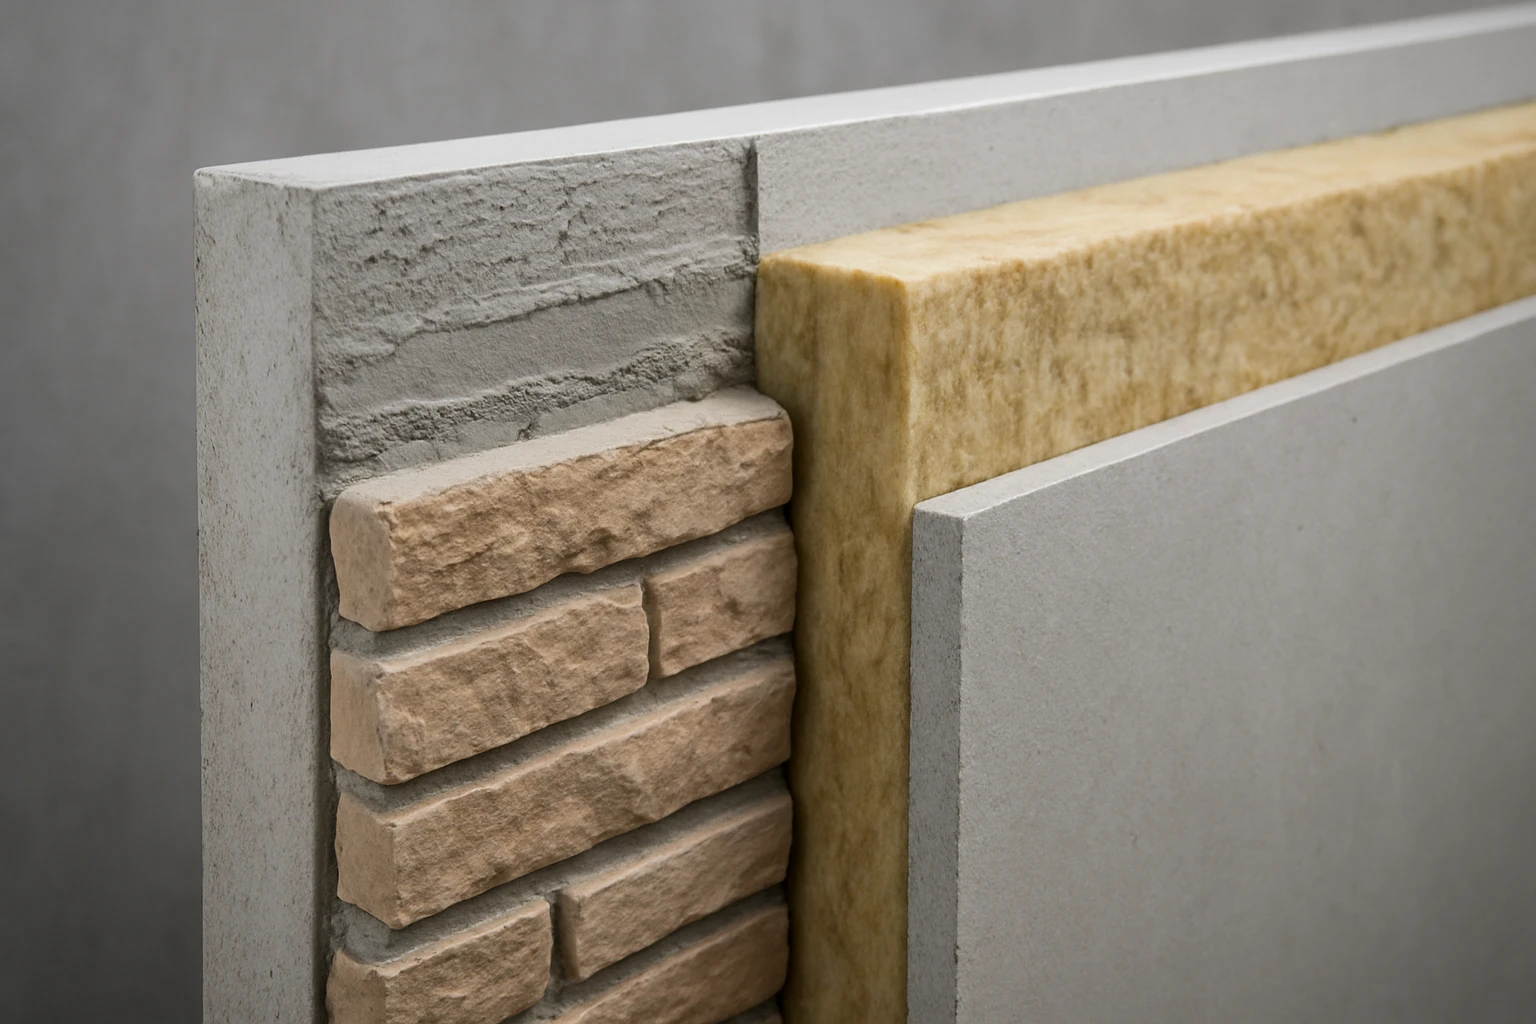
A substrate is the surface below the stone — masonry, concrete, cementitious sheathing, or another properly prepared base. Exterior stone details must go onto a sound, level, stable substrate. If the wall is out of plane by even a small amount, the trim will advertise that mistake from the curb.
Attachment depends on the system and the profile. Some thin pieces are adhered. Some heavier or more projecting profiles may need additional mechanical support, anchors, or engineered attachment. That decision belongs in the drawings and product data early, not after the pallets arrive on site. If you are setting trim around six identical windows, consistent backing and layout are what keep the sixth opening from looking different than the first.
Transitions, flashing, and water management
Flashing is the hidden metal or membrane that catches water and sends it back out of the wall. It is not glamorous, but it is the difference between a detail that ages well and one that stains, cracks, or leaks. Wherever stone meets roofs, windows, doors, or dissimilar materials, water management deserves as much attention as the visible profile.
| Transition | Main Risk | What You Want to Confirm |
|---|---|---|
| Below a window sill | Water running behind the trim | Positive slope, drip, proper integration with window flashing |
| At roof-to-wall intersections | Water intrusion at concealed joints | Flashing continuity and a clear drainage path |
| Where brick meets stucco or panel systems | Cracking and sealant failure | Compatible joint design and movement allowance |
| At parapet or wall caps | Staining and saturation from standing water | Slope, overhang, and protected joints |
If water can get behind the detail, the detail is not finished yet.
Movement joints and tolerance at openings
Movement joints are planned gaps, usually sealed, that let materials expand, contract, and shift without forcing the stone to crack. Buildings move. Sun hits the south wall harder than the north wall. Framed walls shrink differently than masonry. Corners, long runs, and window perimeters are where those differences show up first.
You also need tolerance at openings. A rough opening that is out of square by 1/4 inch may not sound dramatic, but on a tight stone surround it becomes obvious. That is why good trim details include realistic joint dimensions and layout logic, not wishful thinking. Stone wants discipline. The wall has to offer it.
Best Practices for Design, Specing, and Installation
Use scale and proportion to guide the design
Start with the overall facade before you fall in love with a profile. Thin stone details should align with window heads, sills, parapets, and floor lines so the building feels composed rather than decorated after the fact. On a 22-foot-wide townhouse, a narrow band aligned with the second-floor sill line can organize the whole front. On a broad commercial elevation, you may need a deeper profile or a stronger cap to read from 40 feet away.
Stand at the curb. Then stand across the street. If the molding only makes sense from a catalog close-up, it is probably the wrong move. Good trim works at human distance and building distance.
Build and review a mockup before full installation
A mockup is your reality check. It lets you verify color variation, joint size, shadow depth, corner conditions, and how the molding reads next to brick, stucco, metal, or siding. A 4-foot by 8-foot wall section, or better yet a full window bay, tells you more in one morning than a stack of cut sheets ever will.
Look at that mockup at 8 a.m. and again at 4 p.m. Light changes everything. A profile that feels elegant under diffuse shade can look busy when the sun hits it at a sharp angle. This is also where you catch joint lines that wander, trim depths that feel too heavy, or color blends that fight the field material.
Never approve trim from a catalog alone; always judge it against the actual facade materials and lighting.
Sequence the work so trim and adjacent materials line up cleanly
Thin stone trim does not forgive bad sequencing. If the window install shifts, the trim layout shifts. If the substrate is not ready, the finished edge will telegraph every hump and dip. Clean execution means the trades understand the order of work before setting day begins.
- Confirm opening sizes, plumb, and level before fabrication or field cutting.
- Verify substrate readiness and water-management layers before the first piece goes up.
- Lay out control lines so heads, sills, and bands align across the elevation.
- Coordinate adjacent claddings so the trim reveals and returns end cleanly.
- Review corners, miters, and sealant joints before production pace takes over.
Small irregularities are easy to spot on trim work. A wandering 1/8-inch joint beside a door head draws more attention than a much bigger variation hidden in a broad brick field. That is why clean edges and consistent joints matter as much as the stone itself.
Common Mistakes That Make Thin Stone Moldings Look Wrong or Fail
Over-ornamenting a small facade
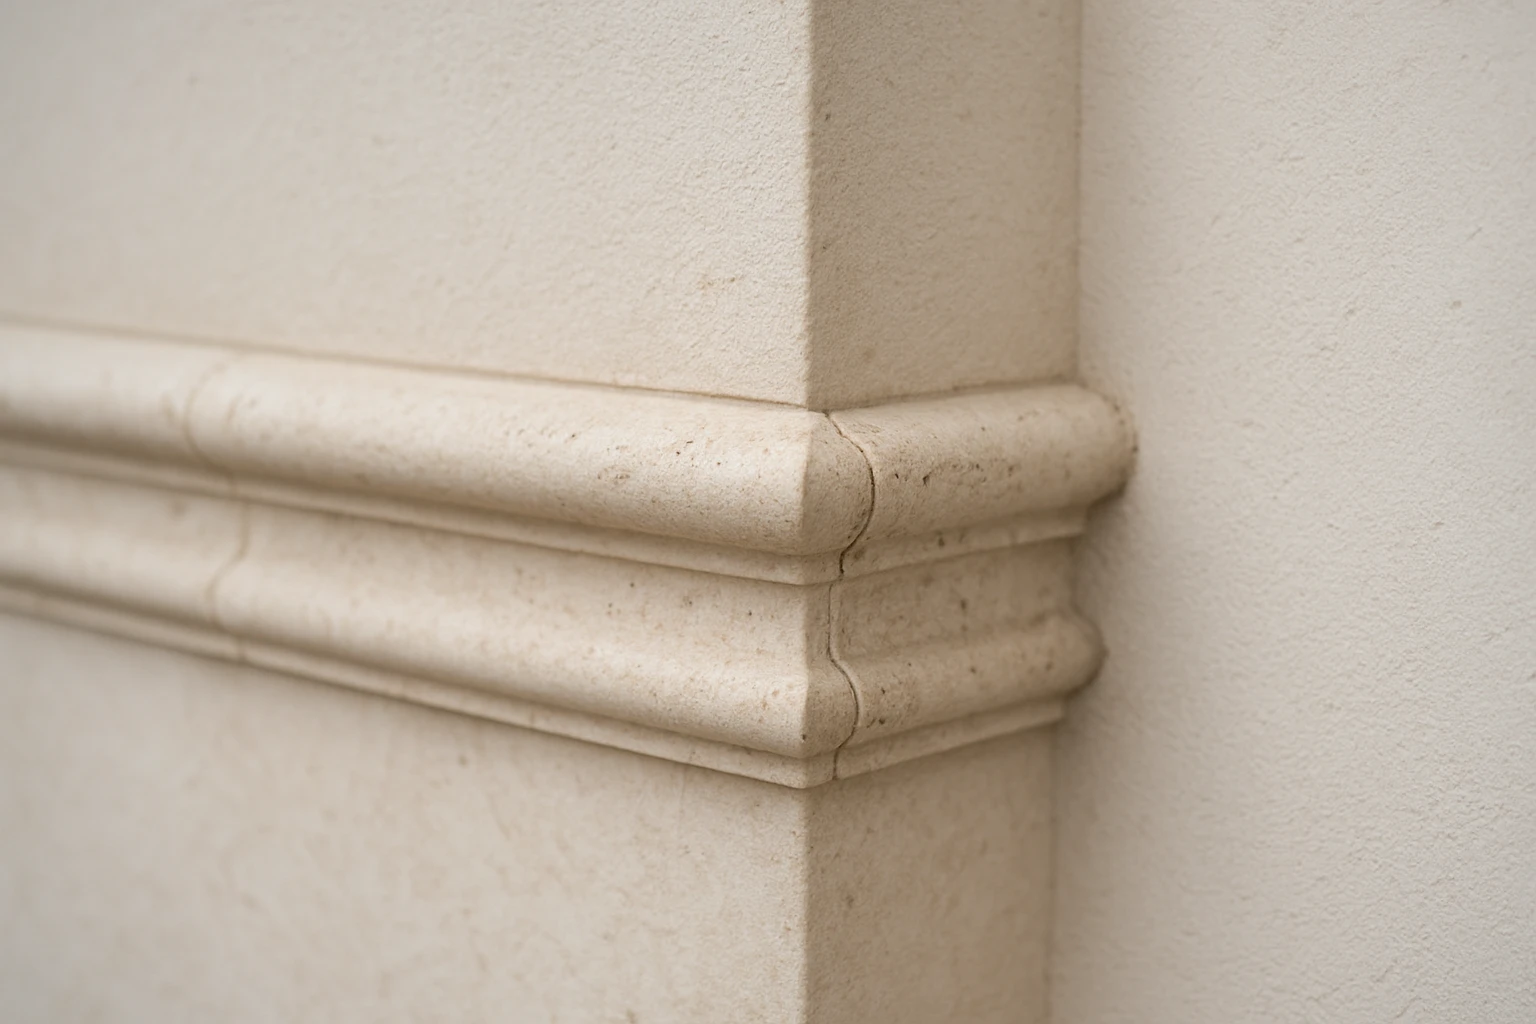
A profile that is too heavy can overpower a small elevation and make the building look top-heavy. You see this when a compact house gets a bulky cornice, thick window crowns, oversized keystones, and a belt course all at once. Instead of looking elegant, the facade starts to feel compressed and theatrical.
Restraint usually wins. A modest surround and one disciplined horizontal line often do more than five decorative moves stacked together. If the massing is simple, let the trim stay simple too.
Skipping moisture detailing and movement joints
This is where visual shortcuts become building problems. Ignoring moisture management can lead to staining, cracking, and water intrusion at transitions that already carry higher risk — under sills, at parapets, where a sloped roof meets a wall, or where stucco meets masonry trim.
Skipping movement joints creates a different failure pattern but just as much trouble. Hairline cracks at corners, sealant splits at a jamb, or popped pieces near an opening rarely come as a surprise once you understand how much temperature and building movement the facade sees across four seasons in places like Chicago or Buffalo.
Poor workmanship at corners, cuts, and transitions
Thin stone moldings are close-view details. People stand next to them at the front door, reach past them at the window, and notice every cut line at eye level. Uneven cuts, mismatched joints, poor returns, and sloppy corner treatment are far more visible here than in larger wall fields.
| Common Mistake | What You See | Likely Result |
|---|---|---|
| Heavy profile on a small wall | Top-heavy, crowded composition | Facade feels awkward rather than refined |
| Missing flashing or poor drainage | Stains, damp joints, sealant distress | Leaks, cracking, premature deterioration |
| Inconsistent joint width | Wandering lines around openings | Cheap appearance and difficult corrections |
| Bad corner cuts or returns | Open miters, chipped edges, uneven reveals | Visible defects at the most prominent locations |
The fastest way to make stone look cheap is to treat trim as an afterthought.
Tools, Resources, and a Practical Checklist
Basic tools and site checks
You do not need a truck full of gadgets to evaluate trim work well, but you do need the basics and the discipline to use them. A 4-foot level, laser level, tape measure, straightedge, story pole, layout lines, and sample pieces will tell you a lot before a single unit is set. For installers, clean cutting tools and consistent spacing tools matter just as much.
Useful site checks are simple: confirm plumb, level, layout lines, joint spacing, and that the substrate is actually ready. Check whether the window head aligns across the elevation. Check whether the parapet cap has a clear slope. Check whether the corner return is long enough to look intentional rather than pinched.
Submittals, specs, and sample approvals
A submittal is the package you review before fabrication or installation — profiles, dimensions, finish, color range, and sometimes shop drawings or corner details. This is where many costly errors can still be prevented. Make sure the approved sample matches the real facade palette, not just a conference-room light.
If you are comparing stock profiles with related coping, sills, pier caps, or wall caps, a supplier such as Coral Cast can help you review the pieces as a coordinated family before you place the order. That is especially useful when one facade mixes several stone components and you want the profiles to speak the same design language.
Maintenance and when to bring in a specialist
Even low-maintenance exterior trim benefits from inspection. Look at sealant joints, flashing transitions, cracks, and staining once or twice a year, especially after a hard winter or a storm season. Catching a small open joint in March is a lot easier than tracing a moisture problem in August.
Bring in a specialist when the project involves custom profiles, recurring leaks, historic facades, tall elevations, or complex transitions at windows and roofs. A good fabricator or facade consultant can save you from the most expensive kind of redo — the one that happens after the building is occupied.
| Project Stage | Checklist Item | Why It Matters |
|---|---|---|
| Design | Match profile scale to facade size and style | Prevents top-heavy or under-scaled trim |
| Pre-install | Confirm substrate, layout, and opening dimensions | Avoids fit problems and uneven lines |
| Mockup review | Check color, joints, shadow, and corners in real light | Reveals issues before full production |
| Installation | Verify flashing, transitions, and movement joints | Protects against leaks and cracking |
| Post-completion | Inspect sealants, stains, chips, and cracks | Catches small defects before they spread |
Thin Stone Moldings earn their keep when proportion, drainage, and workmanship all land in the same place.
They are not filler trim. They are the lines that sharpen a facade, control shadow, and finish the transitions your eye notices first — especially around windows, parapets, and corners.
Before you order anything, stand at the curb and ask: where could Thin Stone Moldings add one clean shadow line without asking the wall to pretend to be something it is not?
Choose Better Facade Details With Coral Cast
Explore a large selection of architectural stone products, properly cured in New York, shipped nationwide, and backed by showroom guidance and free estimates for residential or commercial work.